Claremont Designs


Leave a comment

Doubling Down on Edison Lamps

This update is coming from the Acela en route to NYC.  It’s been ages since I last posted a meaningful update to the blog, and trips like this are primarily to blame.  I targeted this update a few weeks back, but it’s not until today that I can make an entry.

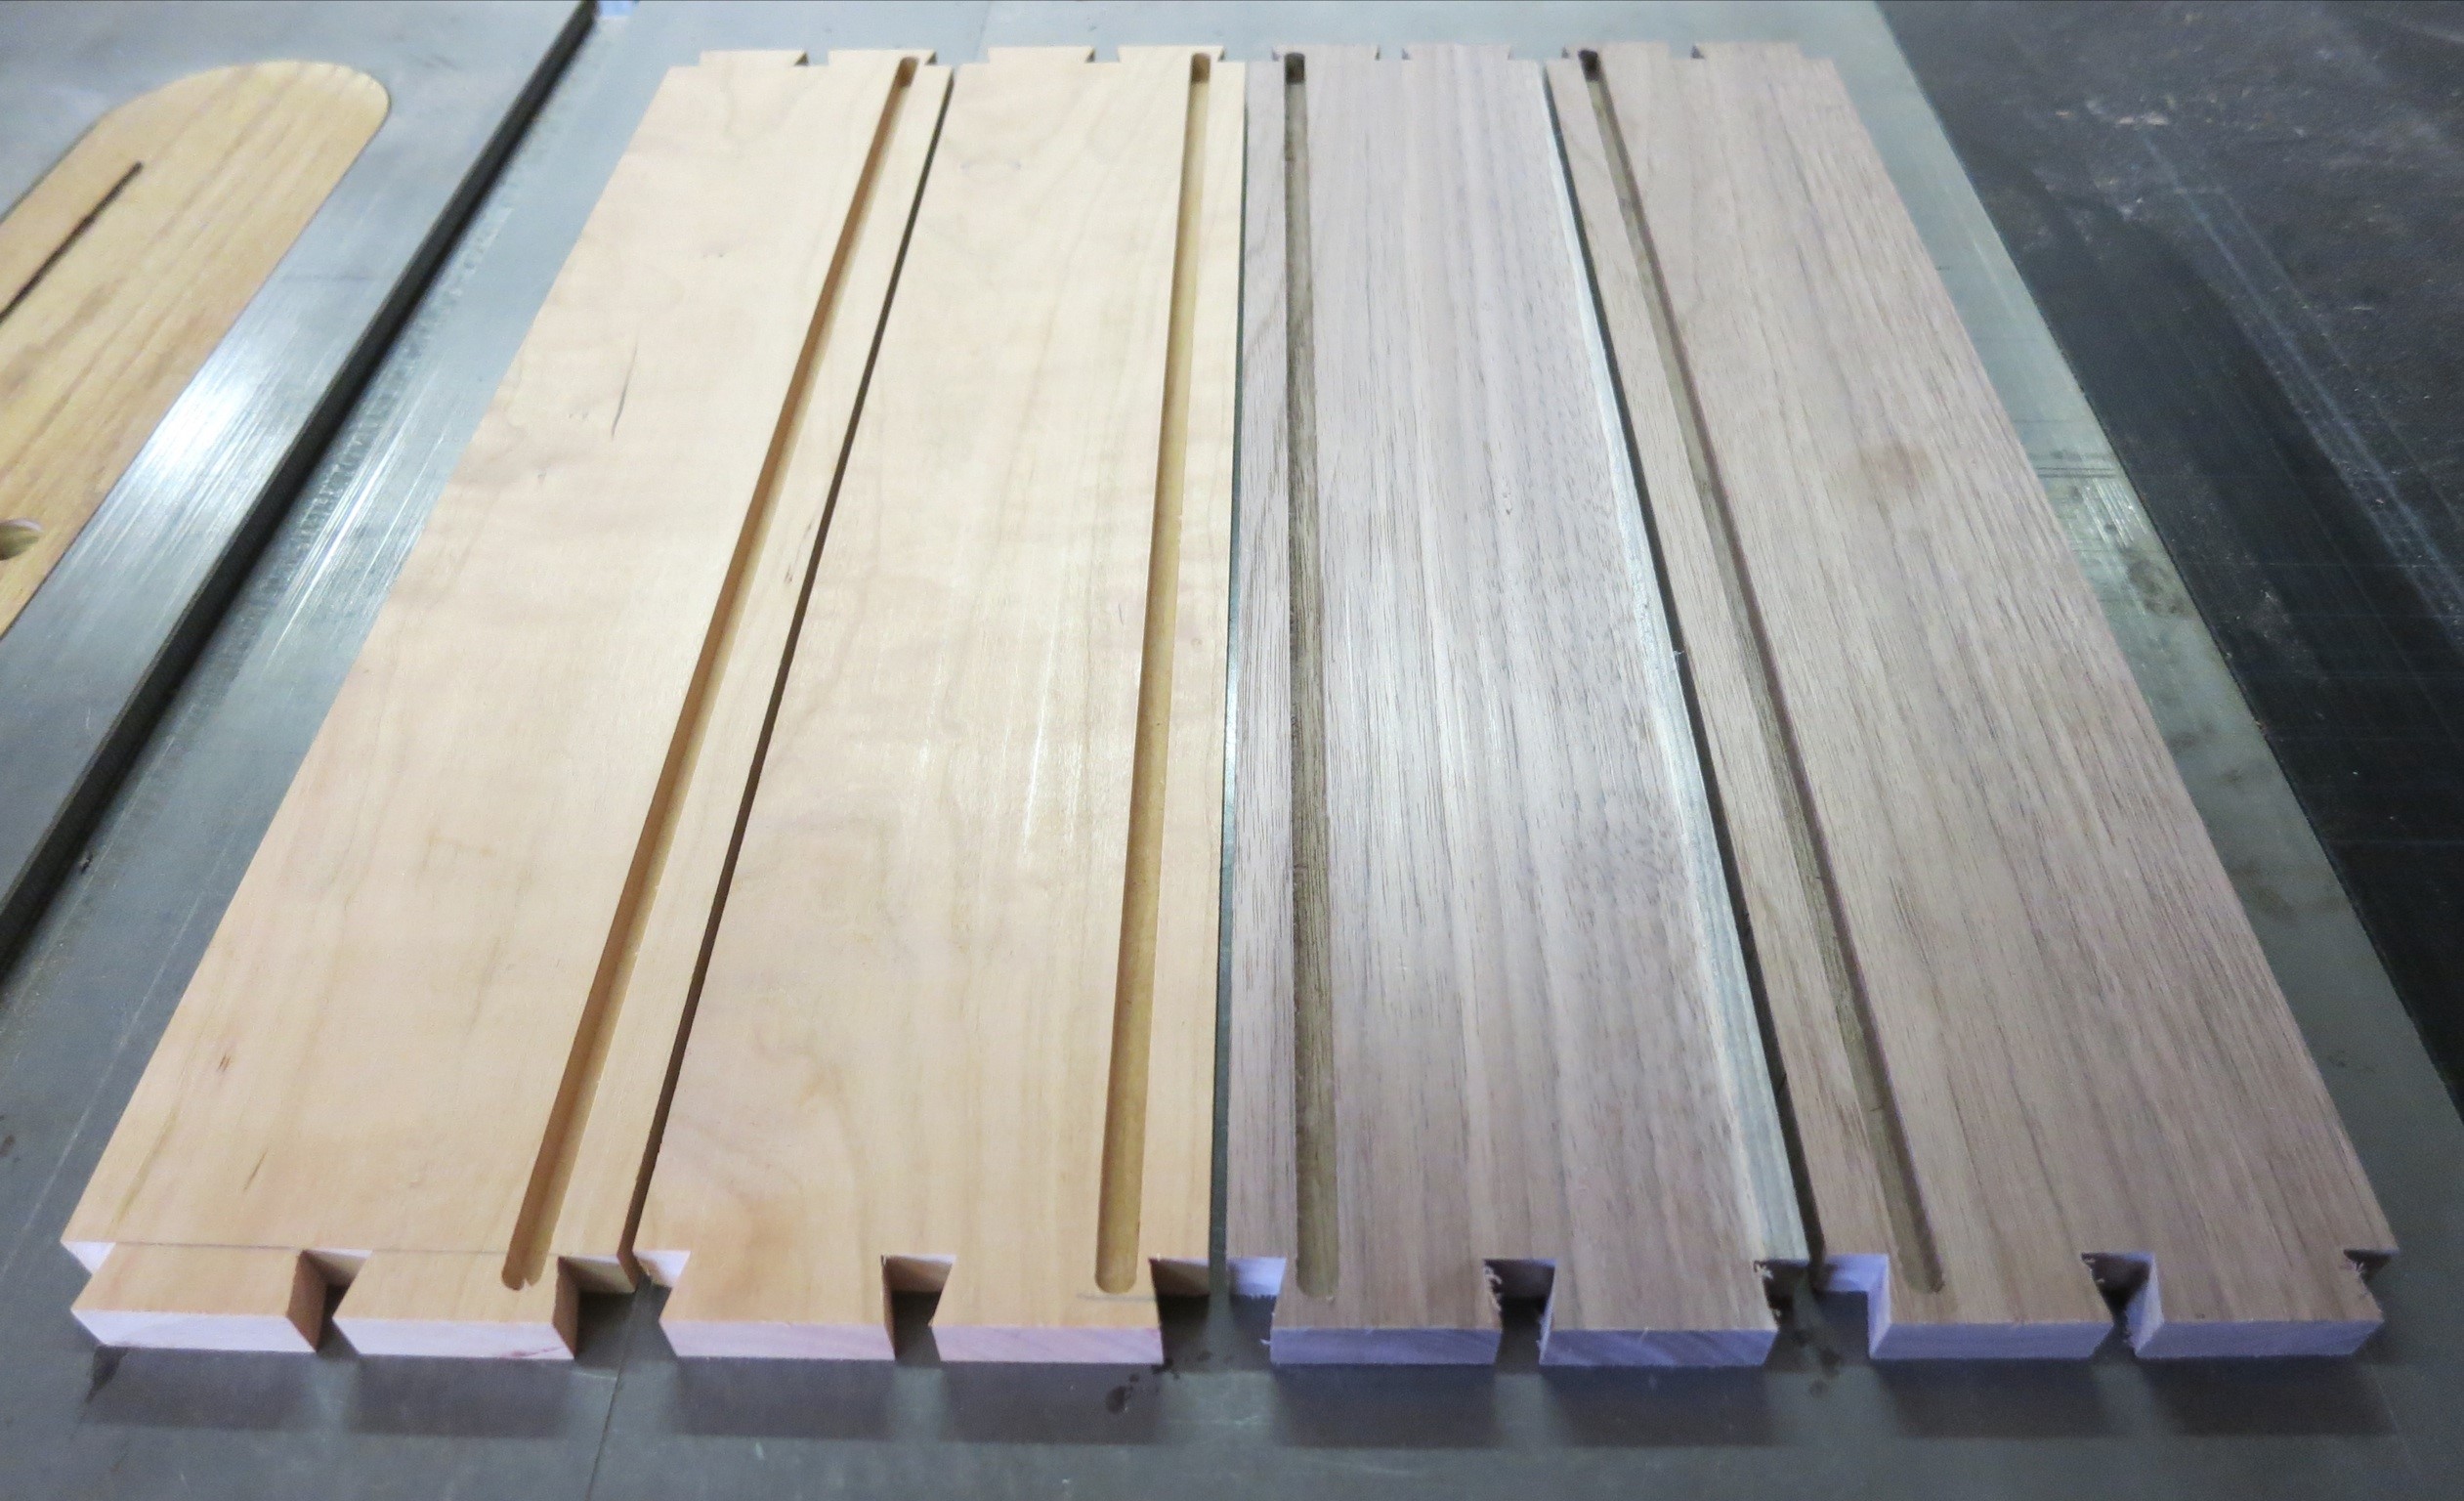
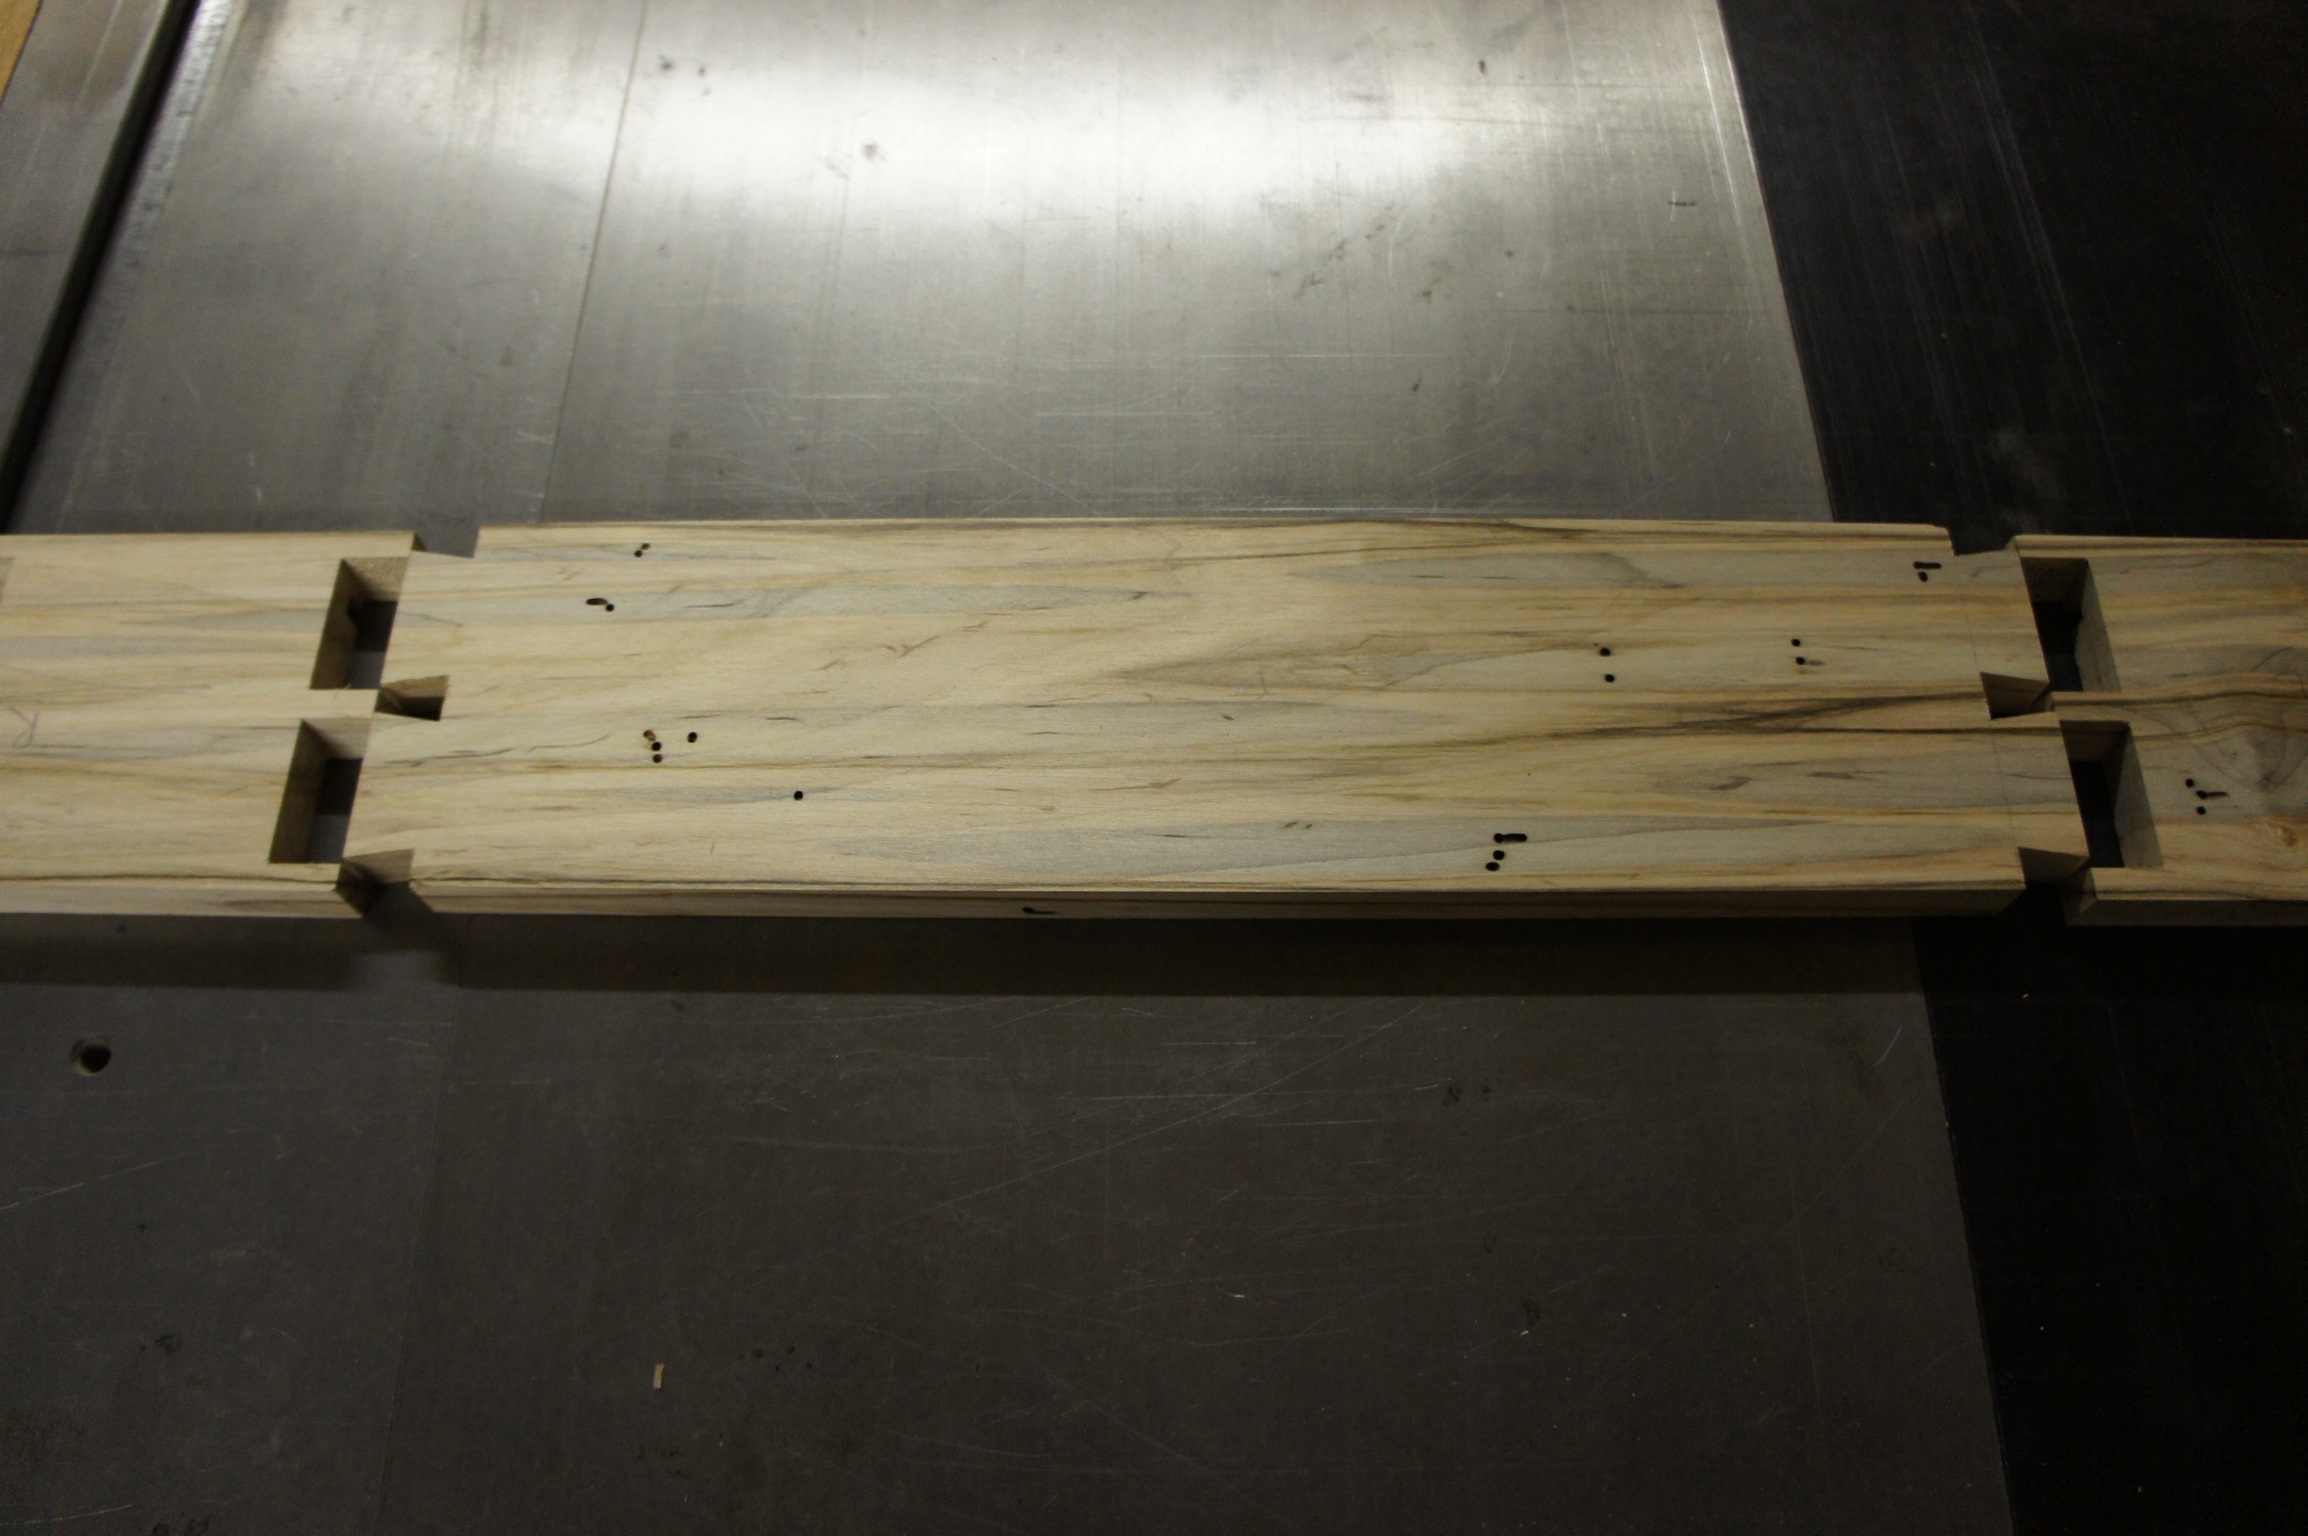
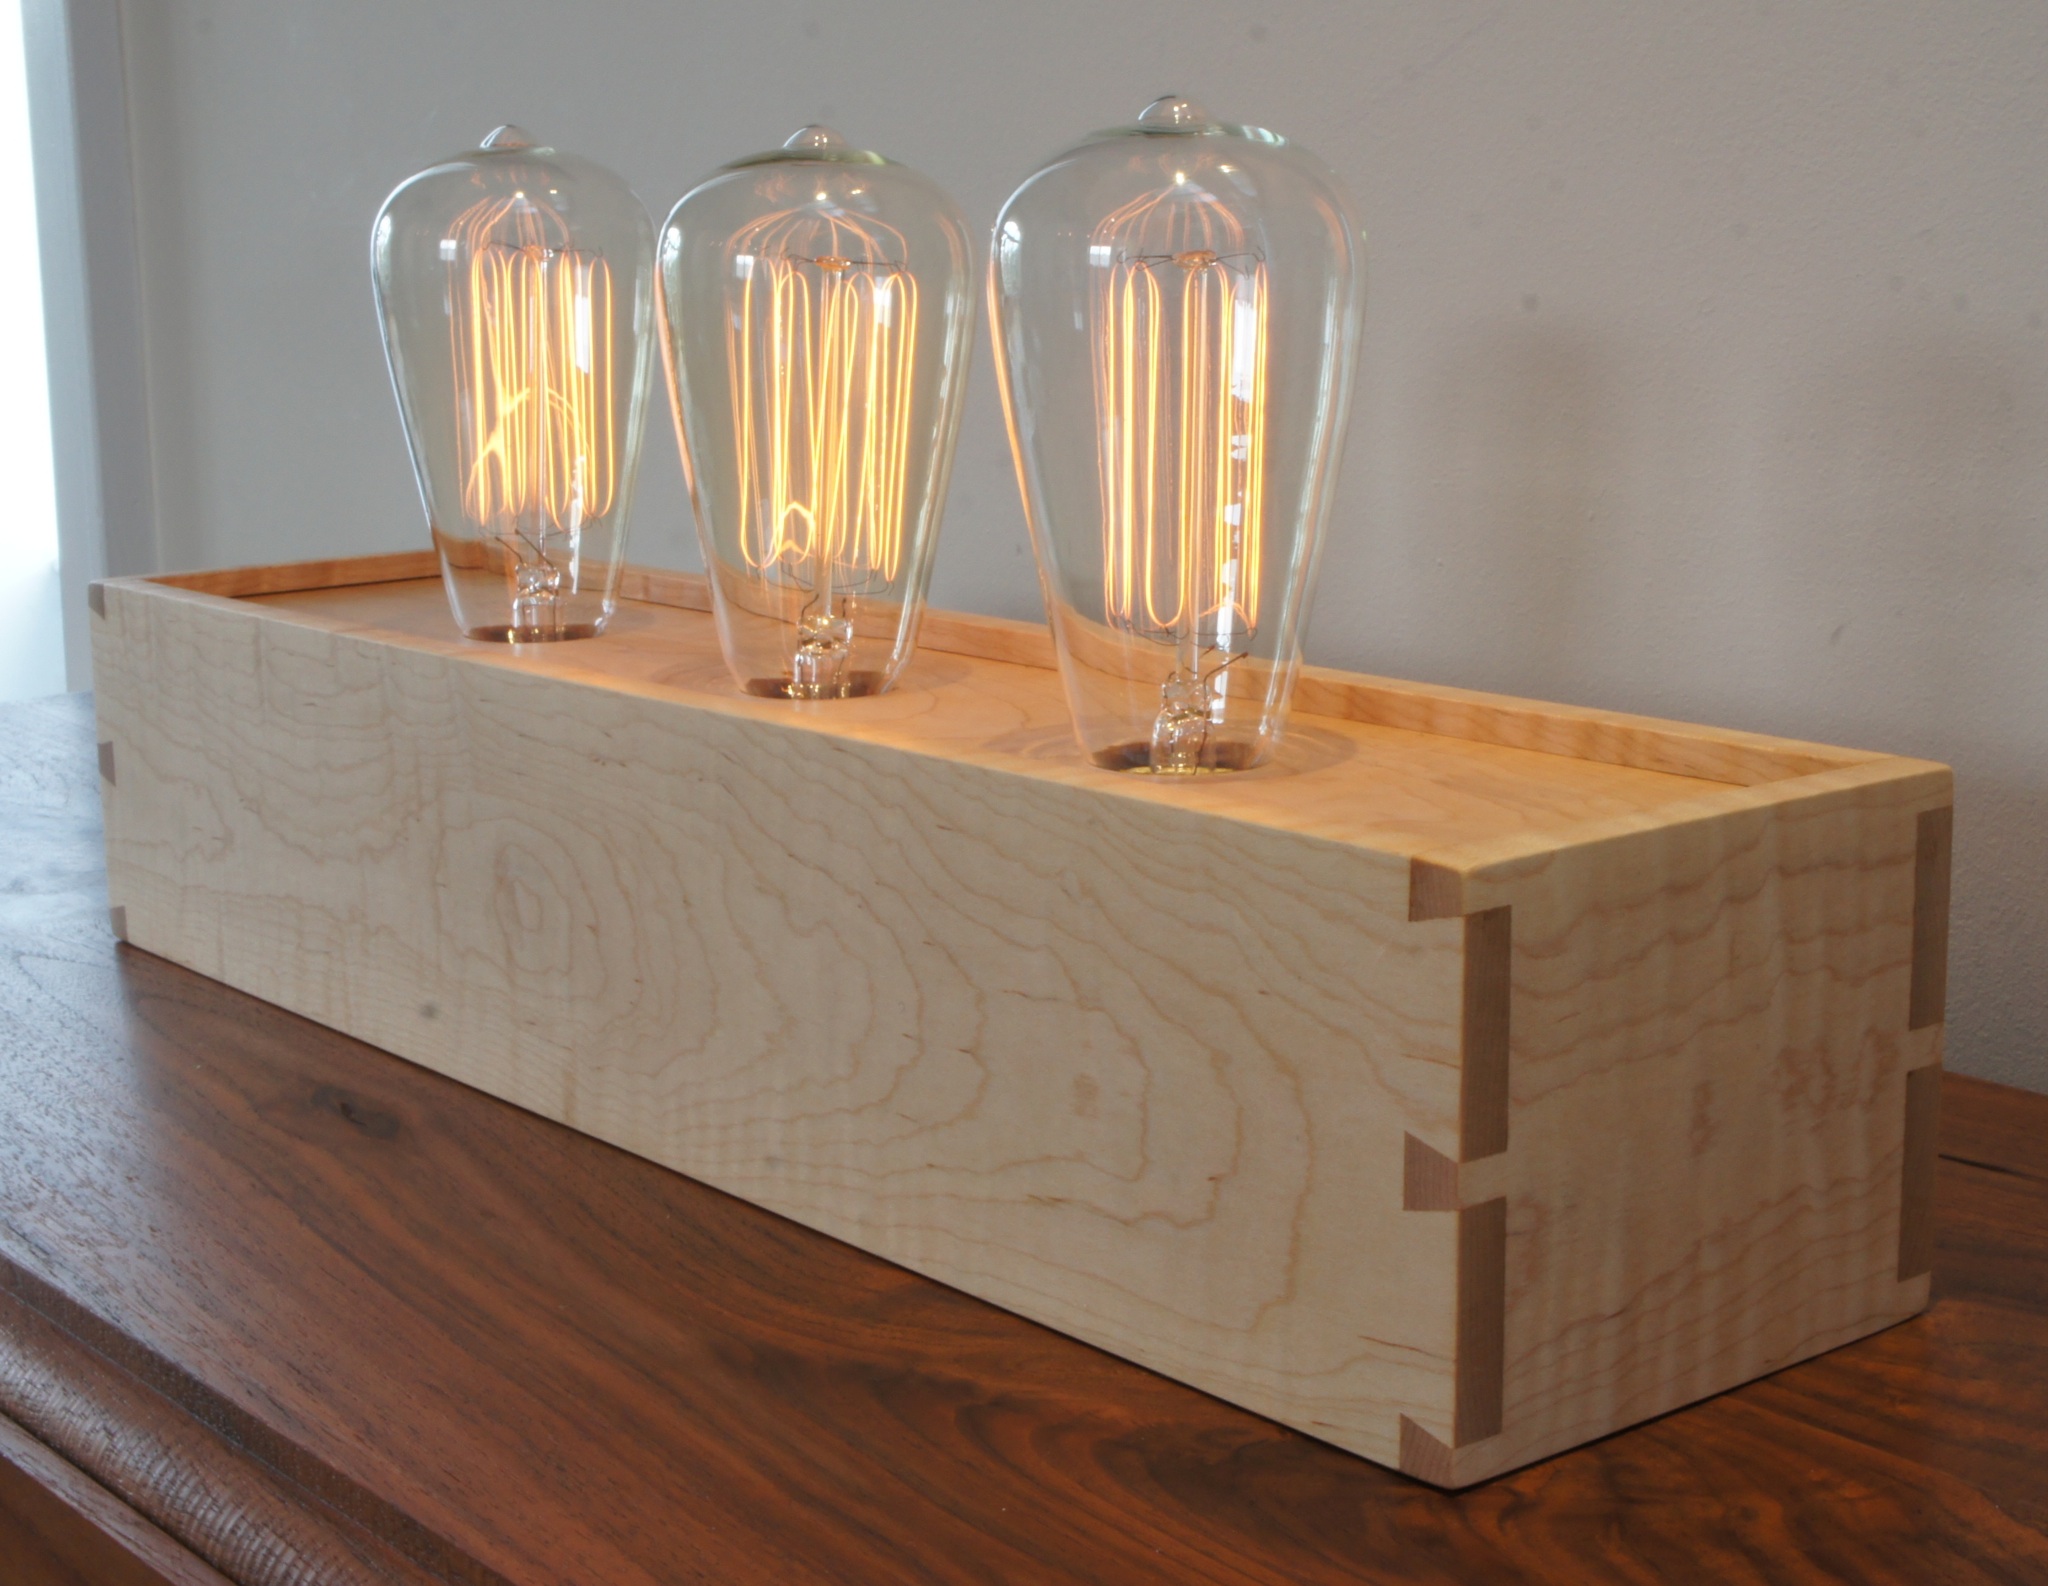
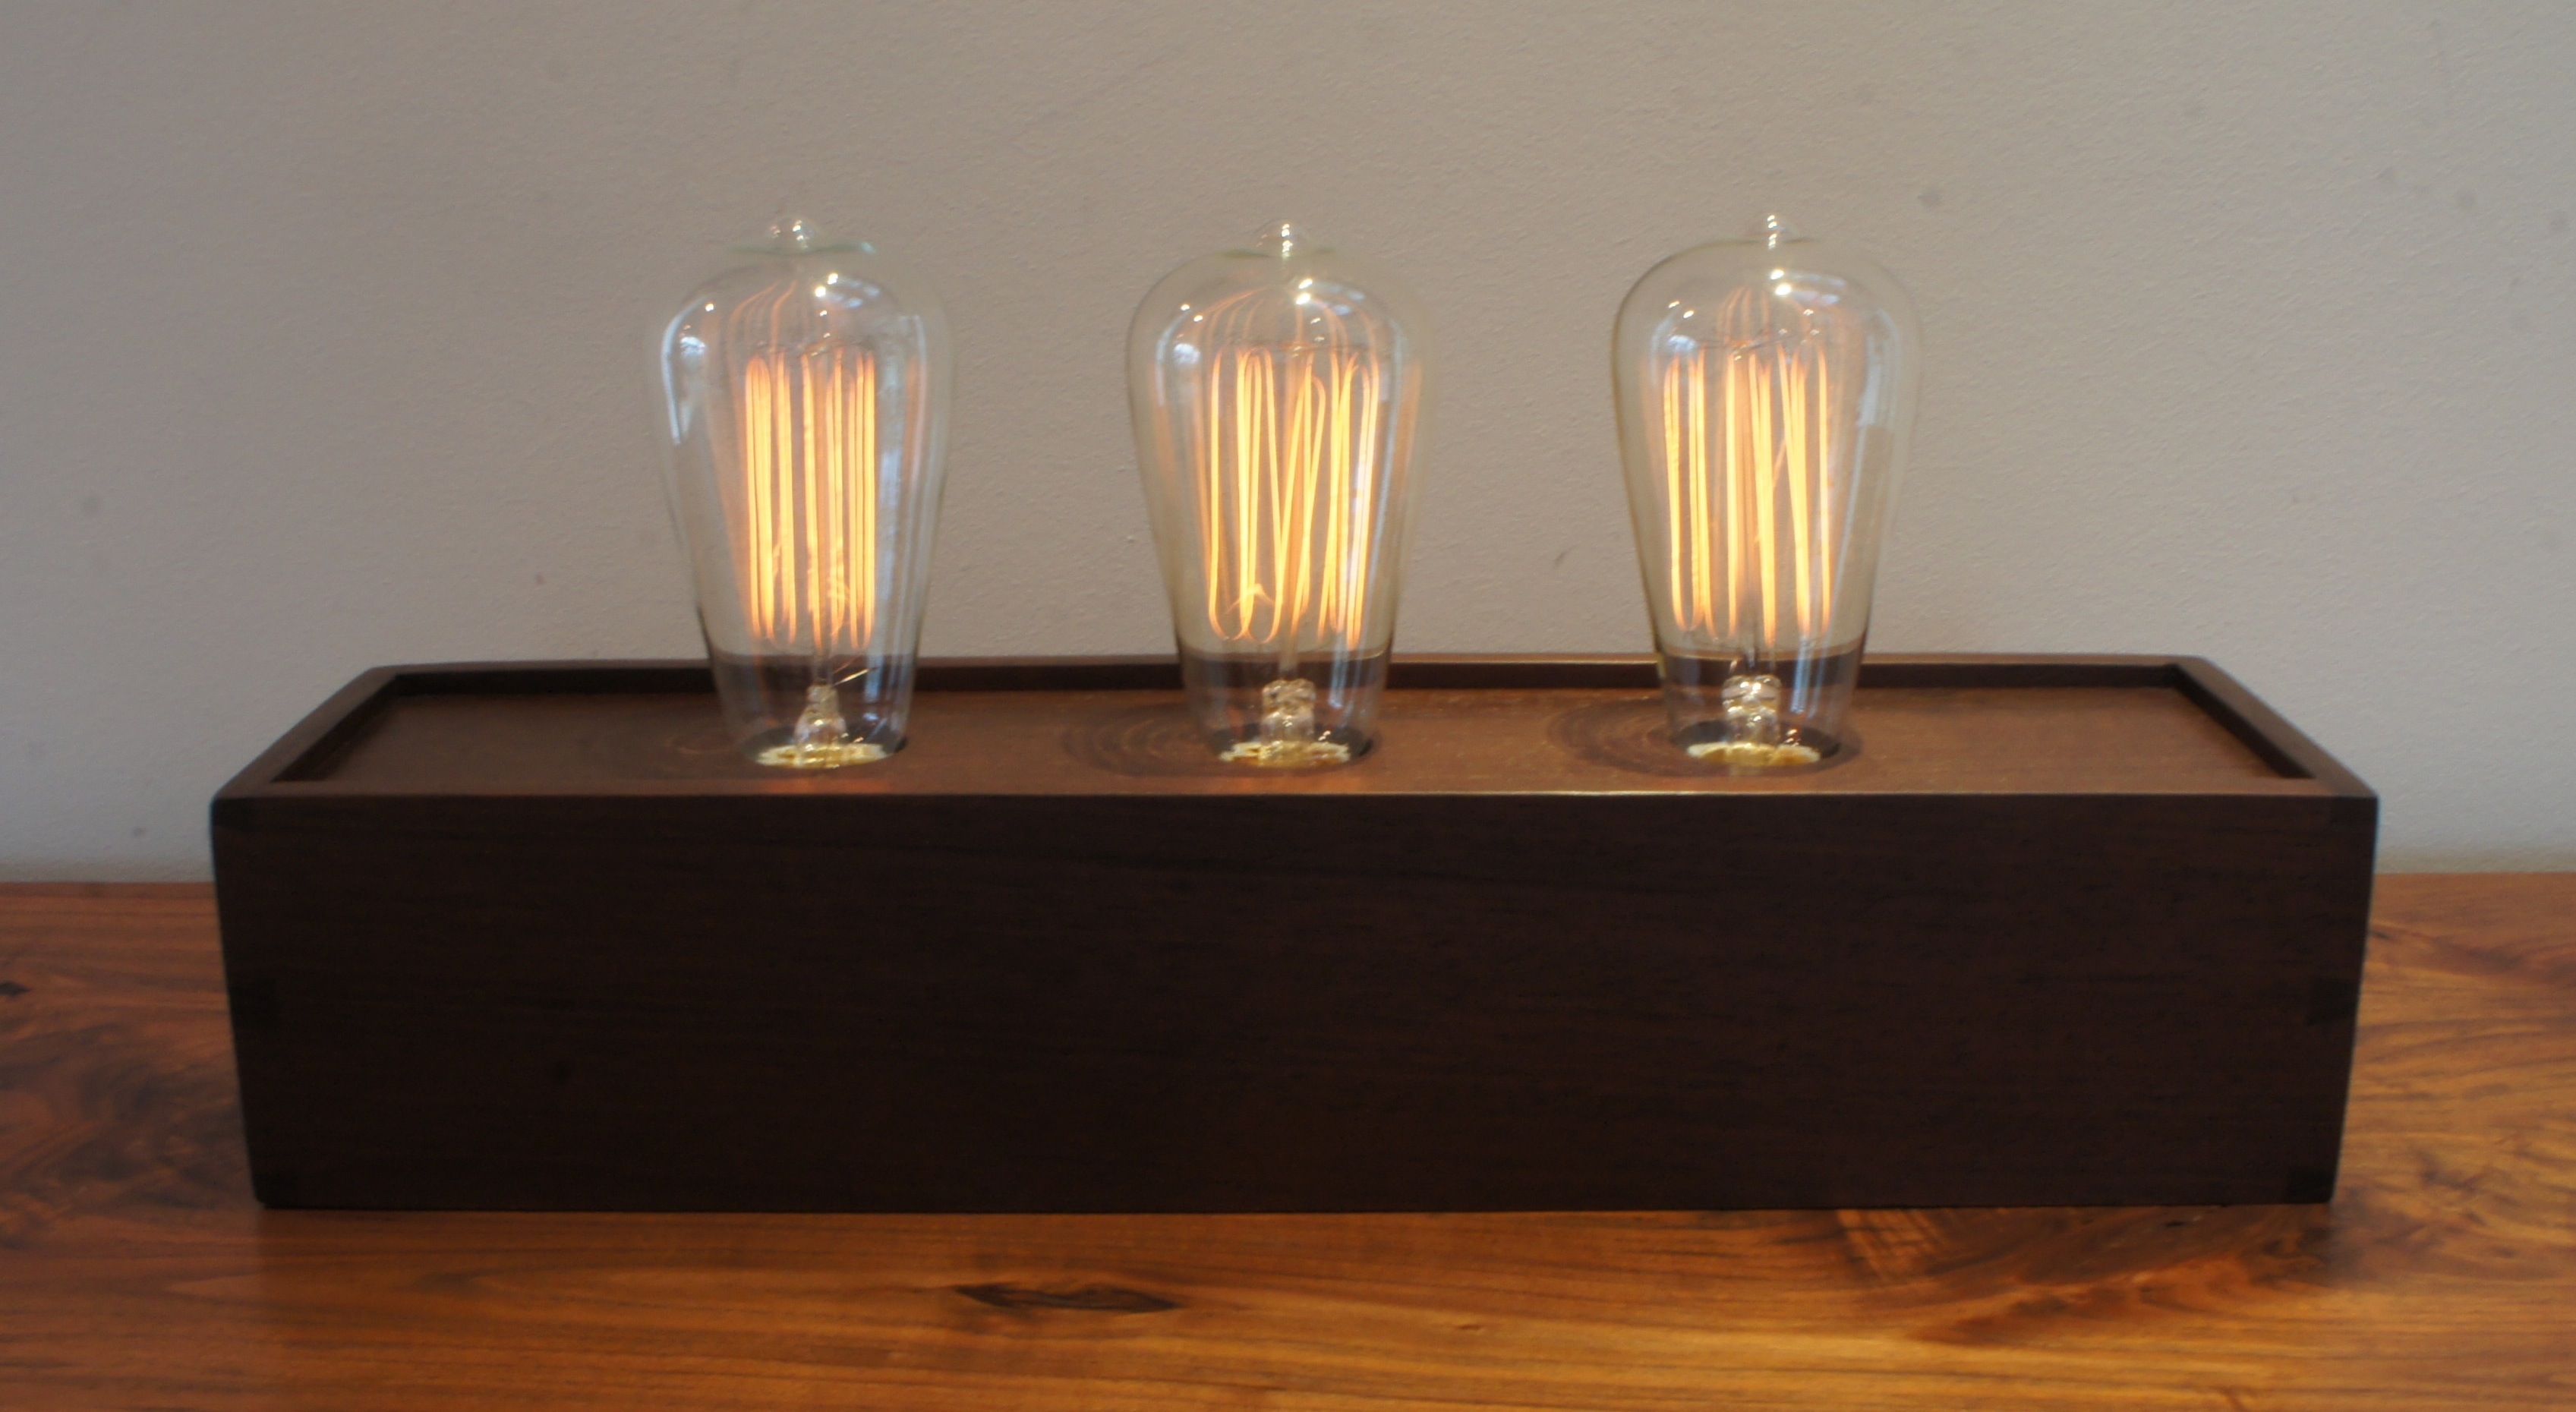
The orders from Etsy still come in.  And when I’m lucky they come in at the same time, so I can be as efficient as possible with shop time.  In this case, I had two orders for 3 bulb lamps.  I thought that the build was going great.  I was so proud of my progress that I took the first photo below to show the nice looking grooves for the top panel in each piece.  From there I worked to get each lamp glued up.  What I didn’t mention, until now, is the process of cutting the dovetails.  It appears that I grabbed the wrong piece for my jig.  I’m guessing I grabbed a 9 degree instead of an 11 degree piece.  The result is that I have 2 lamp boxes that can’t be used.

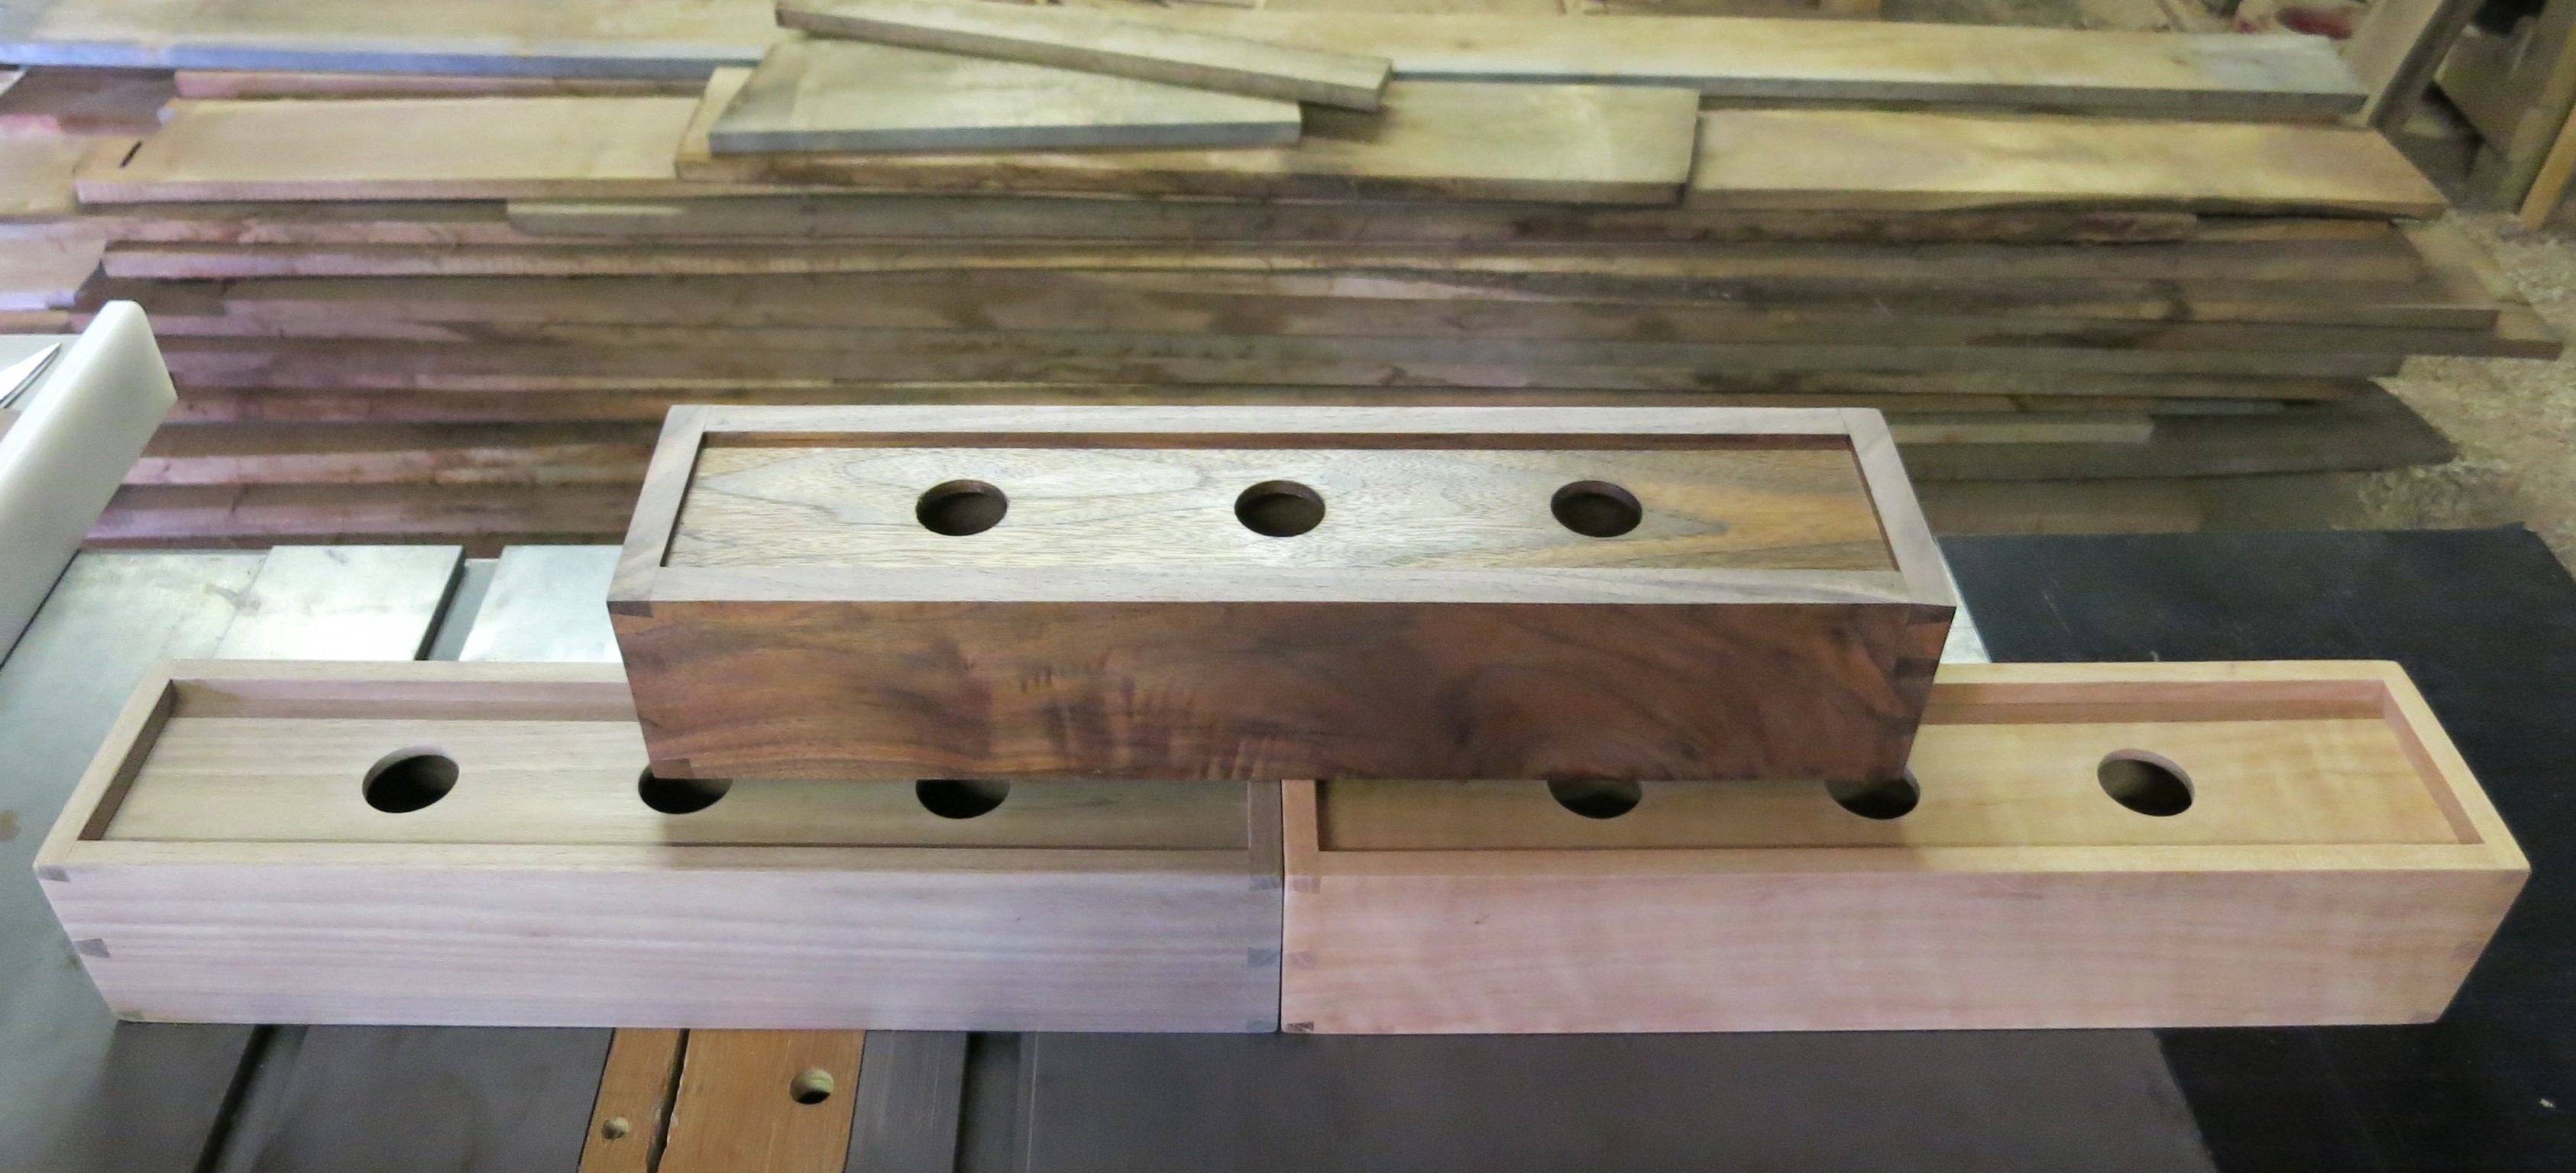
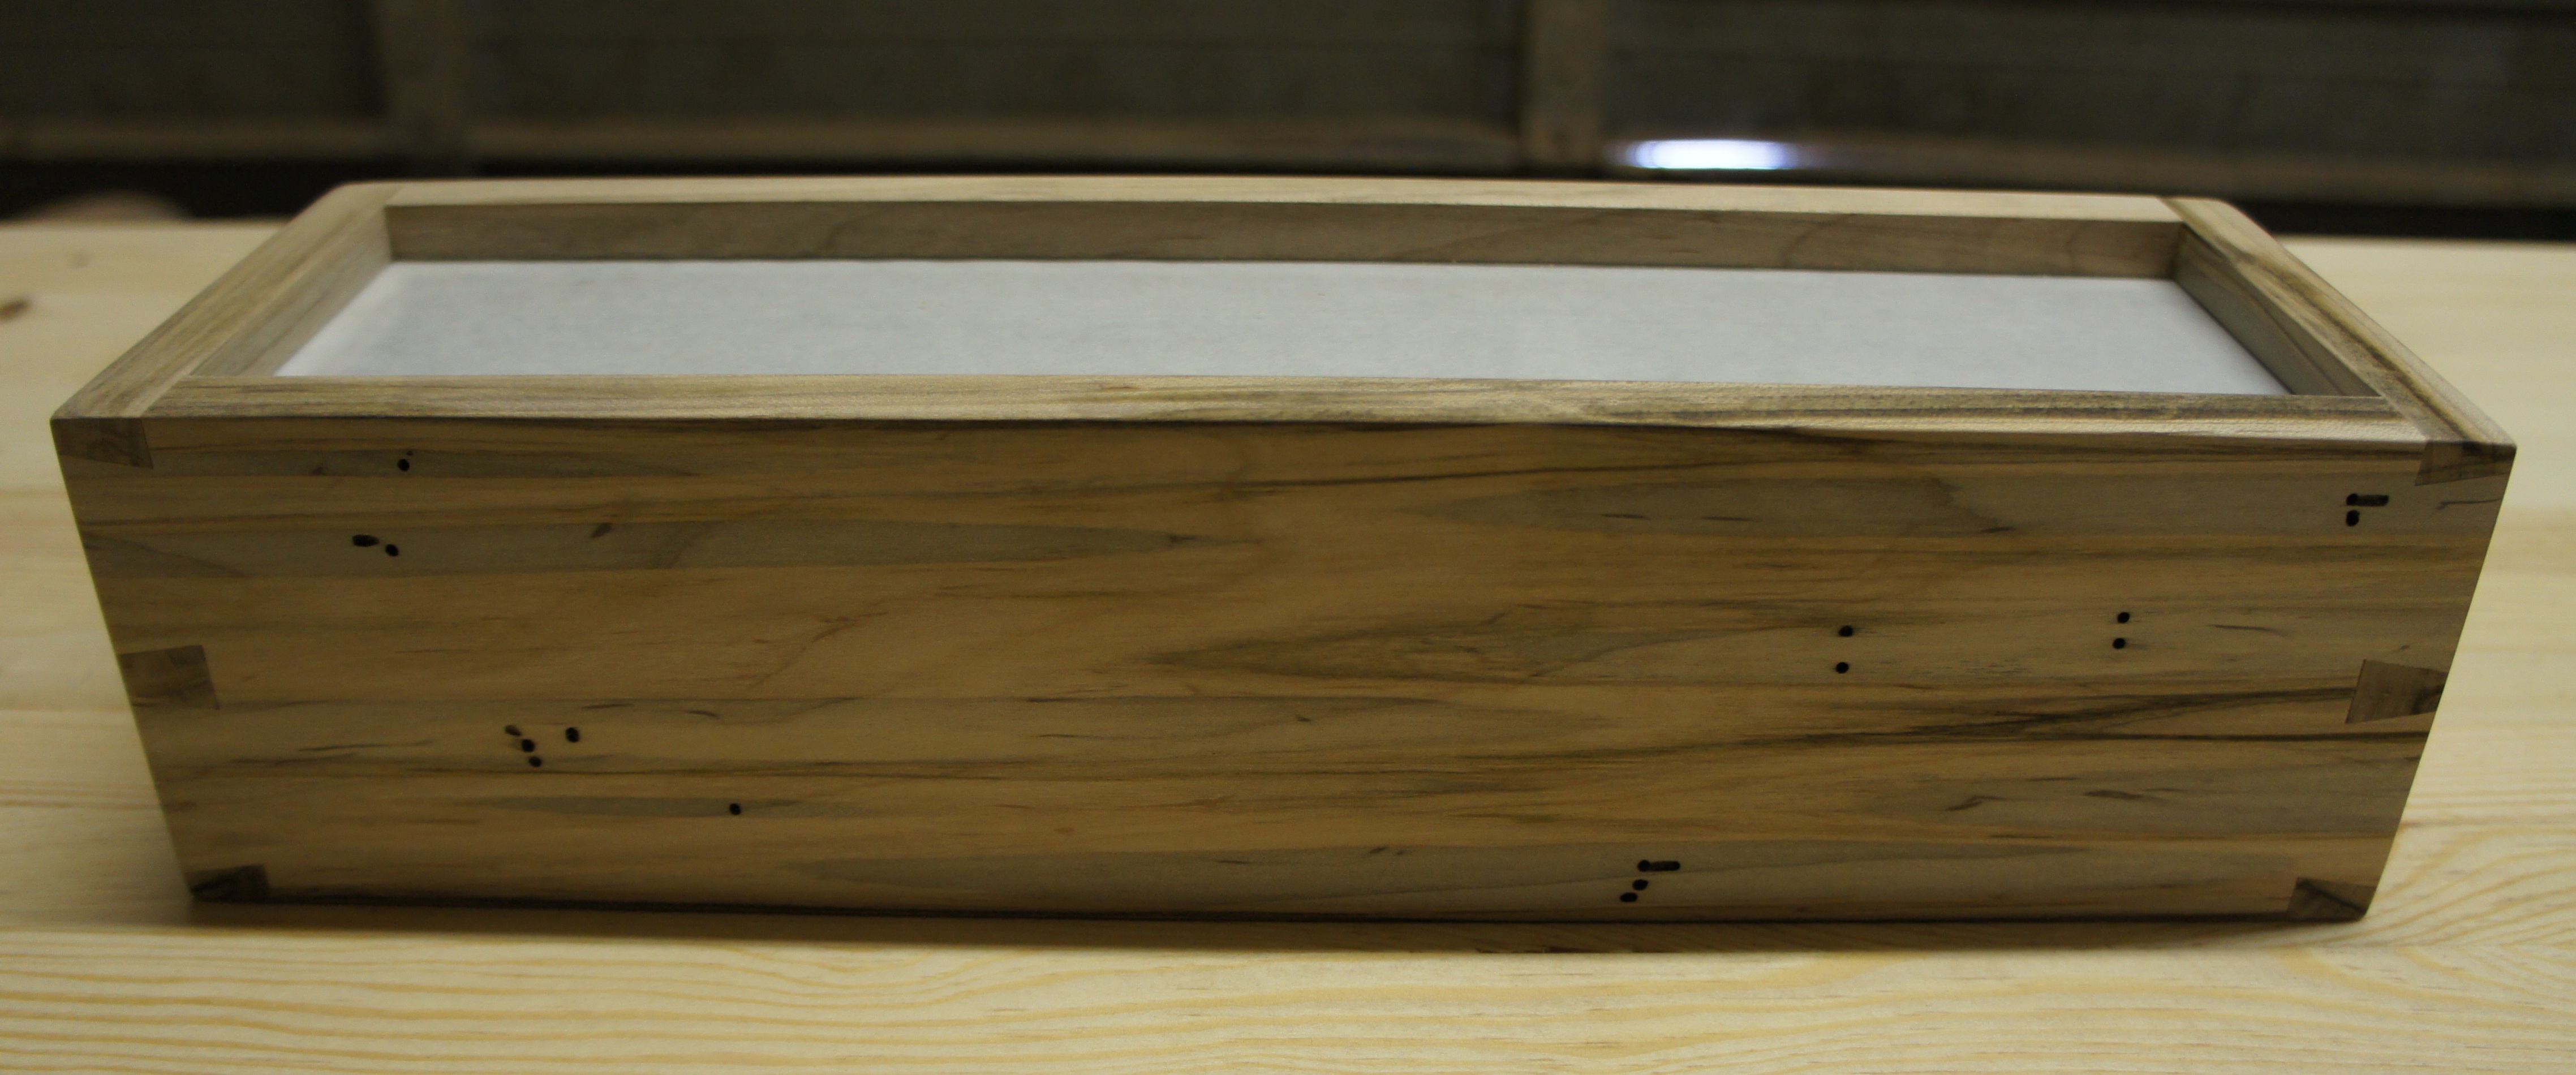
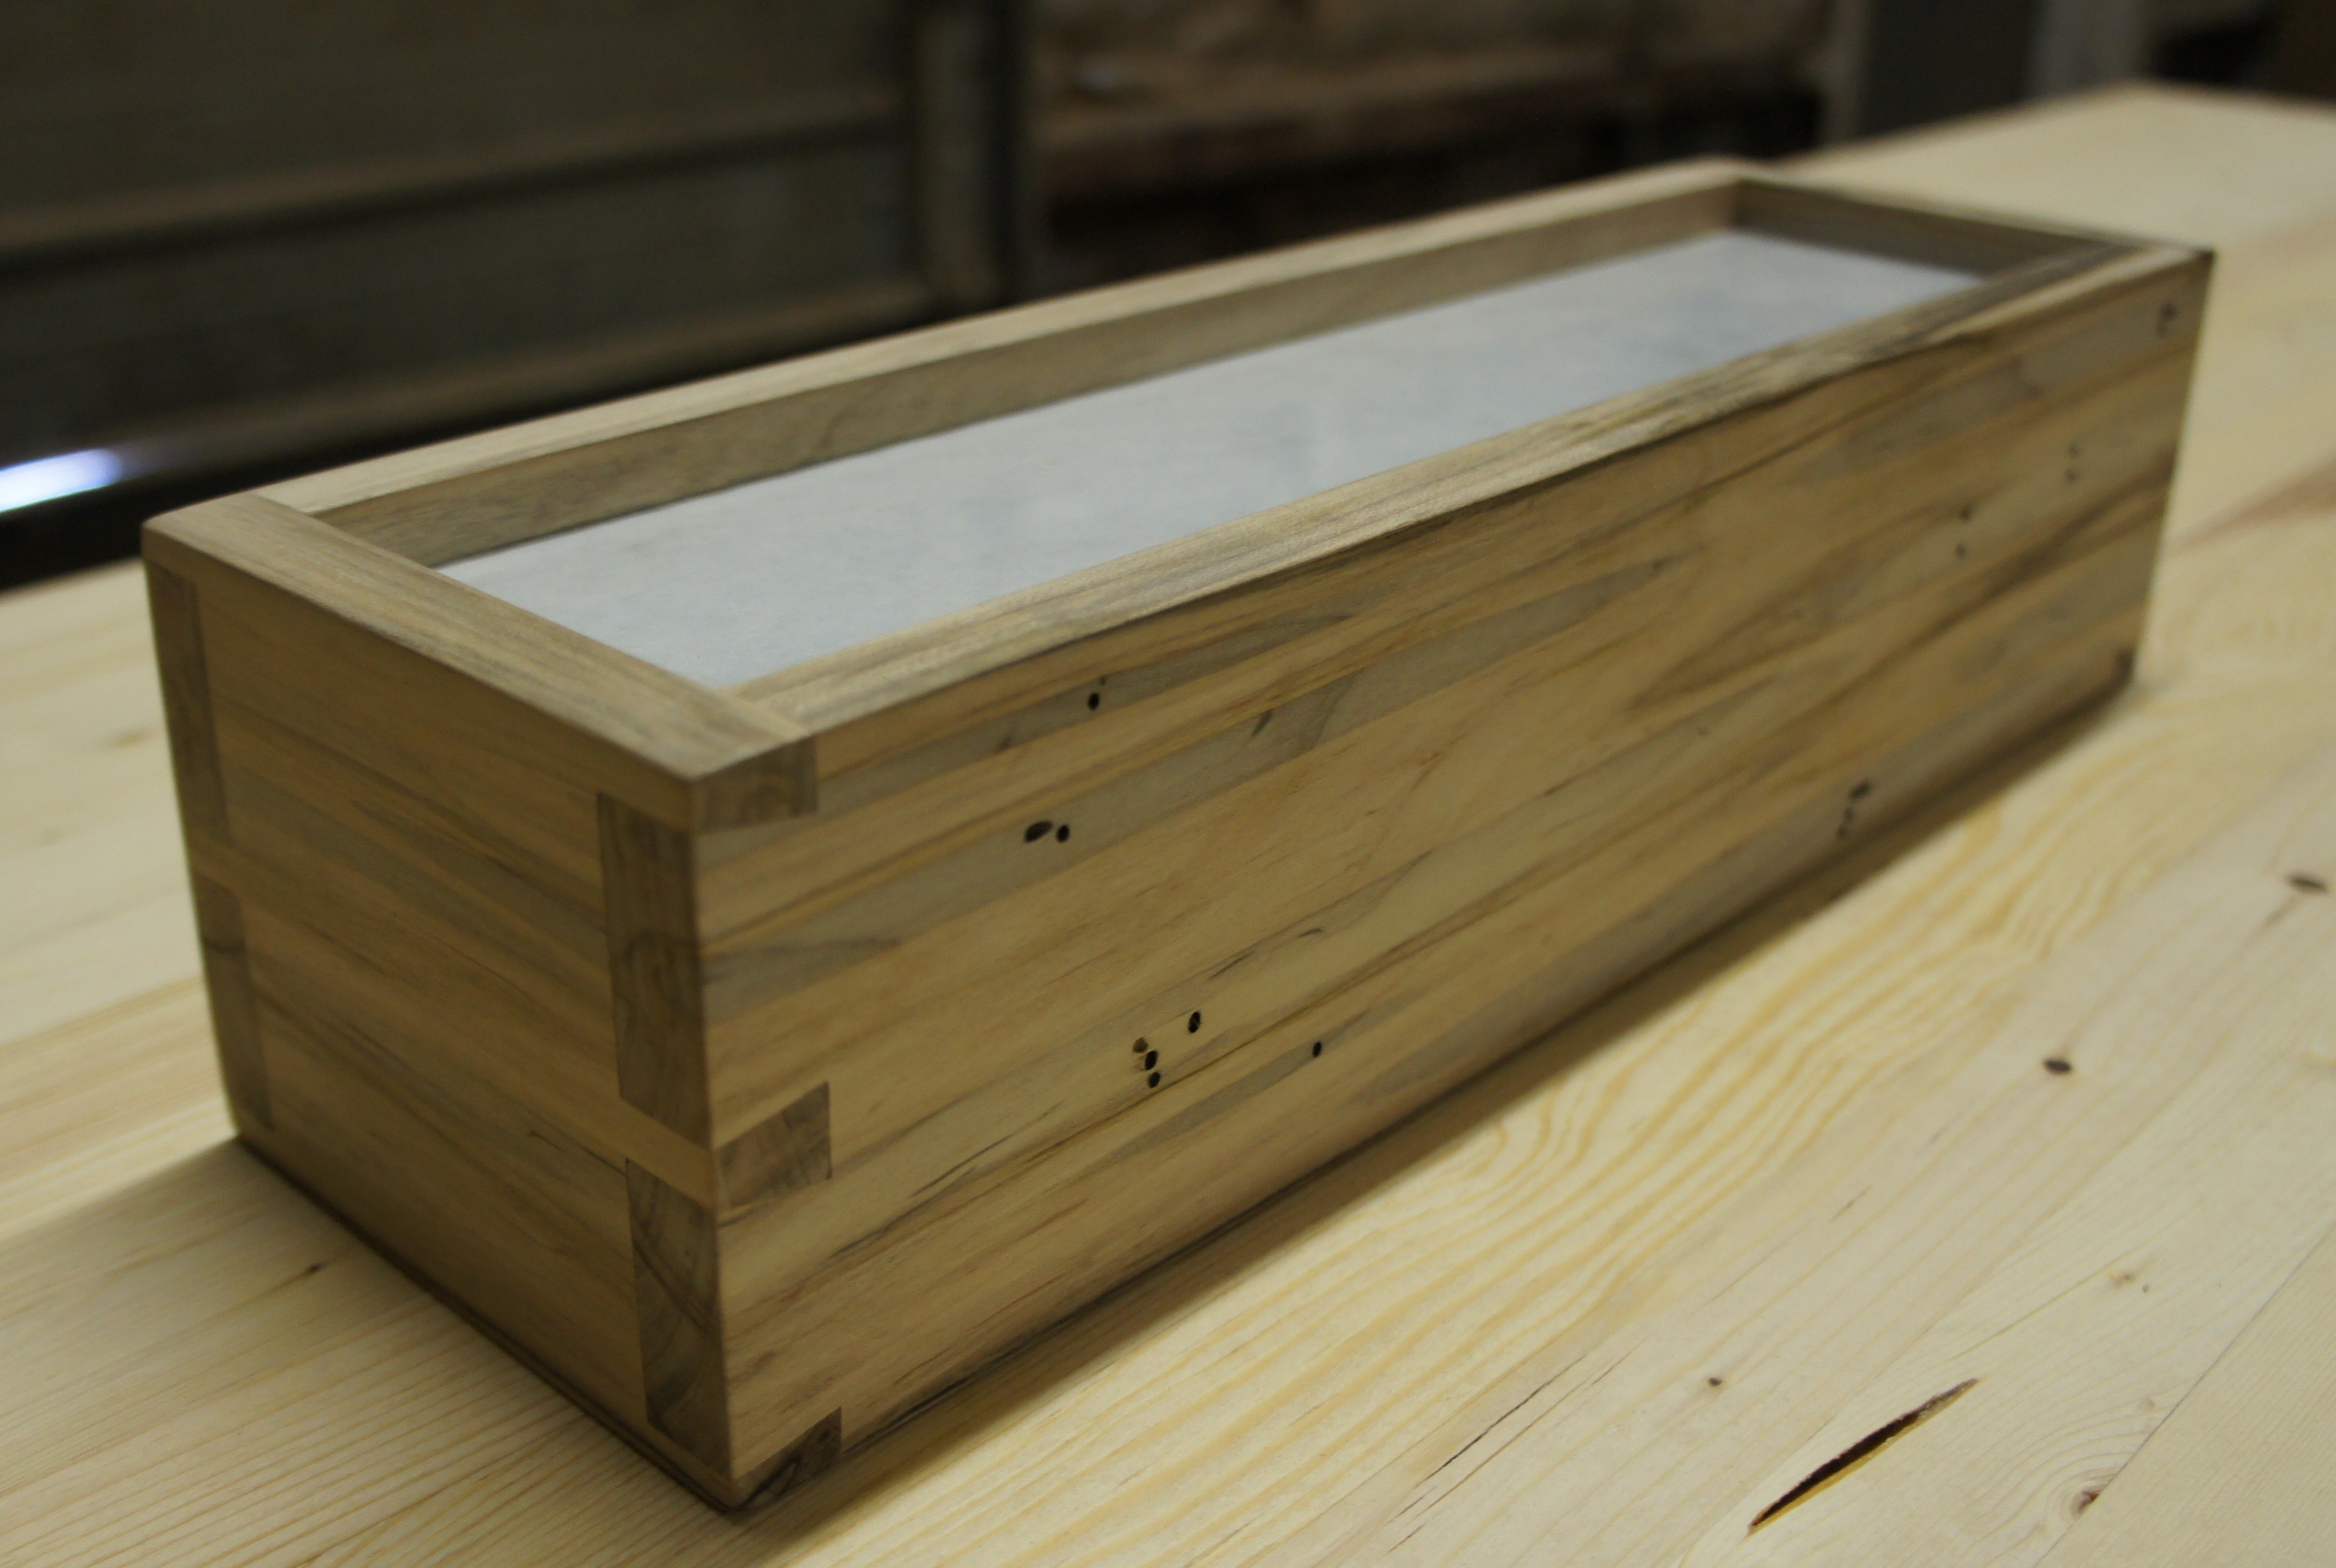
So it was off to round 2 of the build.  Trust me that I was considerably more careful this time around.  Everything turned out as planned and I had 2 unfinished lamps; one in cherry and one in walnut.

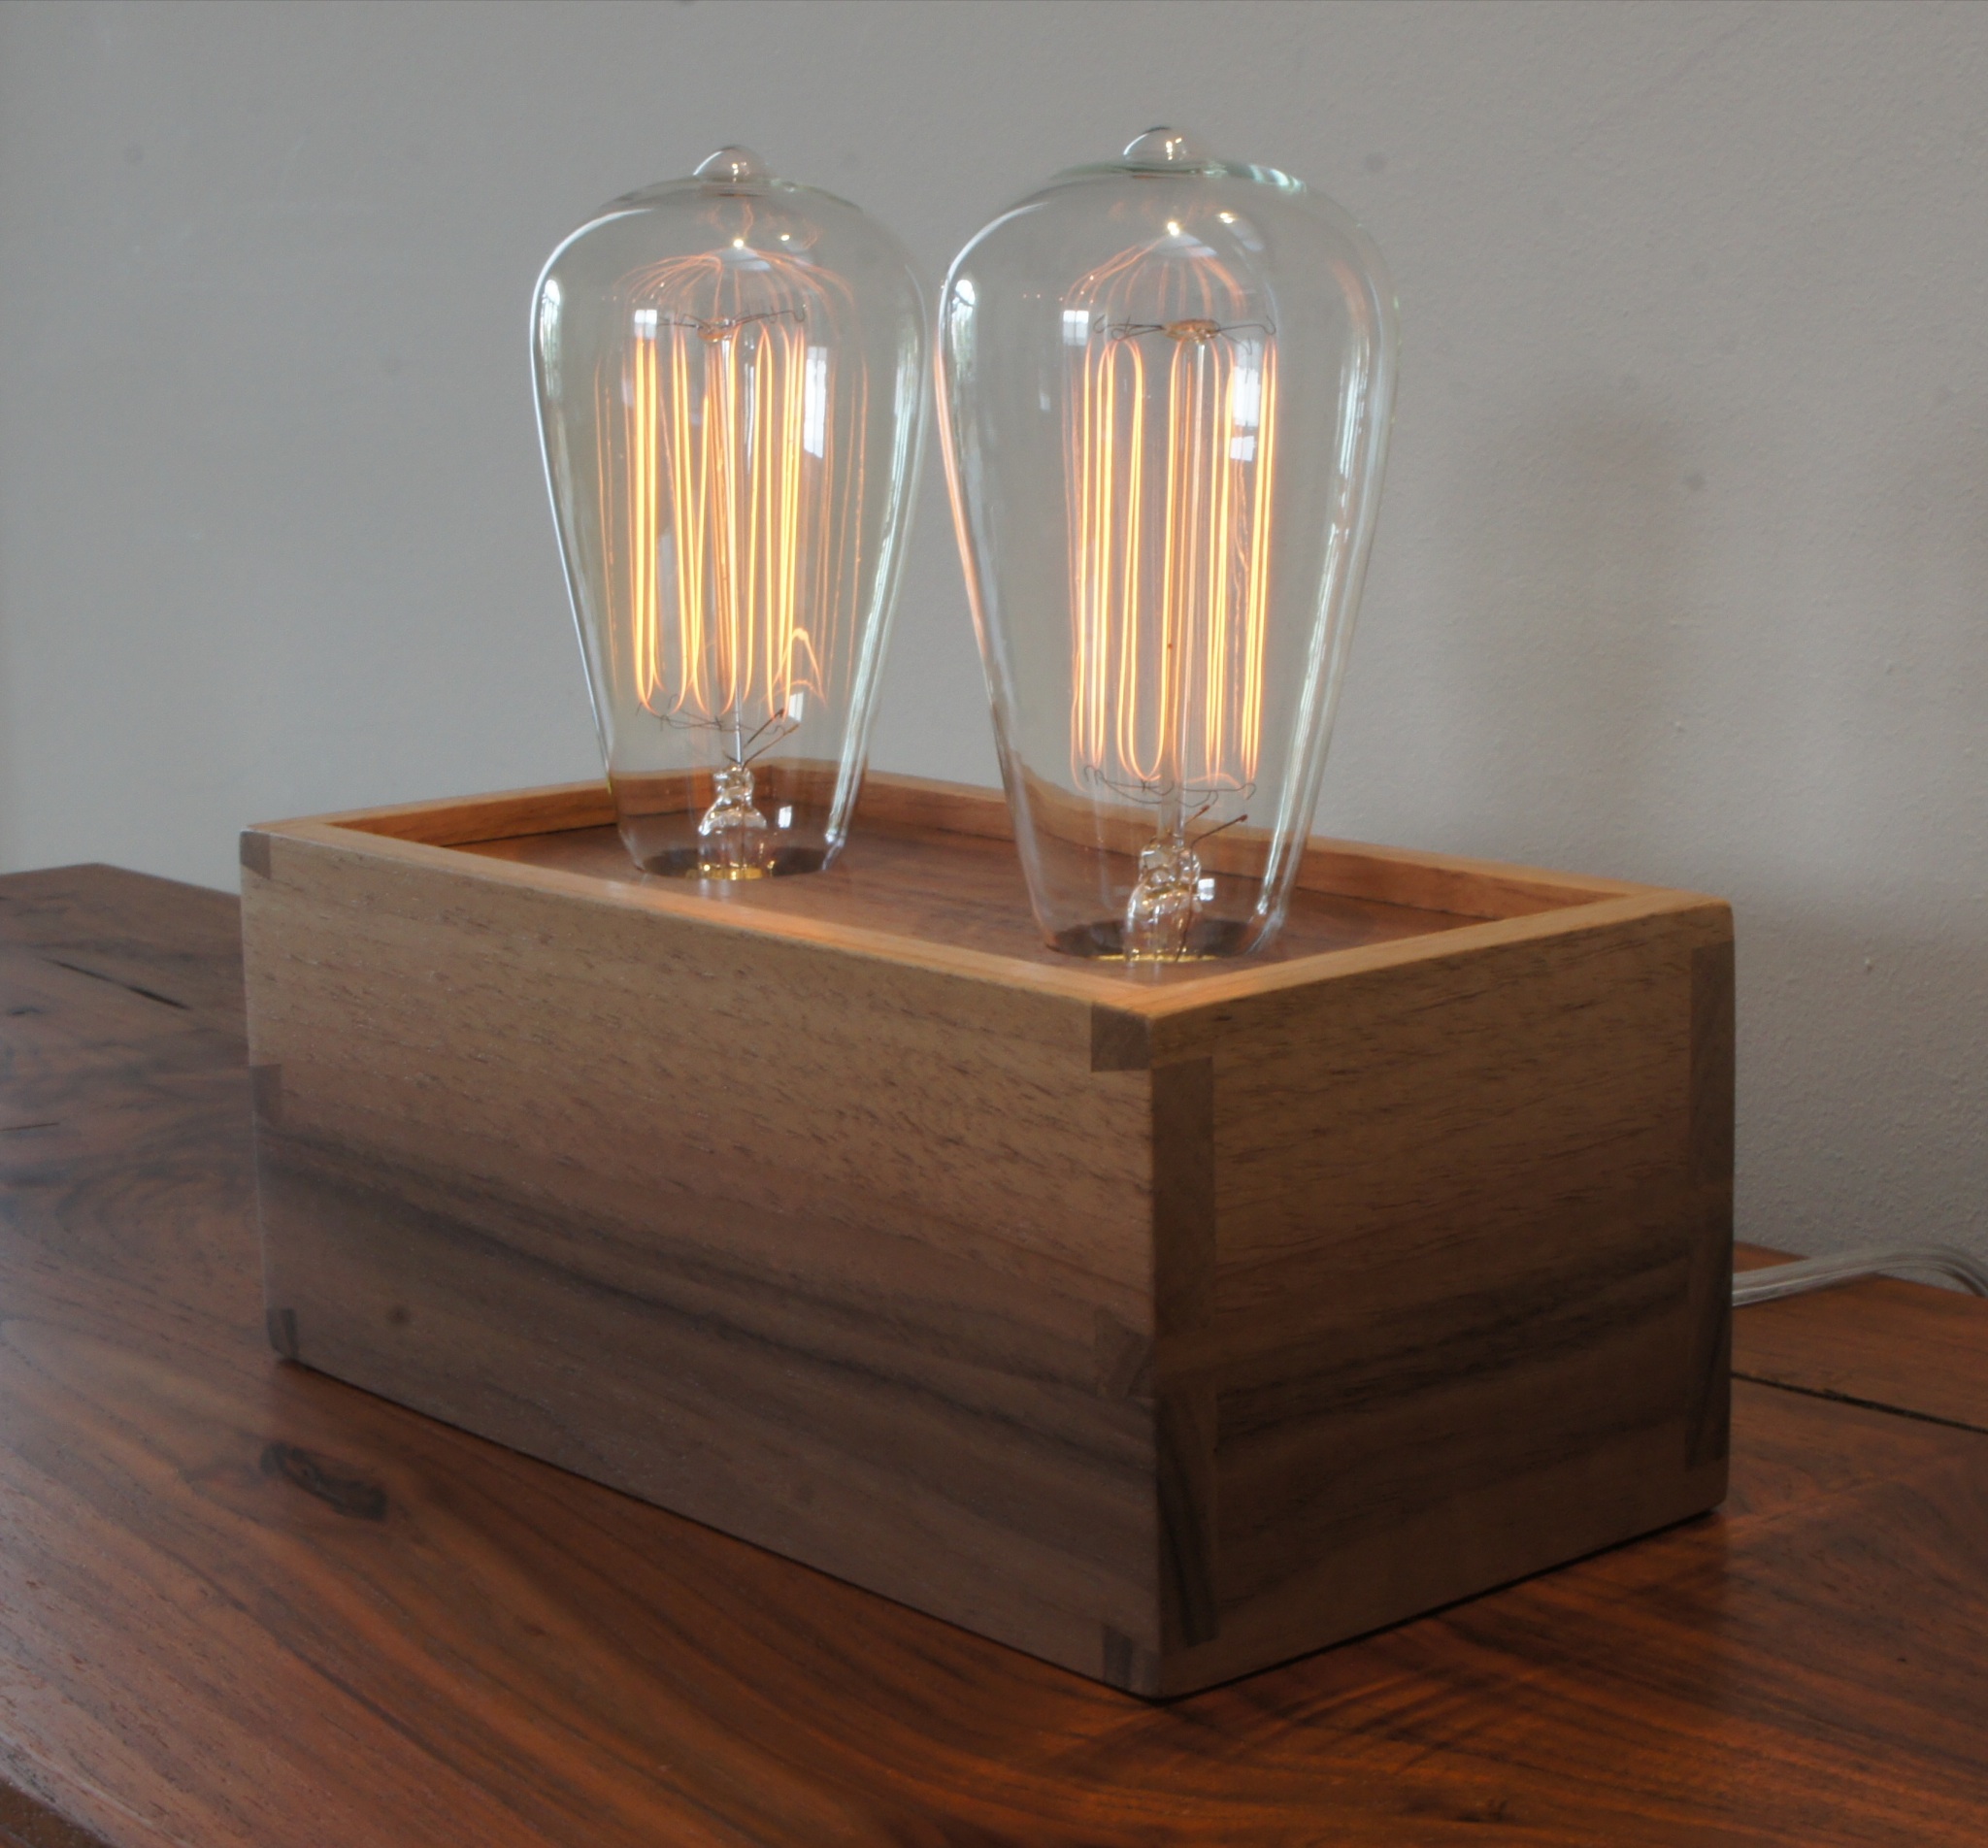
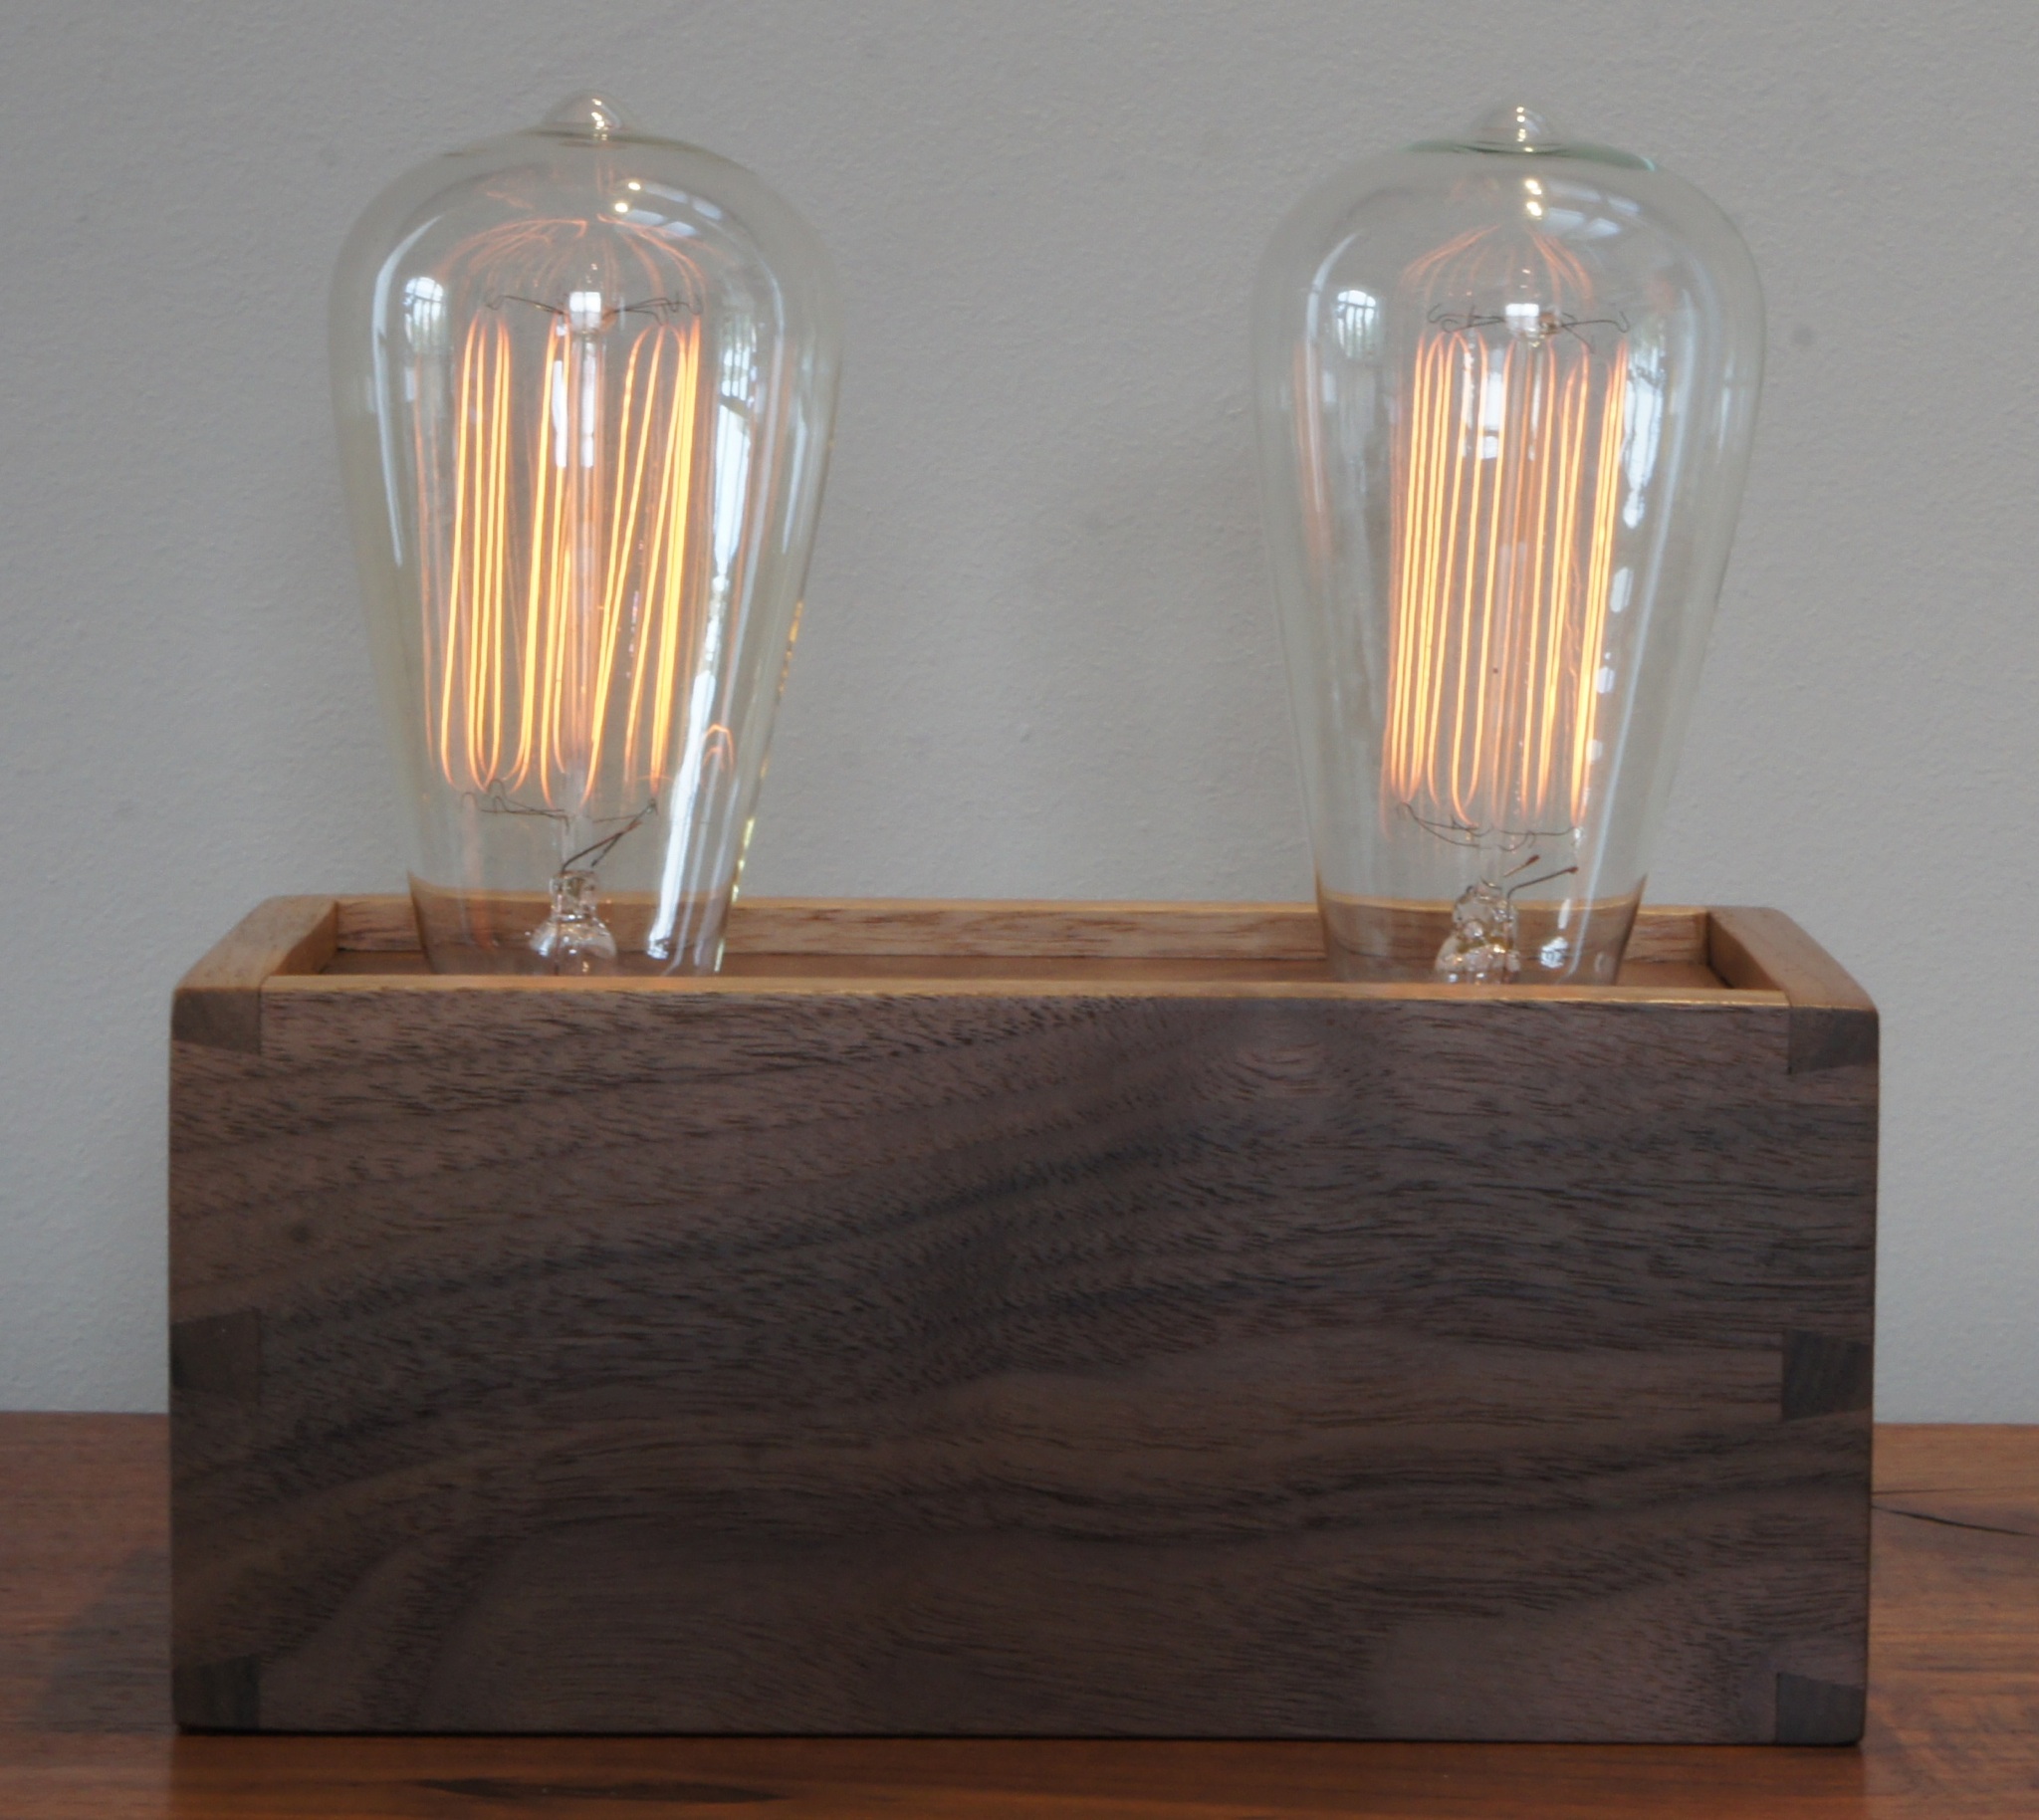
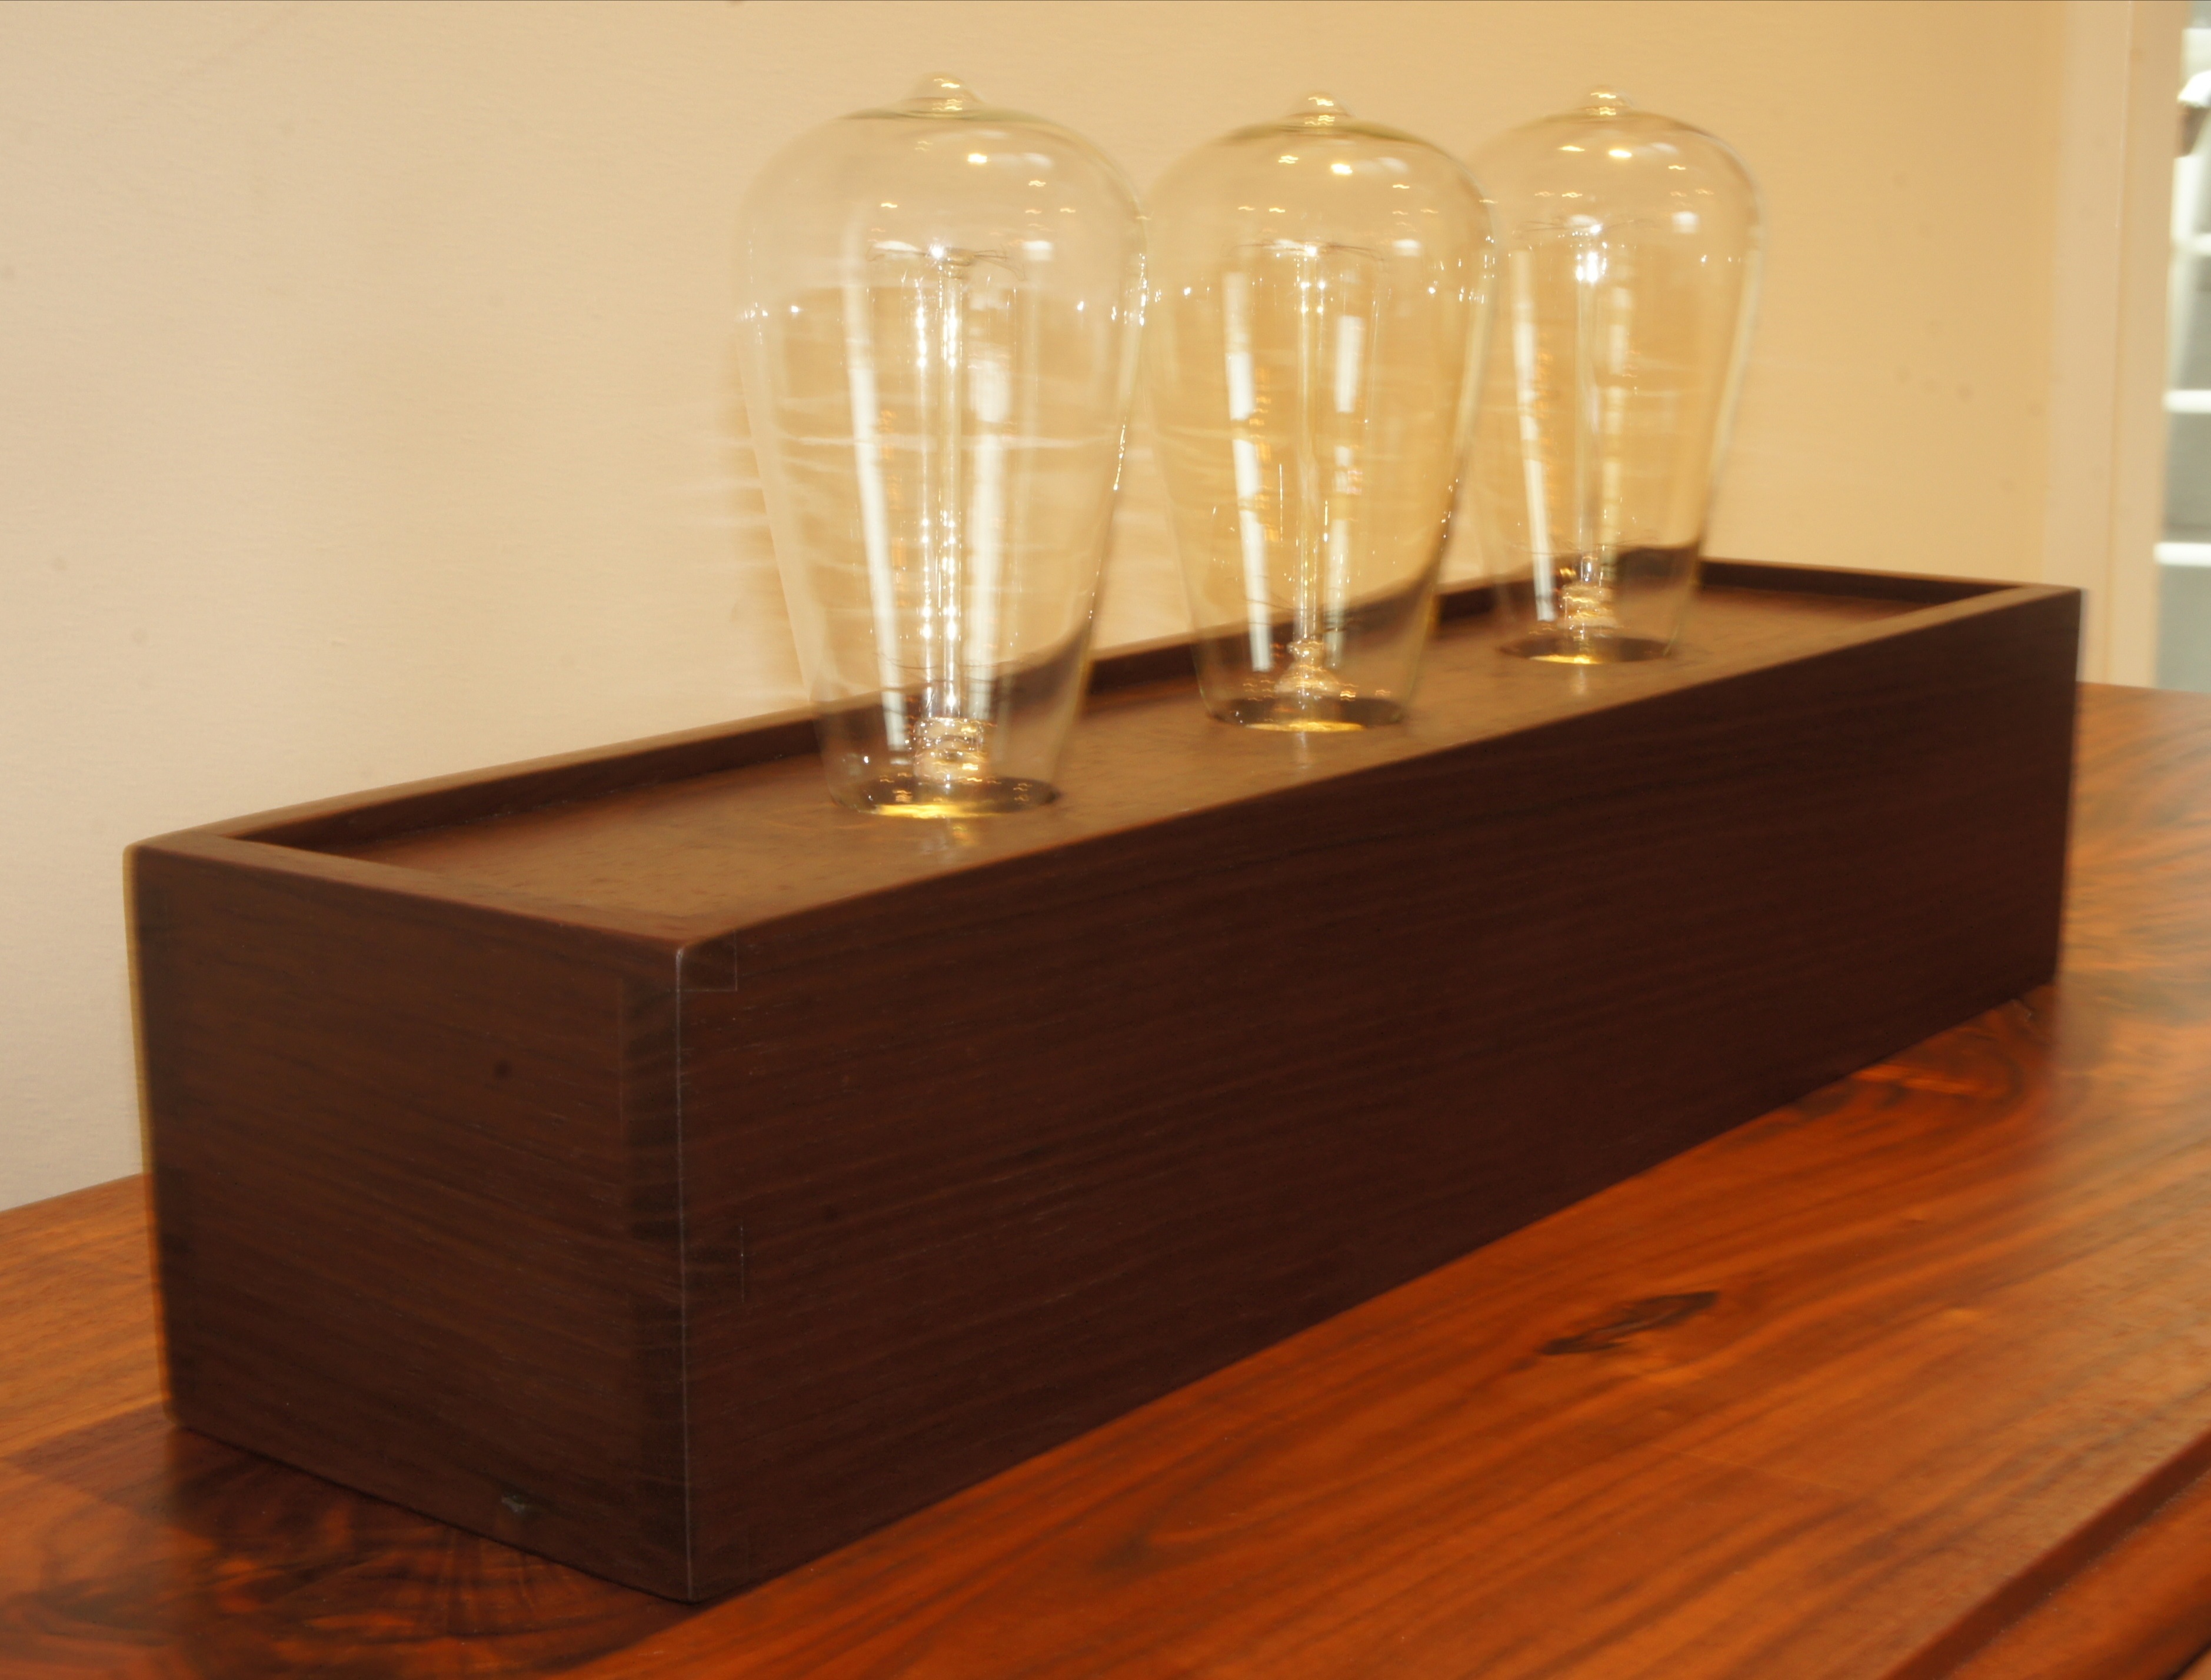
In the spirit of doing everything a second time, I also decided to revisit the first lamp I ever built.  It was minor, but I must have been too aggressive with my sanding of the top front edge of the lamp.  The result was a little “dip” on the top.  Well that lamp was back in the shop to correct that mistake.  While I was tackling that issue, I decided it was time to upgrade the lamp to a full dimmer switch and some higher quality light sockets.  In the second picture below, the original prototype lamp is sitting on top of the new unfinished lamps.

So doubling down on Edison lamps…  lots of multiples this time (2 lamps, built them twice due to my error, and bringing the original prototype into the shop for a tune up).  Ultimately, the 2 unfinished lamps will be off to NYC and Canada; the improved prototype should be destined for Etsy.

grooves

stack


Leave a comment

Fitting Non-Mortise Hinges to a Sideboard

I’m finally getting to some of the final steps of finishing off the sideboard base that has been occupying one of my workbenches for the better part of a year. In the previous post, I described how I wrapped the doors with a thin strip of walnut to improve the gap that surrounds the doors on either side of the buffet. The last challenging step in the build is to align the hinges. I almost always use non-mortise hinges, so the only real challenge is to locate the screw holes as perfectly as possible – easier said written than done. I start by installing the hinges to the base of the cabinet, and then I transfer reference marks to the door. The marks don’t go directly where I will drill a pilot hole, so it is a little more complex.

To start the process I locate the door in the opening, with the hinges completely open. I also make sure to use a spacer, so that there is a gap at the bottom of the door. I then “close” the hinges so they rest against the face of the door frame. From here, I mark the holes in the hinge. Next it is a lot of work with a square and a depth gauge. First I mark the top and bottom of the hole and then I transfer those reference marks to the side of the door. I then go back to the hinge and use a sliding depth gauge to determine the front and back reference mark for the hinge hole opening. Because the hinge allows for a little adjustment, I should be good as long as I get the pilot hole somewhere within the opening, but I take an extra step. I connect the corners and draw an X to locate the center of the hole. Ultimately this is where I will drill my pilot hole for the screw.

The photos below show all of the reference marks and the doors installed to make sure that no other adjustments are required. Next step is to finish the 220-grit sanding, break all of the sharp edges, install the knobs and pulls, and apply several finish coats of an oil urethane blend.

20130818-141804.jpg

20130818-141812.jpg


Leave a comment

Improving the Fit of a Cabinet Door

One of the first posts I ever made here was related to a sideboard that I was building. That was a little over a year ago. It’s still not done… It’s not complete for 2 reasons. First I have been busy with other projects and paying customers. Second, there are just a number of extremely frustrating components to this build. Many, many months ago I worked to stiffen up the cabinet. It was a minor fix, but frustrating to have to do. I’ve also spent countless hours perfecting the fit of the drawers. I’ve finally dialed all of that in and now the only thing left is the doors. The doors haven’t been easy. Slightly out of square openings (related to the earlier need to stiffen up the cabinet) led to a very difficult fit for the door. The challenge with doors is to get the proper gap all of the way around the door (this is even harder when the opening isn’t perfectly square).

After lots of hand planing and sanding, I had an even gap around the door. Unfortunately the gap was too large. Originally I considered rebuilding the door, but ultimately I decided to work with what I had (this piece is more of a prototype and learning experience than something I’m selling to a customer). To build up the width and height of the door, I have glued thin strips of walnut to the outside of the perimeter of the doors. To create the strips I took thin pieces of resawn walnut and passed them through my wide belt drum sander until each strip was less than 1/8″ thick.

The final pieces were glued on today. The picture below shows the final step in the glue up. The challenge with the doors, is that I like to cut the sides at a 5 degree angle (it helps in opening and closing the door). Cutting the angle isn’t hard, but clamping it up and keeping the glued on strip from slipping while maintaining enough clamping pressure and keeping the center panel from buckling was not easy. I’ll be curious to see how this dries up. Hopefully it comes out well; otherwise I will be building 2 new doors on the next trip to the shop.

20130811-215435.jpg


Leave a comment

Designing New Concert Poster Frames

On a brief shop trip today, I shifted away from the world of Edison Lamps. I spent most of my time designing some new concert poster frames. Most posters have standard proportions, but they don’t all. When I can, I try to build my frames to a standard outside dimension of 29 1/2″ x 23 1/2″. Most of my work today was limited to the design side of a concert frames. 2 of 3 I designed will be able to keep the standard dimension. The images below show the sketches for new frames I’ll be building. The sketches help me determine the amount of lumber I need for each frame. Shockingly, it is quite a bit of lumber. The ideal frame would be built from a single board. The board needs to be over 100″ long to build a single frame. I wish I could include some pictures in this post of the build, but unfortunately the heat wave in DC was too much for me. By the time I left this afternoon, the temperature was 98 degrees, and the only thing I completed was the jointing of 4 boards. Hopefully the next posts will feature some wood and not just sketches on graph paper.

20130721-220301.jpg

20130721-220322.jpg

20130721-220342.jpg


Leave a comment

What Does Handmade Mean? Please Ask…

So I’m a little late in writing this post… I guess that “late” is a relative term. In one sense I meant to write this 2+ weeks ago when I took the photo below. At the same time, I think that the topic is more timely than ever. And timely in the sense that it won’t be answered here, tomorrow, or frankly anytime soon.

If it’s not clear to people that occasionally read my blog posts, I sell things on Etsy. I don’t sell everything on Etsy, but I do sell some items. And I definitely consider them “handmade.” Etsy marginally mentions the term handmade on their site, but I would guess that in the consumers’ mind, the term “handmade” is much more prevalent. That’s okay; I’m not trying to say it is bad…

But it is a different context than I think some people consider… For me “handmade” has meant many things. In some case it might mean literally that it was built by hand. Or should it mean that it was created with tools that require no power? Or maybe somewhere in between as long as there was a human touch at some point? For some people, handmade means that there are flaws that should be excused… This is where I’m most conflicted… When you are dealing with real world supplies, there are defects. You may want it to be 100% perfect, and that is possible…

But frankly if you are building to enough scale that you can’t reach out to customers to ask if you like a certain look to a piece of wood or not, that means you are not handmade…

I don’t mean this in a negative way. I mean this in a descriptive way. Many of the designers that I admire don’t adhere to this mindset, and I don’t ascribe any lesser value to their designs. But I do assume that there wasn’t a human helping to guide every crucial design decision…

So there is my long convoluted description of what handmade means to me… it only took 4 “paragraphs” and I don’t pretend that it is crystal clear as a result… My only request is that if it means something to you as a buyer, please ask the people you are buying from what “handmade” means to them… In some cases you will be more than willing to do business with them. In other cases, the exact opposite holds true…

Anyway back to me (because everything must eventually come back to me)… The photo below is for an end table that I’m building. It is essentially, 3 through dovetail boxes with a floating top. The photo shows one of the last steps in the process… before this step I cut and joined the 3 through dovetail boxes shown in the picture. Although, the boxes were made with same jigs and lumber of the same dimension, they were not identical within 1/16 of an inch…

What’s happening in the photo, is that I’m clamping the three boxes together so that I can ease the transition from one piece to the other… It was definitely a handmade piece (in my terminology). Each piece wouldn’t be perfectly identical… In fact I would eventually round over the corners of each piece, so they couldn’t match perfectly. For me exact duplication, would mean that it was machine made. But if near duplication might mean that it was made by hand and matched to the clients’ needs… That’s what I was doing here… Ultimately, I sanded all of the joints of the boxes flush in the photos. That doesn’t mean that I did everything by hand, but it does mean that I was there with tools controlled by hand that did not depend on mechanical accuracy to get the final look.

20130710-220520.jpg


Leave a comment

Finishing the Ambrosia Maple Box

In a recent post, I was showing how to flatten an ambrosia maple board with a strategic cut before employing the jointer and planer.  Since then I have finished assembling the box.  As with the Edison Lamps that I make, the box features through dovetails.  The ambrosia maple has such dramatic coloring that it is crucial that the box is cut all from the same continuous piece of lumber.  I made passing reference to wrapping the grain around the corner in that previous post.  The photos below show why that is so important.

From a woodworking perspective this box is nearly identical to the Edison Lamps that I’ve been making, but there are a few differences.  The minor differences are the lack of holes for a lamp cord or a dimmer switch (this piece will be illuminated from the inside by a string of battery powered LED lights).  The major difference is the top of the piece.  On an Edison Lamp, I take a 1/4″ thick piece of lumber for the top of the piece.  In this case, I replaced the wood top with a sheet of rice paper (same concept that is used in shoji lamps).  Because I could anticipate this being used as a modern table centerpiece, I didn’t want the rice paper exposed.  I wanted to be able to clean this piece without worrying about ruining the paper.  As a result, I sandwiched the paper through two pieces of glass that I had cut at the local hardware store.

I still really like the concept, but I’m not positive I like my approach to the rice paper.  As of right now, everything looks like it will work just fine, but I’m not sure I love the quality or coloring of the rice paper I used.  And by sandwiching it between sheets of glass, it can’t ever be replaced.  This one will be permanent as-is.  For future versions, I think I’ll keep the glass on the top to protect it / keep it easy to clean, but I’ll find a new way to install the paper.

The photos below were taken in my shop before a first coat of finish was applied.  Usually, I do WIP photos at lower resolution, but I do like the ambrosia maple, so I kept this full resolution.

SONY DSC SONY DSC SONY DSC SONY DSC


Leave a comment

New Look For Claremont Designs

Just a quick post here to thank Milena V. Gavala for the work on the new look and feel aspects of this site, my facebook page and the etsy page. I’ve gone way too long with a bad photo of a headboard (that I love) and a font that I can’t remember. This is not a transformative moment for the furniture (side) business, but it was time to take a step in the right direction. Now if I can get motivated to take some better furniture photos and replace that awful looking portion of the site…  Hopefully you will see me rotate through some interesting photos incorporating the new logo.  More to come.


Leave a comment

Overcoming a Bowed Ambrosia Maple Board

Building unique pieces is fun. The “unique” part of that statement can be defined in many ways. Sometimes it’s the design. Sometimes it’s the raw material. Sometimes it’s the finish. In this case it was definitely the raw material. I’ve always really liked the look of ambrosia maple; actually I’ve always called it spalted maple, but it seems like everyone has been more specific recently with the term ambrosia. Plenty of other places on the internet describe the ambrosia aspect, so I won’t bore you with stories of beetles…

On the last trip to the lumber store there was a really nice looking piece of ambrosia maple that everyone seemed to be ignoring. It wasn’t priced outrageously. It wasn’t abnormally short or narrow. But it was badly bowed. The board was ~40″ long but about 1/3 of the way down the board, it was bowed about 1-2″ (I’m probably exaggerating for purposes of the story). No one wanted it because it would be difficult to use in most applications. The photo below shows how large the bow was.
SONY DSC

I don’t mean to imply that I have some magical fix for the board, but I was able to use the board with a strategic cut around the bowed section. I was building a box and was able to locate the primary cut just to the side of the worst part of the bowed section. After cutting the boards they weren’t instantly flat. They still required more work (couple of passes over the jointer and through the planer), but the waste from this one board was minimized. The photo below shows the 2 boards now “flat”.
SONY DSC

I decided to make a variation on the Edison lamps I’ve been making so many of. Actually, this “lamp” will be the opposite of an “Edison” lamp. Rather than featuring the light bulbs that give those lamps their unique look, this lamp will just have a sheet of rice paper sandwiched between 2 pieces of glass. The interior of the lamp be wired with strings of LED lights powered by a battery – great news for me (no light sockets, wiring, switches, etc.) – all of the time consuming steps of the Edison build are avoided. This will be my modern take on a shoji lamp.

When doing the dovetailed boxes, I insist on getting at least the front and sides of the box out of one continuous piece of lumber. The primary reason I do this is that I want the grain to wrap around the piece. In the case of highly figured lumber (e.g., this piece of maple) it is even more important than ever. You can see in some of the photos below how the grain and coloring will wrap around this piece (side note: I’m not sure why, but I decided to keep my new cherry napkin holder in the photo). If all goes according to plan, I should be getting this piece into the finishing phases next weekend. Hopefully, all of the effort associated with this bowed board will be worth it.
SONY DSC

SONY DSC


Leave a comment

4 New Edison Lamps Have Landed at Etsy

I don’t usually do posts that are straight up advertisements that say “please buy me” but I figured adding one of that type isn’t that big of a deal… I’ve enjoyed building the dovetailed boxes that are used in the Edison Lamps that I make, but I wanted to start making some that are “ready to ship” rather than “made to order”.

I just finished an additional 4 lamps that have been posted to Etsy. 2 are made from curly maple. The other 2 are from walnut. Both of the walnut lamps are a new design. These are the first that have featured just 2 light bulbs. They are slightly different widths as I’m trying to figure out the best spacing for a 2 bulb design. I like both of these, but I’m not positive I’ve nailed the ideal proportions yet.

The other reason I wanted to make these “ready to ship” is that it gives me a chance to use lumber I like, but might not appeal to people generally. The best example of this is the wider 2 bulb walnut lamp. The lamp base has a significant change in the color of the walnut – shifting from a dark brown to a much lighter brown (almost yellow) color at the top. I could never sell that to a customer without them seeing it first. I love the look, but I know that it’s not for everyone.

Bunch of pictures below. You can find the lamps listed here.

SONY DSC

SONY DSC

SONY DSC

SONY DSC

SONY DSC

SONY DSC

SONY DSC

SONY DSC

SONY DSC

SONY DSC

SONY DSC

SONY DSC


Leave a comment

Finished Peruvian Walnut Edison Lamp

Just a quick post here for the latest Edison lamp to be finished. I’ve actually got another 5 that just need to be wired and photographed, but I don’t have the time right now to do the wiring. And this isn’t exactly the right time of day to be photographing the lamps. Between the wrong time of day and it being overcast in DC, the photographs weren’t coming out great. Even had to break out the flash for a few pictures. Those photos probably do the best at capturing the color of the Peruvian walnut. The color is incredibly dark and rich. The grain is pretty straight and uniform. Maybe I’ll try again on a bright sunny day to get a couple better photos of the lamp.

20130519-190309.jpg

20130519-190357.jpg

20130519-190529.jpg

20130519-190836.jpg

20130519-190921.jpg