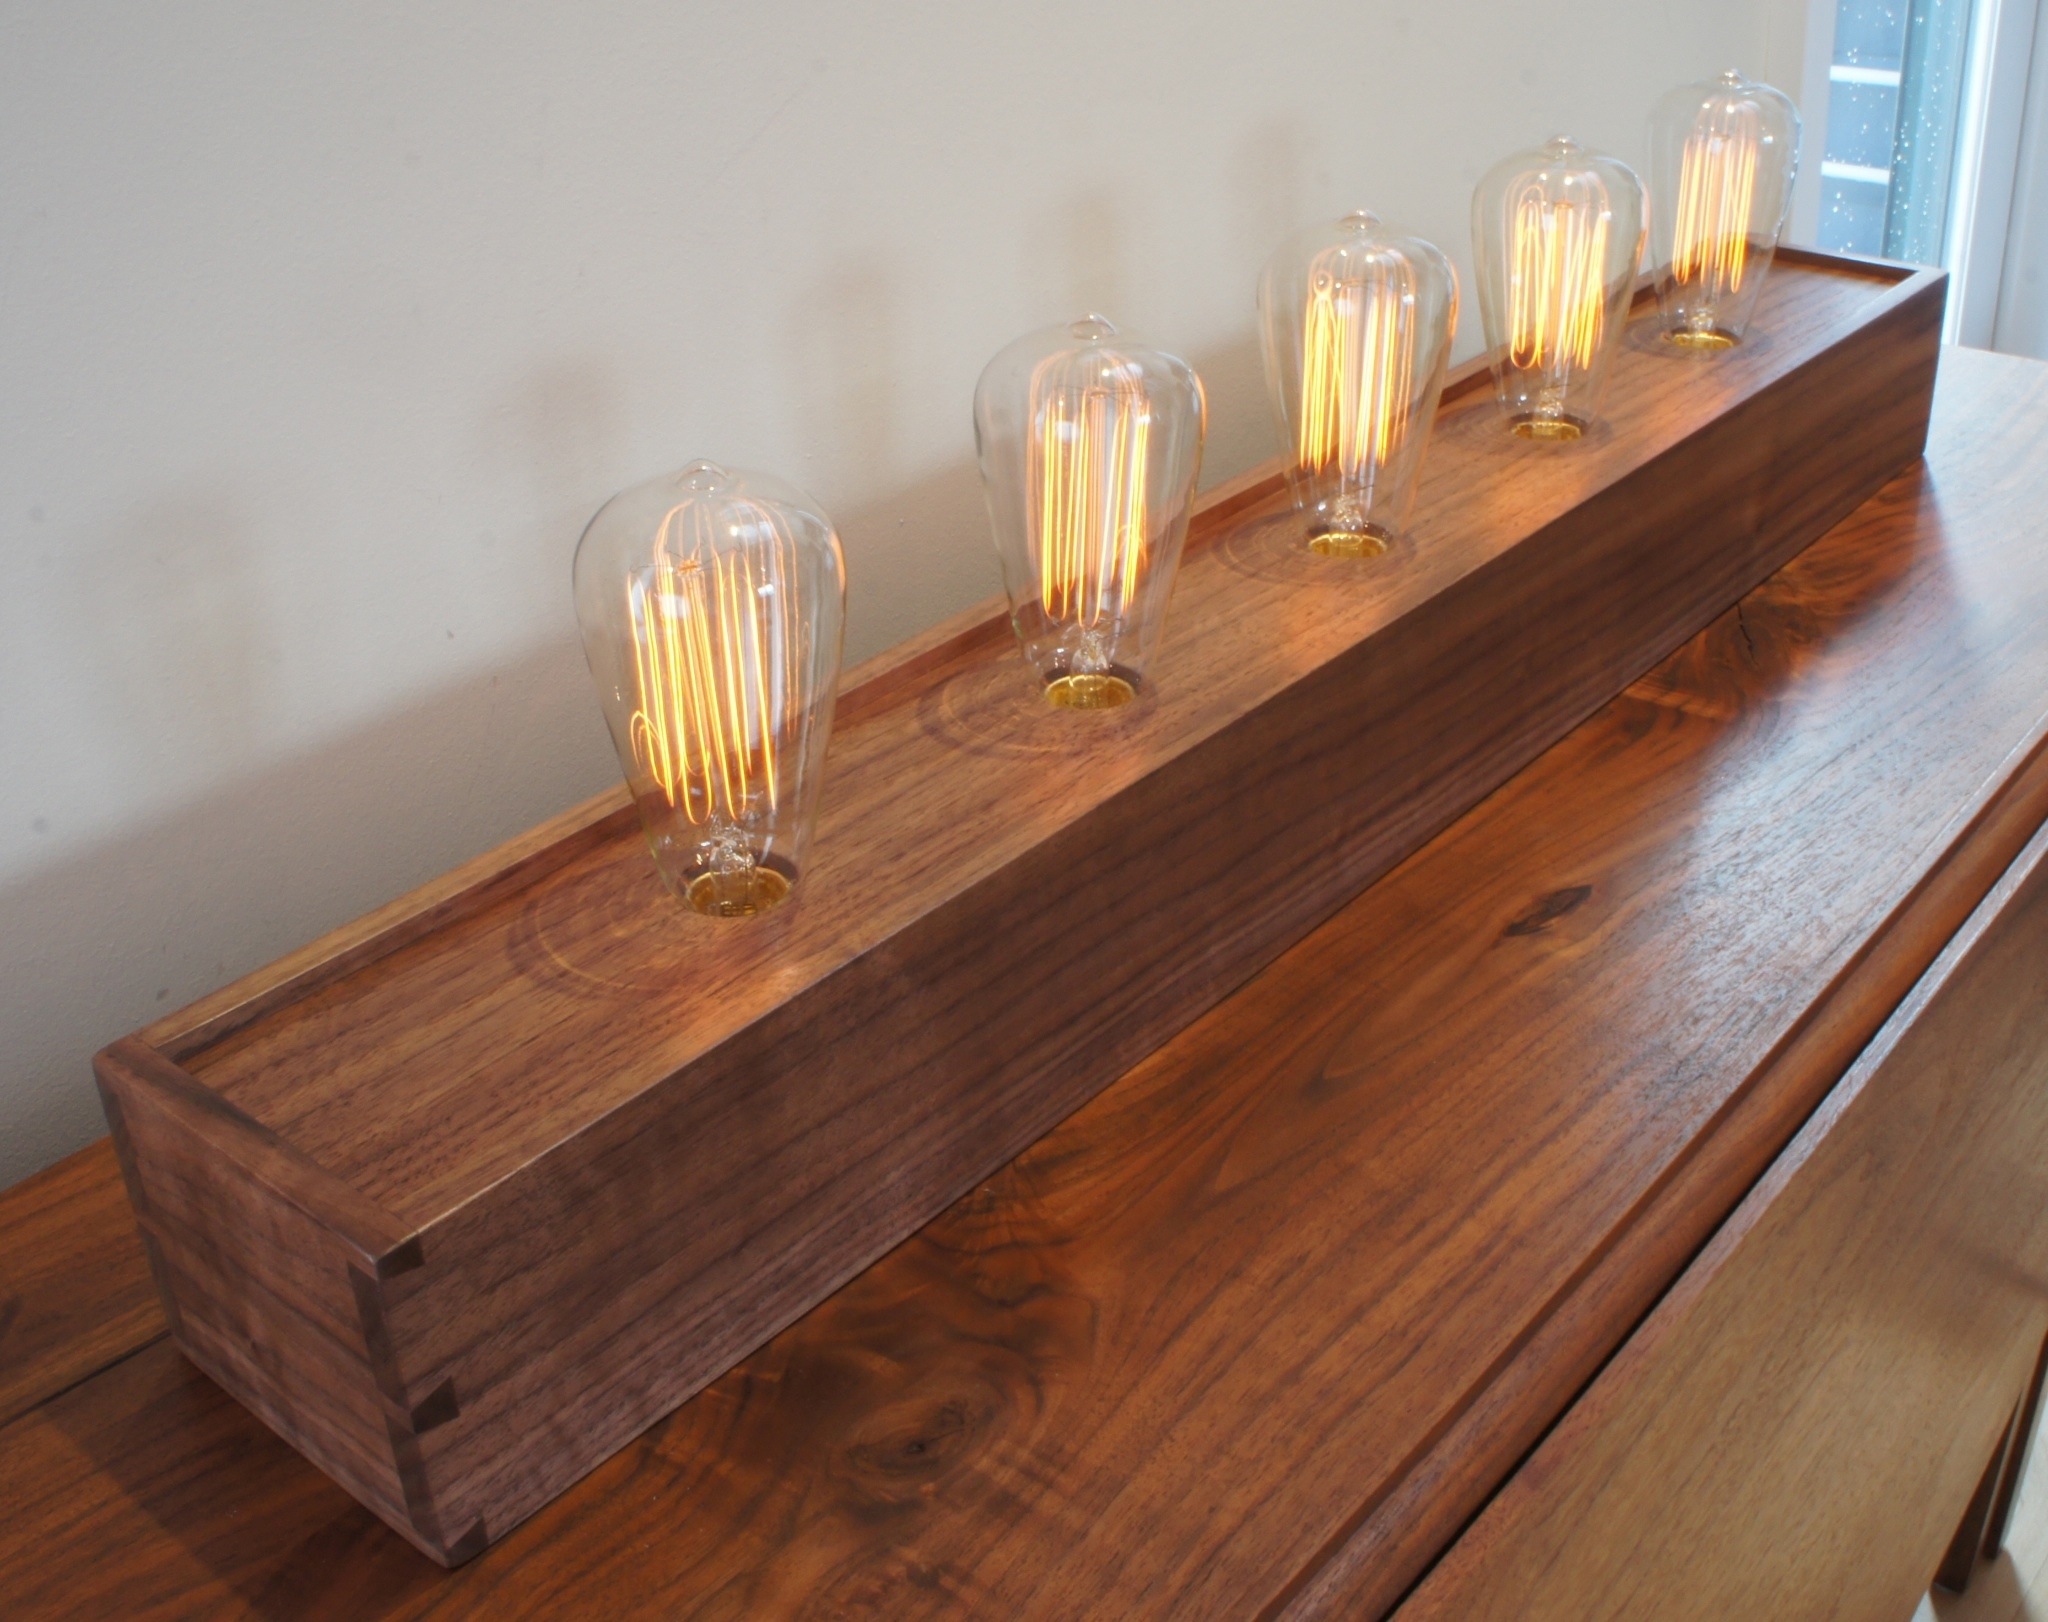
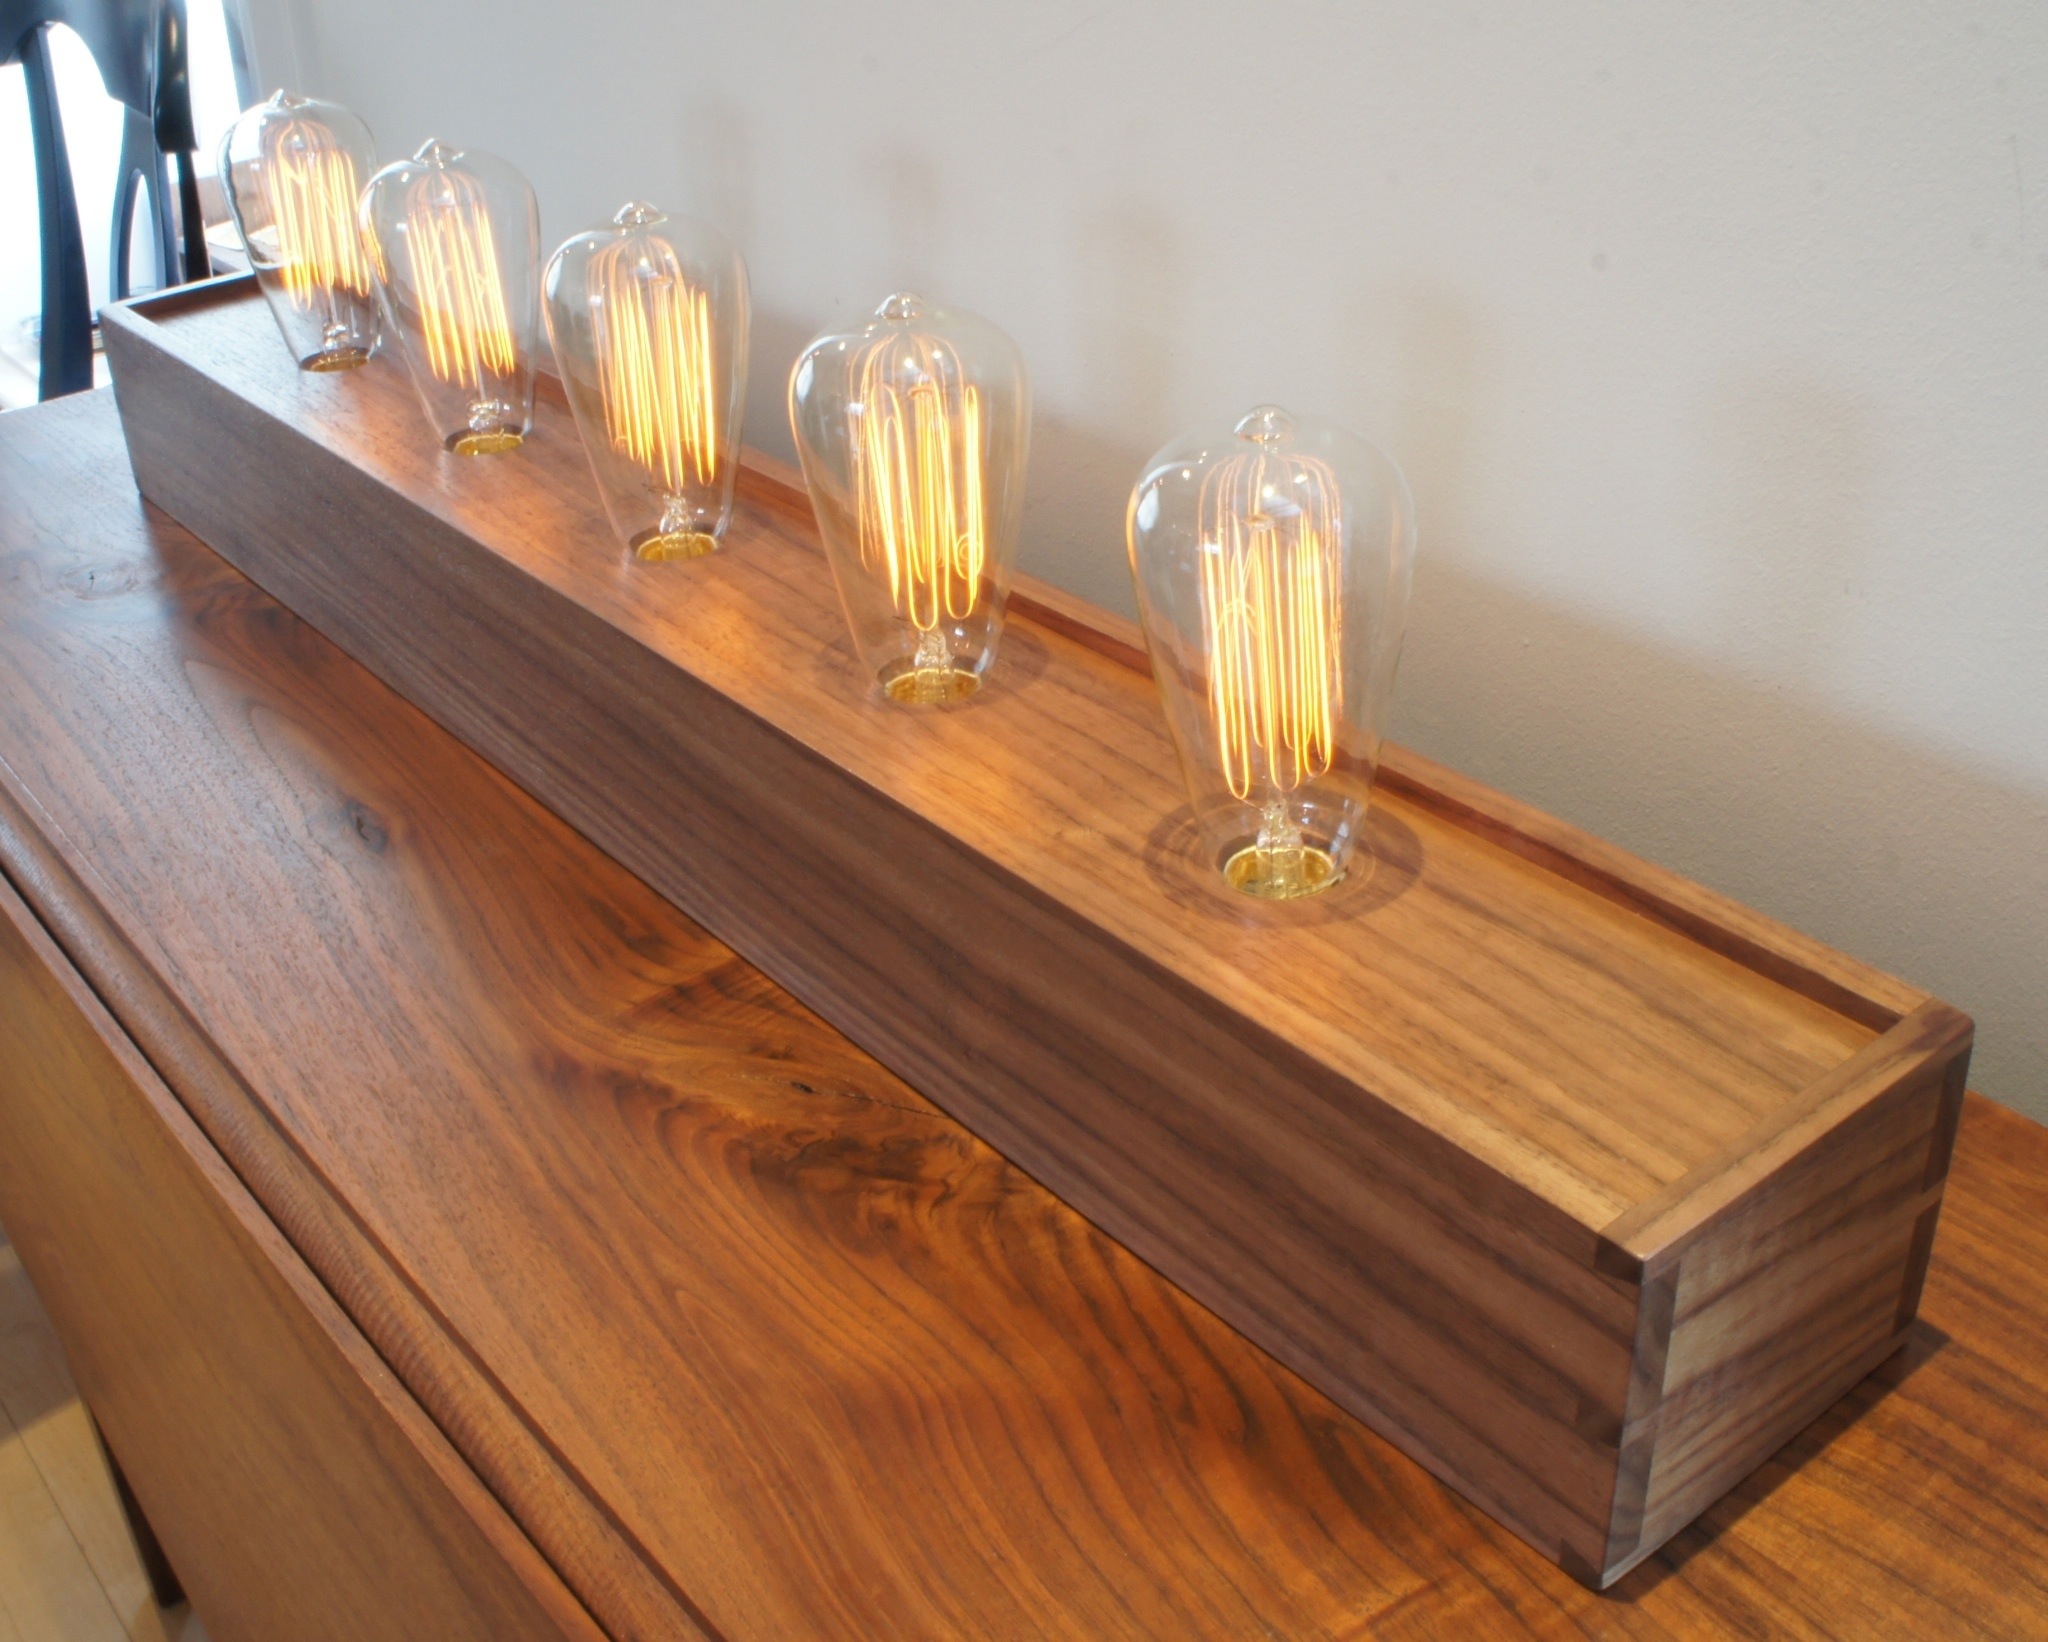
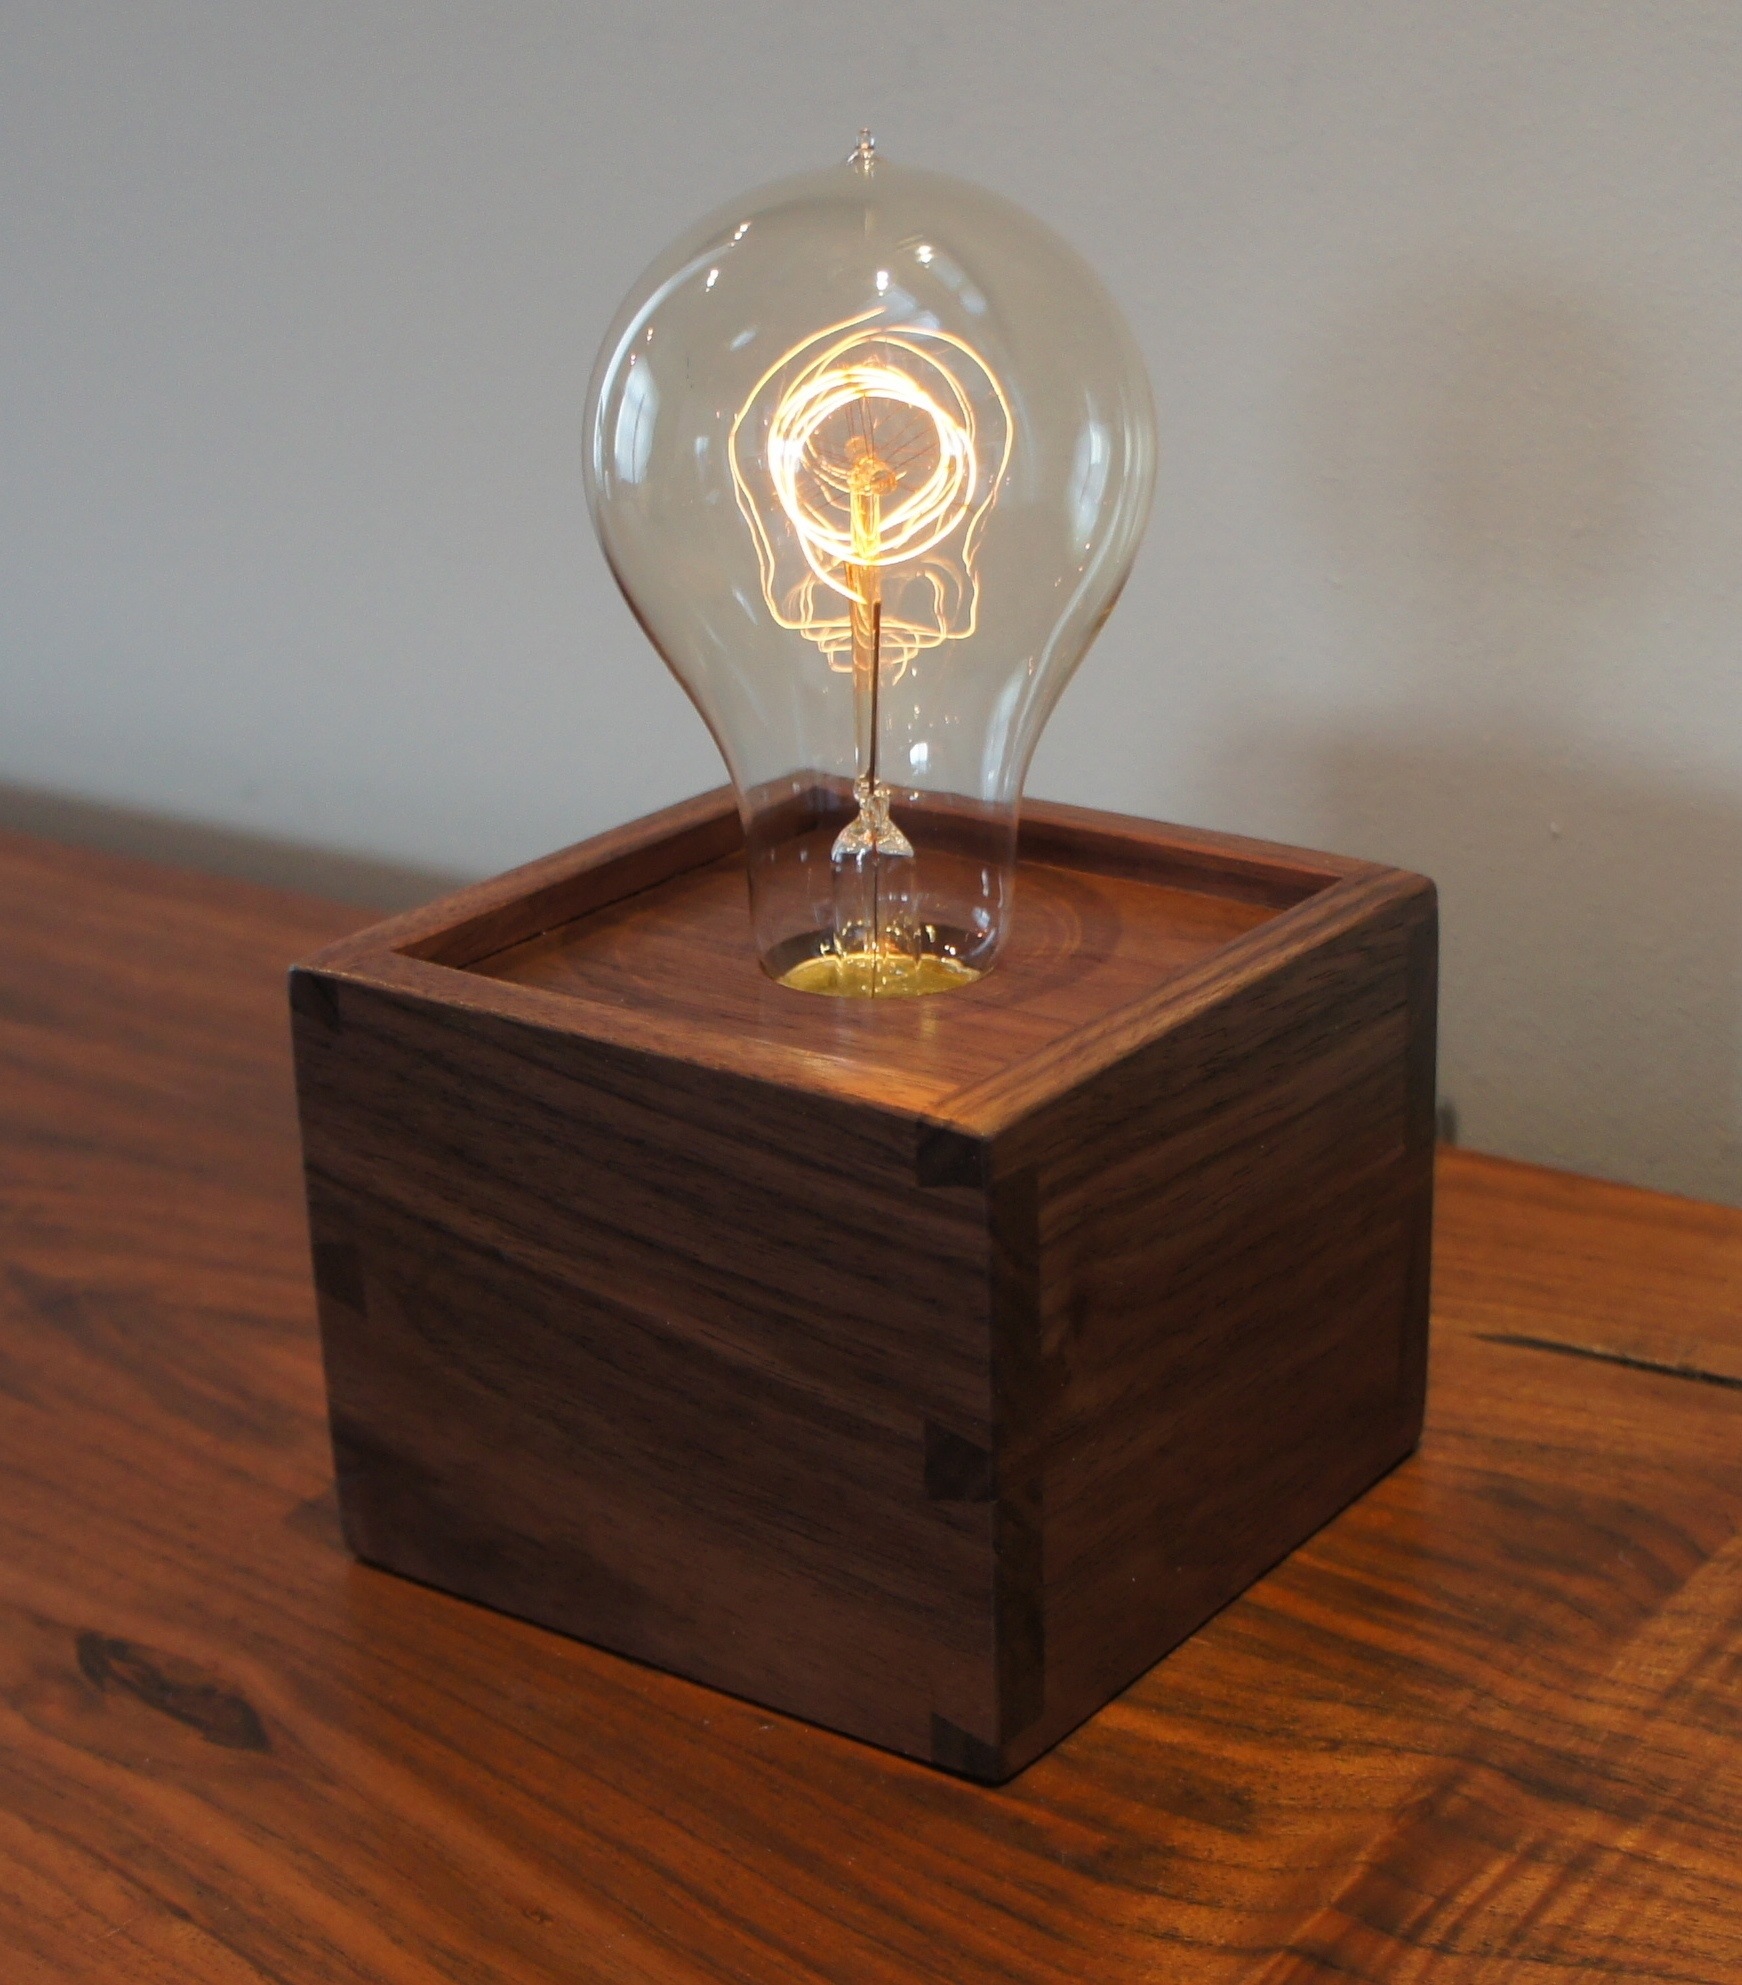
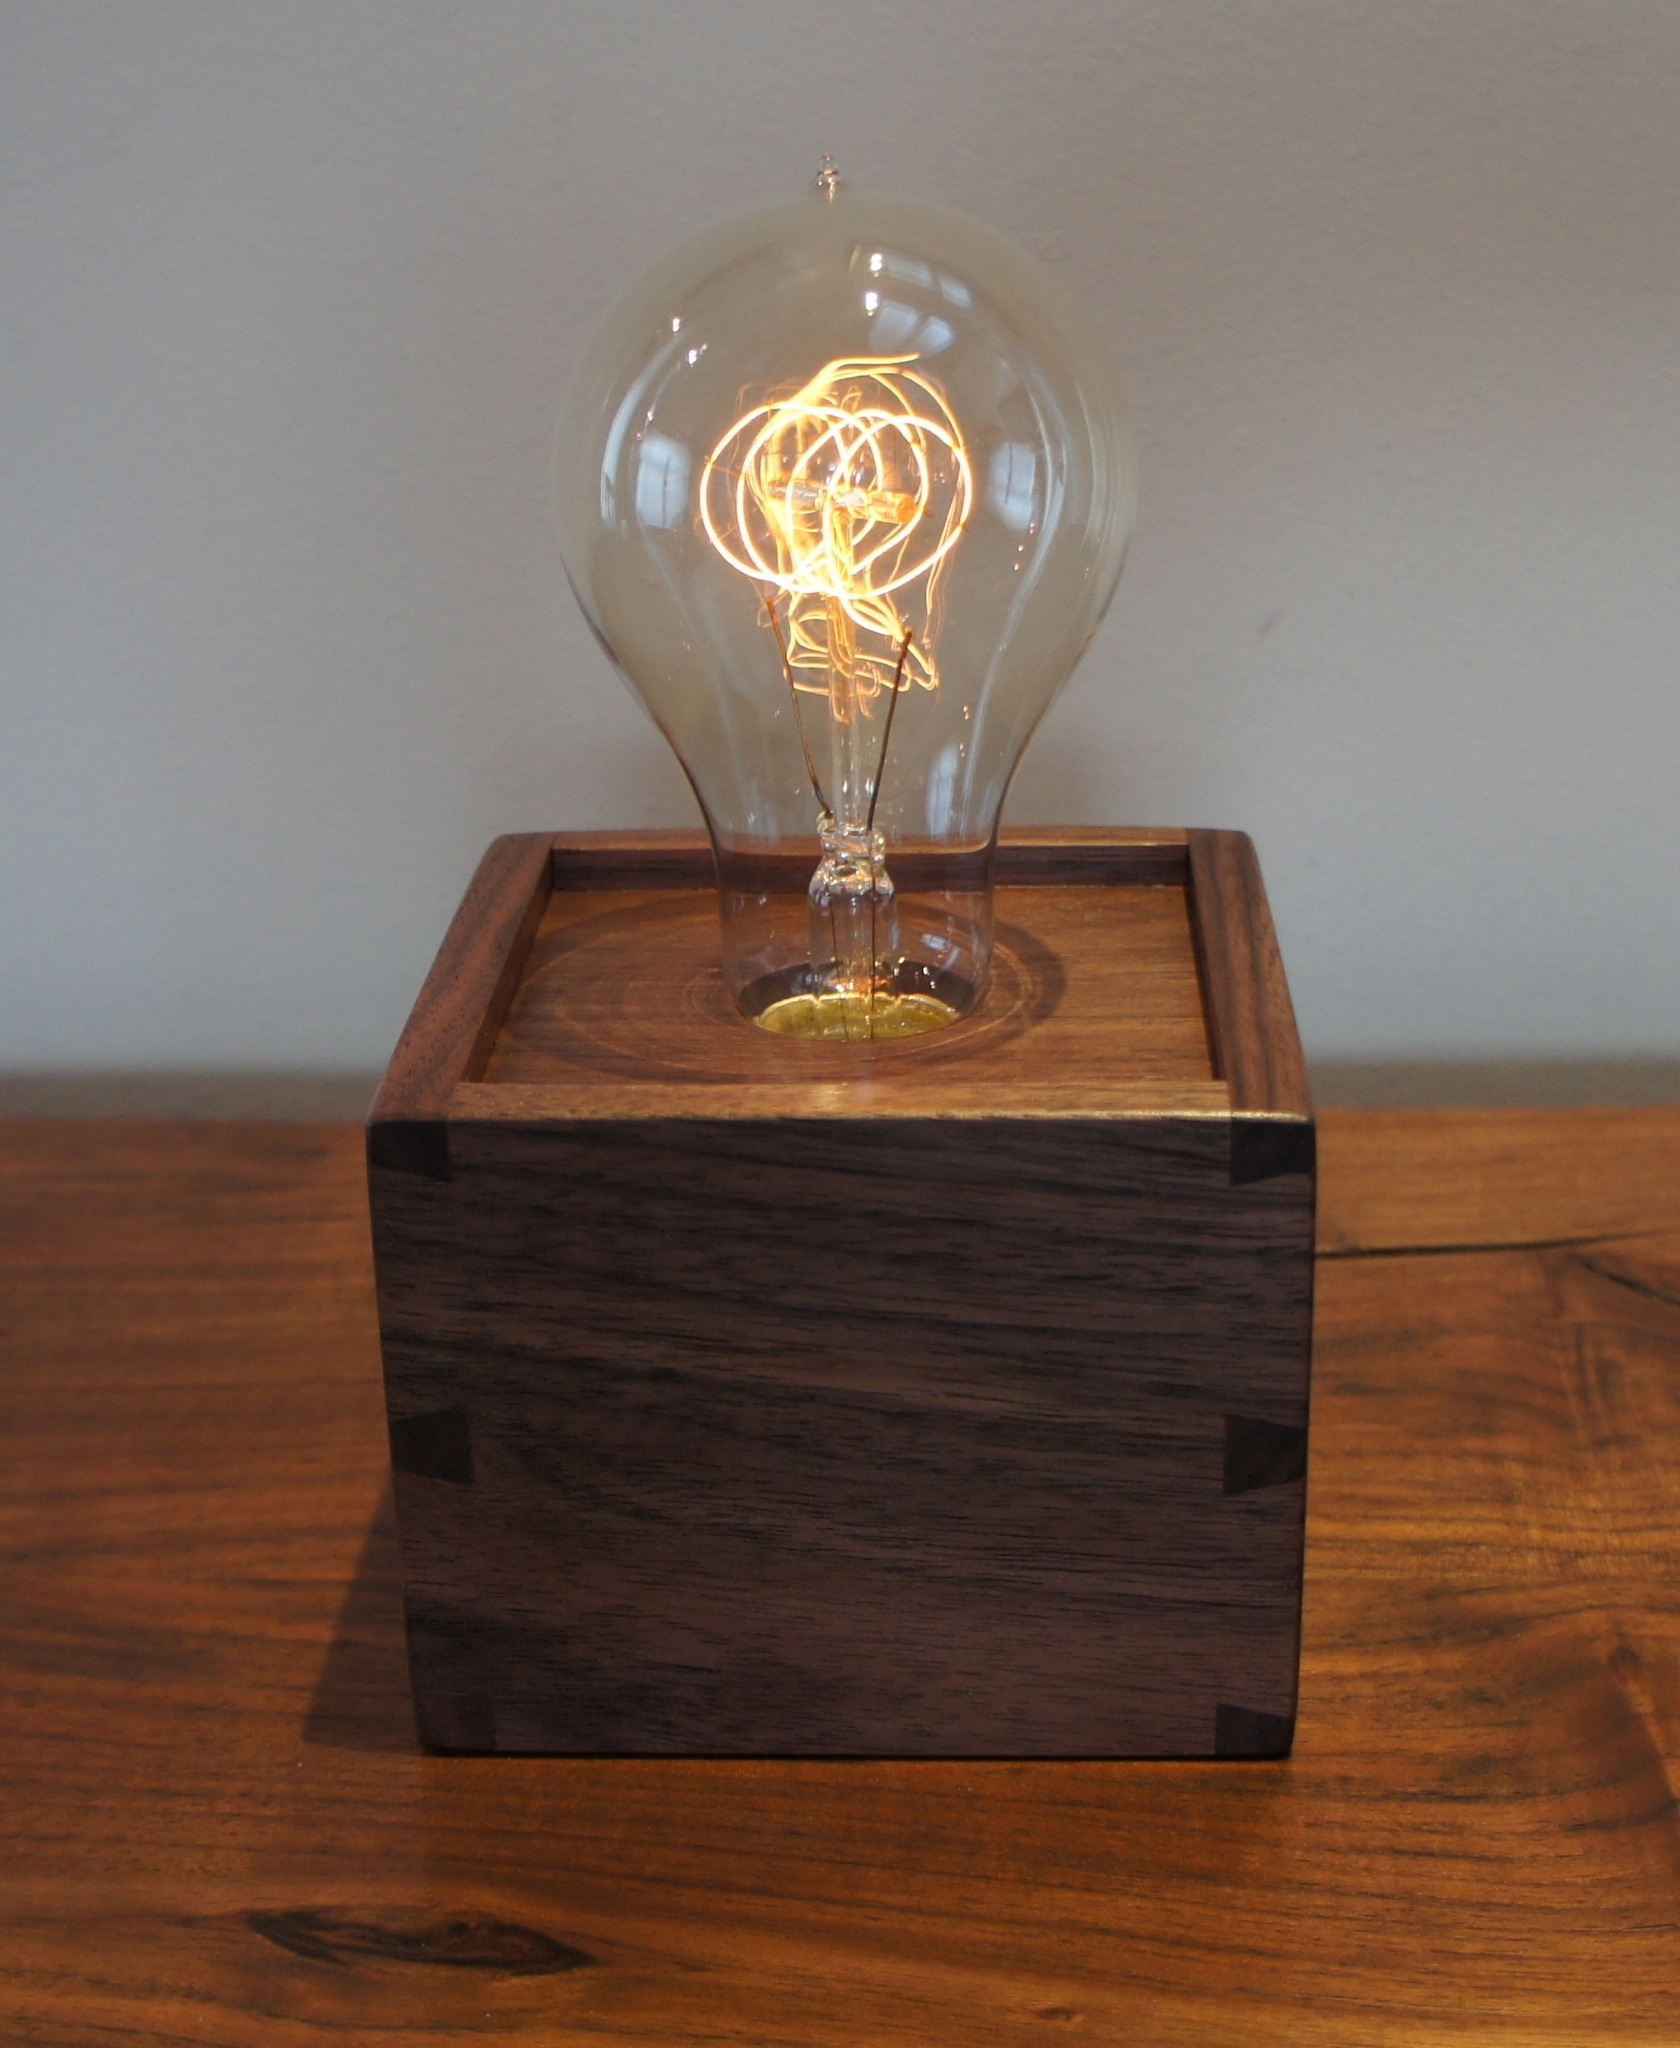
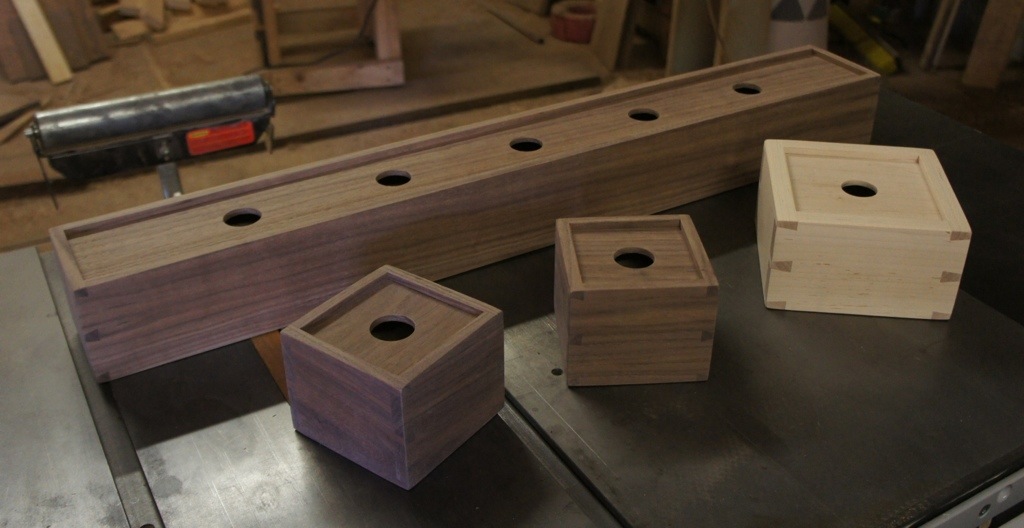
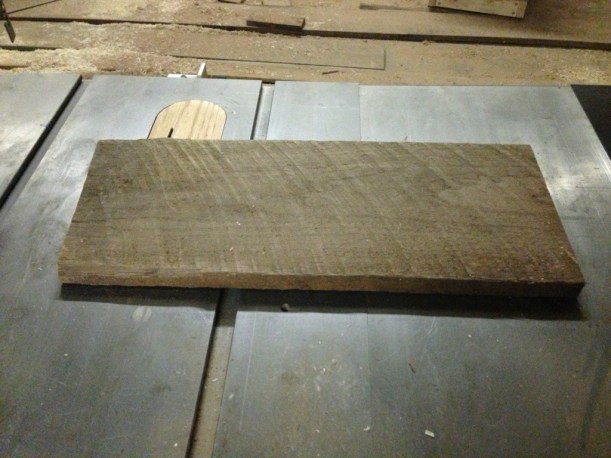
Just a week ago, I finally got an order for a single bulb Edison Lamp made from walnut. I’ve previously built single bulb versions out of koa and birdseye maple, but never walnut. And just a post or two ago I was bemoaning the end of my supply of walnut… But I do have enough left to build a single bulb version. In fact I’ve got enough stock to build at least 2 lamps. I’ll designate the nicest of the 2 finished lamps for the new customer and probably list the second one for sale as-is on my etsy store. The board I’m building the lamps from is probably 20″ long by 8″ or 9″ wide and maybe an inch thick. The photo below shows the lumber before any work is done to clean up the surfaces. Fortunately, I’ve worked from this tree long enough to know that it will look pretty nice.
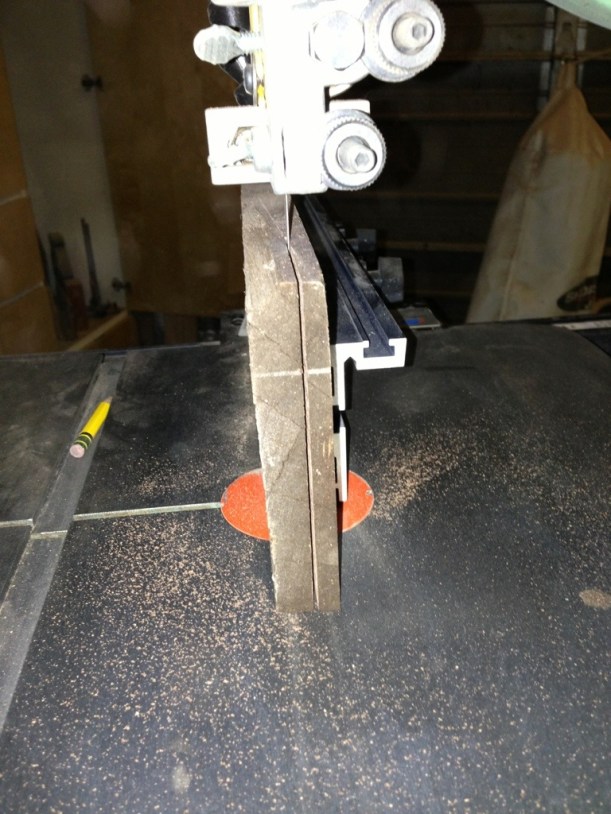
In several of my prior posts I’ve talked about resawing the lumber to get the 1/4″ thick piece of lumber for the top of the lamp. To do that I need to first joint a face and edge of the lumber. I then run the board through my bandsaw with the jointed edge down and the flat face against the fence. If any real woodworkers ever read this I know that the fence on the bandsaw is not the best approach, but I’ve pulled the fence back to where the blade is. Essentially the board can float free beyond this point. It’s not the best setup, but I’ve been getting good results for some time. The picture below shows the face being resawn.
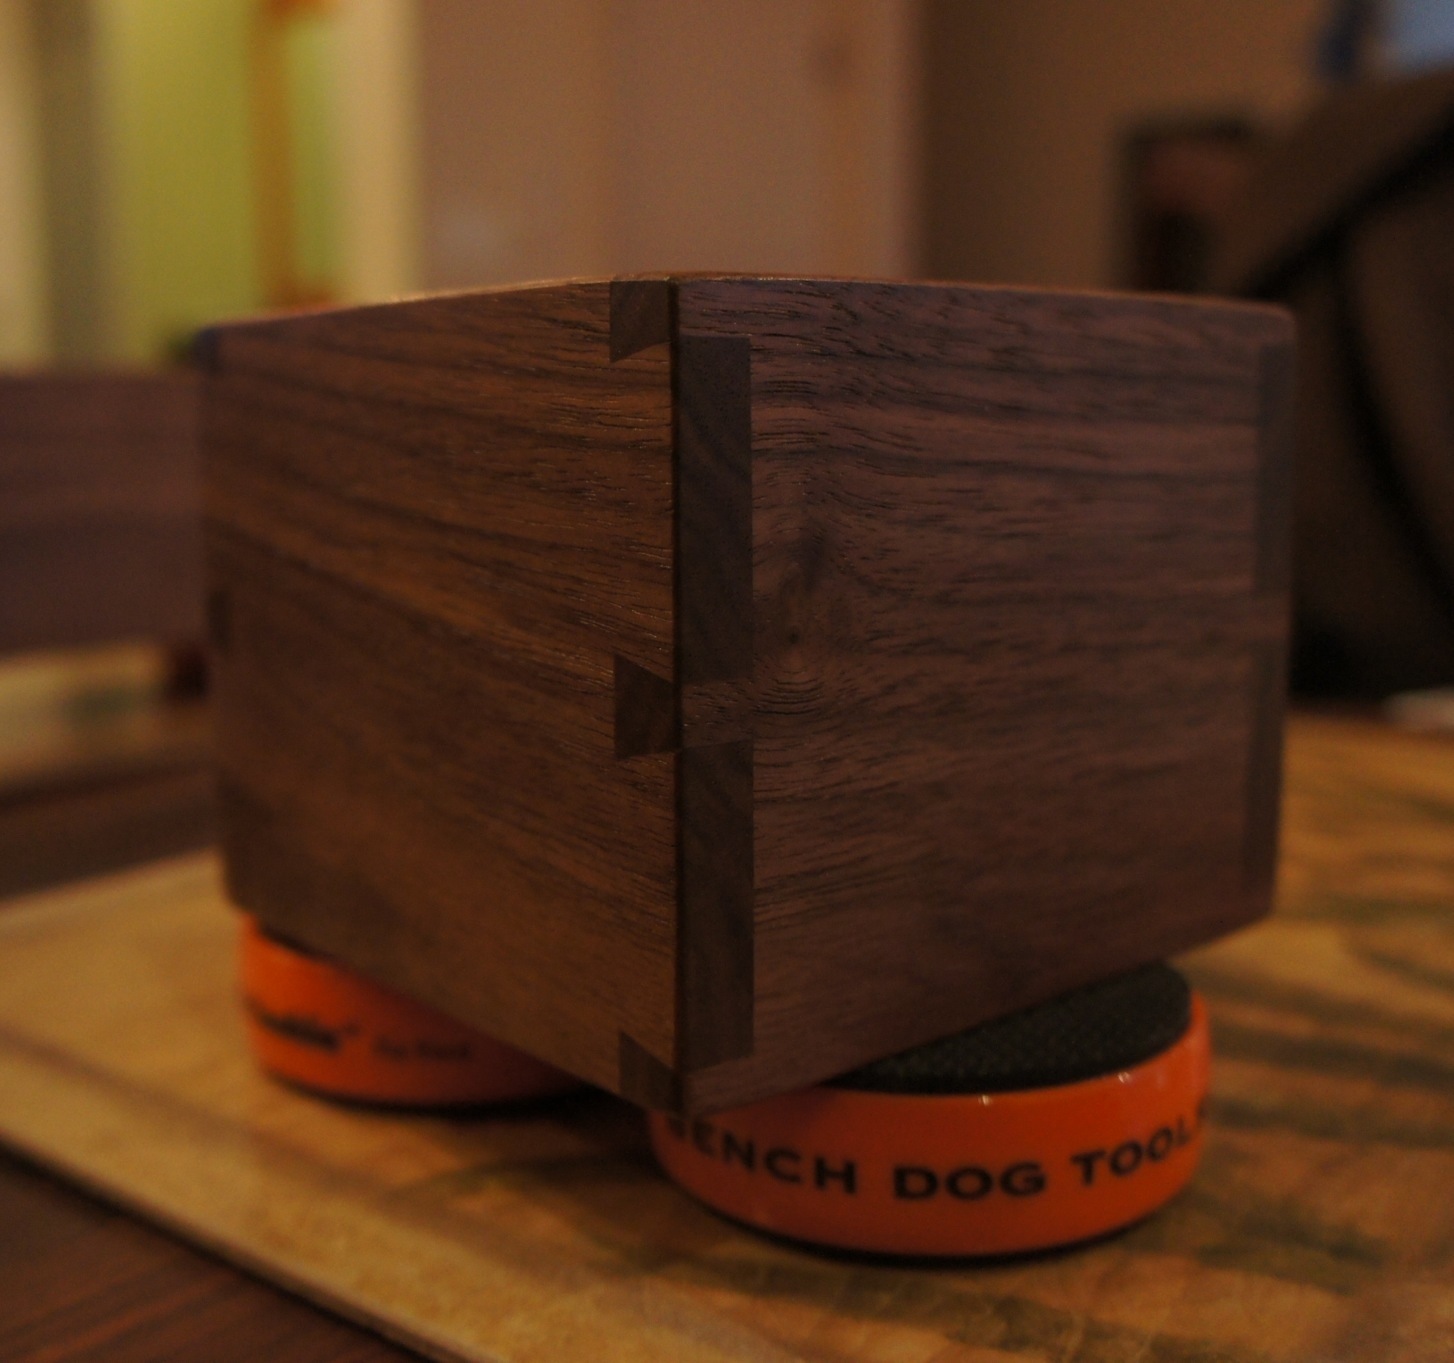
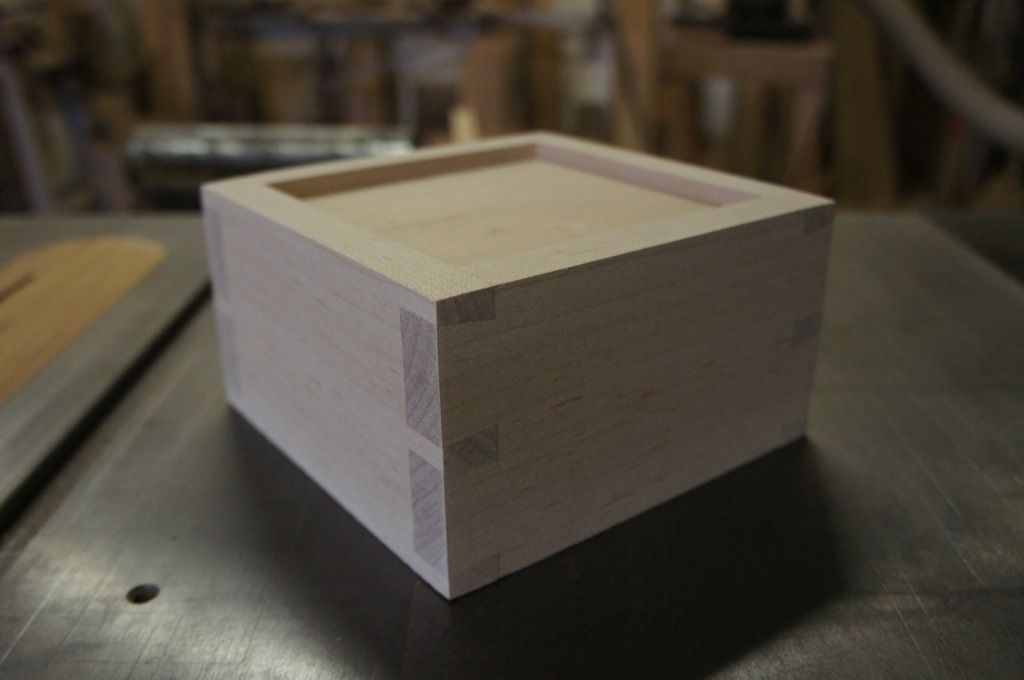
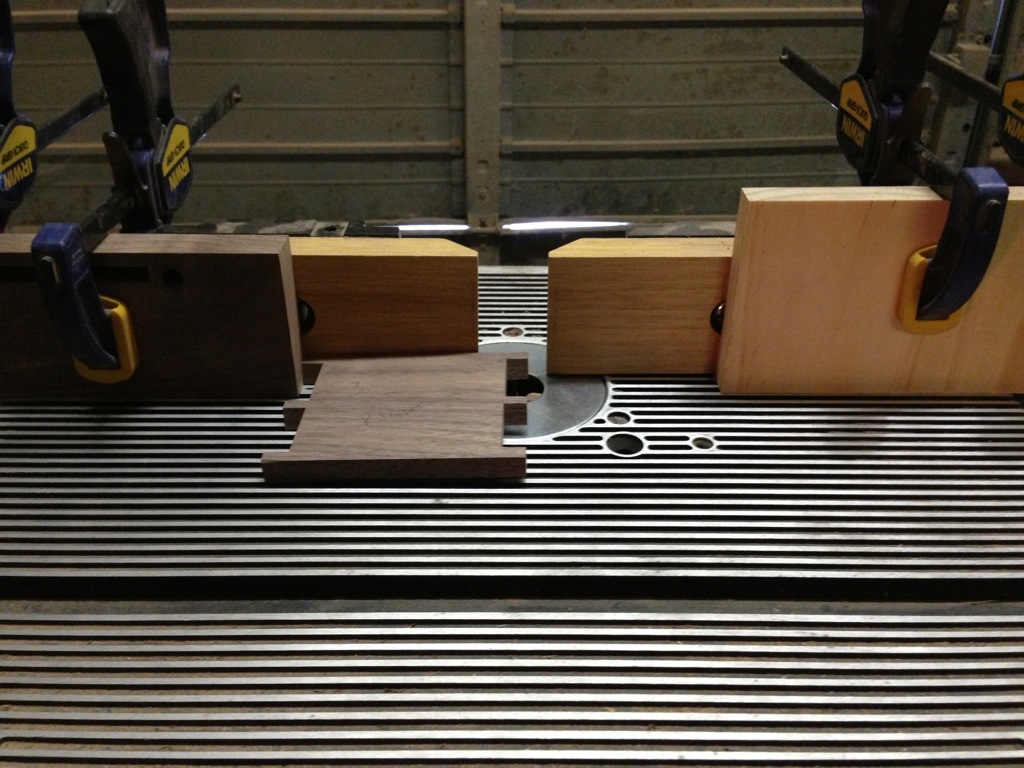
After that I did all of the other dimensioning so that I could finally move to cutting the dovetails. From that point the only difficult moment left is to cut the groove for the top board. I’ve learned the hard way (on several occasions) that if you aren’t careful you might cut the groove all the way through the end of a pin or a tail. In fact I’ve had to scrap a few lamps for that very reason. The first picture below shows how I approach this issue… Basically I clamp stop blocks on the front and backside of the cuts. They prevent me from cutting through the end of the boards. Once the stops are in place I drop the board on top of the router bit and make an initial cut. Once that is complete I can proceed as normal with the confidence that the stop blocks will prevent me from cutting too far.

I did have a new issue arise this time. I was almost done with the groove for the lamp top when I could hear that no cutting was taking place. It turns out that for one reason or another my router bit had sheared off. It’s not that it was an extremely costly piece to replace, but it was frustrating to have to run out one more time to the hardware store. The photo below shows the outcome of that incident.

Ultimately everything worked out and the piece made it to the clamps.. The clamps where it will sit until I can return to clean everything up before fit and finish.