Claremont Designs


Leave a comment

Catching Up With The Shop… And One New Piece

It’s been 995 days since I’ve posted anything to this blog… kind of embarrassing, but I’m guessing that I’m not the only one that has taken such an extended break from updating.  Although the title of this post implies that I’ve only created one new piece, that’s not really accurate.  But time spent making Edison Lamps has monopolized most of my shop time.  Originally the lamps were supposed to be made between making other items, and only if someone found me on Etsy to buy.  Since that original thought I’ve sold about 80 lamps.  Consequently, the other pieces coming out of the shop have slowed significantly…

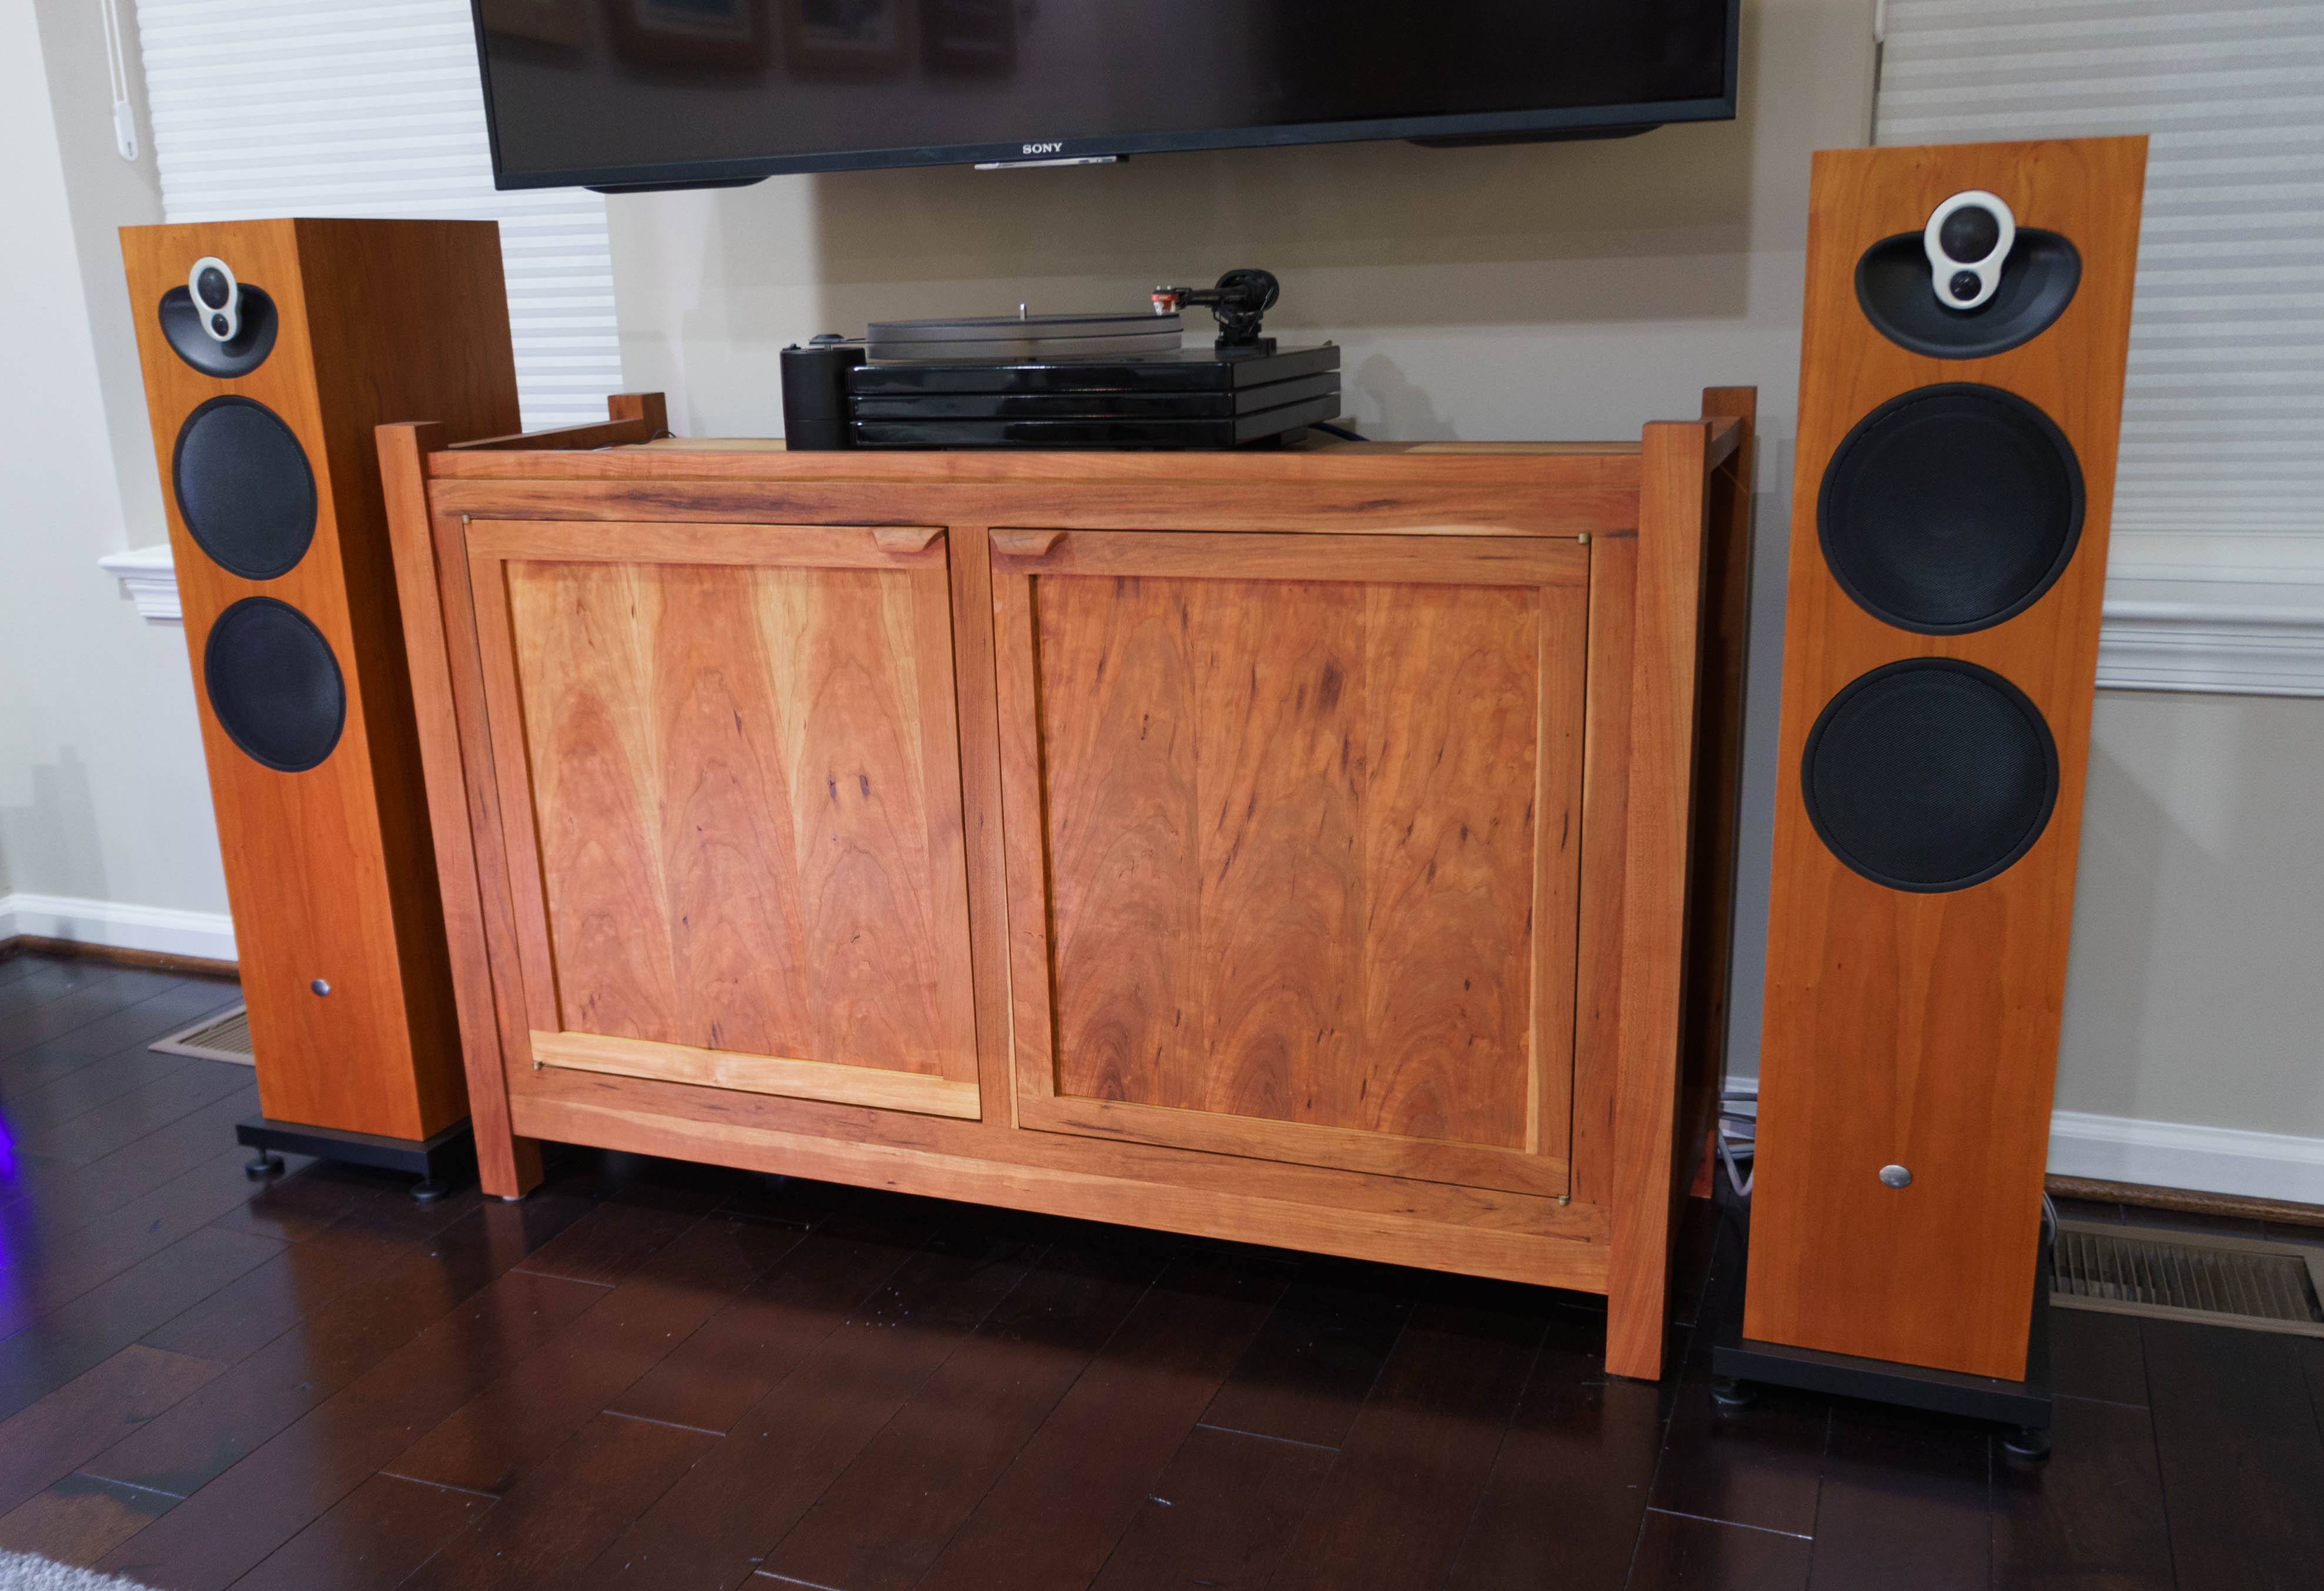
Earlier this year, I finished a new entertainment center.  You can see pictures of that piece in this post.  It is built of solid cherry and has 2 major pieces.  The main body that supports the stereo equipment and the turntable is just a large through dovetail case.  For those reading this that mainly know my lamps, this is basically the body of an Edison lamp (but a lot bigger).  The dovetails are visible when you are viewing the piece from above or the side.  They don’t do anything special in the function of the piece, so they are largely form over function.  There is some function in there too though…  The dovetail is great for ensuring a 90 degree angle in the corners, and it is much stronger than other joints than I can use.

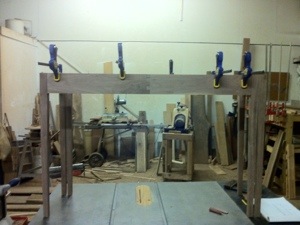
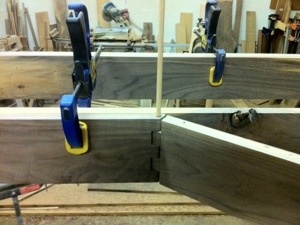
The second major feature of the piece is the mortised and tenoned exoskeleton (14 mortises and tenons to be exact).  The legs, bottom box support, side rails, and top rails are all made from different size pieces of cherry.  The legs are the largest at roughly 2 inches square.  The rest of the pieces are slightly smaller.  I wanted to use different sized pieces on the frame to create interesting shadow lines when looking at the piece and to give the piece a sense of depth.

The original concept was that I would build the box and the exoskeleton separately.  Then I would be able to slide the box into the exoskeleton.  It wasn’t that simple, but let’s just pretend it was…  This is one of those times that an extra set of hands in the shop would have been nice.  Overall this was a fun piece to build, and it gave me a chance to try some new techniques [some by design (knife hinges) and some out of necessity (carved door pulls)].

Up next in the shop…  As you might have guessed, more lamps.

SONY DSC

SONY DSC


Leave a comment

Fitting Non-Mortise Hinges to a Sideboard

I’m finally getting to some of the final steps of finishing off the sideboard base that has been occupying one of my workbenches for the better part of a year. In the previous post, I described how I wrapped the doors with a thin strip of walnut to improve the gap that surrounds the doors on either side of the buffet. The last challenging step in the build is to align the hinges. I almost always use non-mortise hinges, so the only real challenge is to locate the screw holes as perfectly as possible – easier said written than done. I start by installing the hinges to the base of the cabinet, and then I transfer reference marks to the door. The marks don’t go directly where I will drill a pilot hole, so it is a little more complex.

To start the process I locate the door in the opening, with the hinges completely open. I also make sure to use a spacer, so that there is a gap at the bottom of the door. I then “close” the hinges so they rest against the face of the door frame. From here, I mark the holes in the hinge. Next it is a lot of work with a square and a depth gauge. First I mark the top and bottom of the hole and then I transfer those reference marks to the side of the door. I then go back to the hinge and use a sliding depth gauge to determine the front and back reference mark for the hinge hole opening. Because the hinge allows for a little adjustment, I should be good as long as I get the pilot hole somewhere within the opening, but I take an extra step. I connect the corners and draw an X to locate the center of the hole. Ultimately this is where I will drill my pilot hole for the screw.

The photos below show all of the reference marks and the doors installed to make sure that no other adjustments are required. Next step is to finish the 220-grit sanding, break all of the sharp edges, install the knobs and pulls, and apply several finish coats of an oil urethane blend.

20130818-141804.jpg

20130818-141812.jpg


Leave a comment

Building a Wooden Hinge

Shown in the series of photos below is the construction of the wooden hinge that makes the gate leg table work. It may not be obvious on a quick glance, but the table base here has 6 legs. The 4 outside legs are fixed, but the interior leg on each side swings open (like a gate) to support one leaf of the table. In the first photo I was laying out the pieces to get accurate dimensions. Measurements and plans are great (I use them), but sometimes it is easier or more accurate to just layout the pieces and mark the cuts. The second photo shows the apron with the initial cuts for the hinge. Finally I transferred some layout lines and identified where to drill the through hole that receives a dowel (to allow the leg to swing open). The final photo shows a dry fit of the piece with the leg partially open. You’ll notice that I had to add a couple of relief cuts to actually allow for the leg to pivot freely. Time for glue up and then on to finishing. As always I’ve reverted to using the table saw as my workbench.

20120826-215300.jpg

20120826-215310.jpg

20120826-215321.jpg