Claremont Designs


2 Comments

Completed 5 Bulb Cherry Edison Lamp

Put the finishing touches on the 5 bulb / 36″ version of the latest Edison lamp this weekend. The final piece has three coats of finish applied. It already has great color, but the cherry will continue to darken with exposure to natural light. I mentioned a few posts ago about resawing the lumber so that I could get the top cut from the same piece of lumber. In addition to the benefit of matching tone and color, it also has the benefit of matching the grain and streaking of the board used for the front of the lamp. It will be sad to pack it up, but it will have a new home in its future…

20121118-154417.jpg

20121118-154433.jpg

20121118-154450.jpg

20121118-154520.jpg

20121118-154506.jpg

20121118-154539.jpg

20121118-154552.jpg


Leave a comment

36″ Edison Lamp Approaching the Finish Line

Getting close to finishing up the next Edison lamp. As with the last few small pieces, I’ve started finishing items at home. It’s more efficient for applying multiple coats of finish (compared to driving 45 miles each way to the shop). Plus the temperature and humidity are much better for finishing in my condo. The picture below was taken right after the first coat was applied. It will probably take at least 2 more coats of finish with 4 aught steel wool in between. The next post on the blog should have the finished lamp photos…

20121113-172640.jpg


Leave a comment

Prepping the Long Edison Base

In the last workshop session it was all about getting the base ready for light fixtures. You would think building the dovetailed box would be the hard part, but I’ve always found it more difficult to space and line up the light fixtures. I decided to try a new approach this time. In the first picture you’ll see that I’ve inserted the board that holds the sockets into the top of the base. I’ve then laid out for the 5 sockets. At this point I’ve drilled a small pilot hole through both boards at the same time. I then went back and used this pilot hole to drill the larger holes needed for the socket openings and the brass nipple that the sockets attach to. In the second photo I’ve begun the wiring for the lamp. A little more fit and sanding work to be done. Then it’s off to finishing.

20121109-124345.jpg

20121109-124356.jpg


Leave a comment

Lengthy Edison Lamp

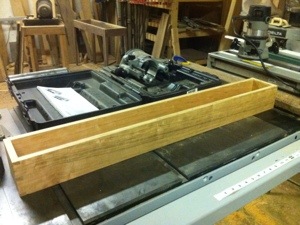
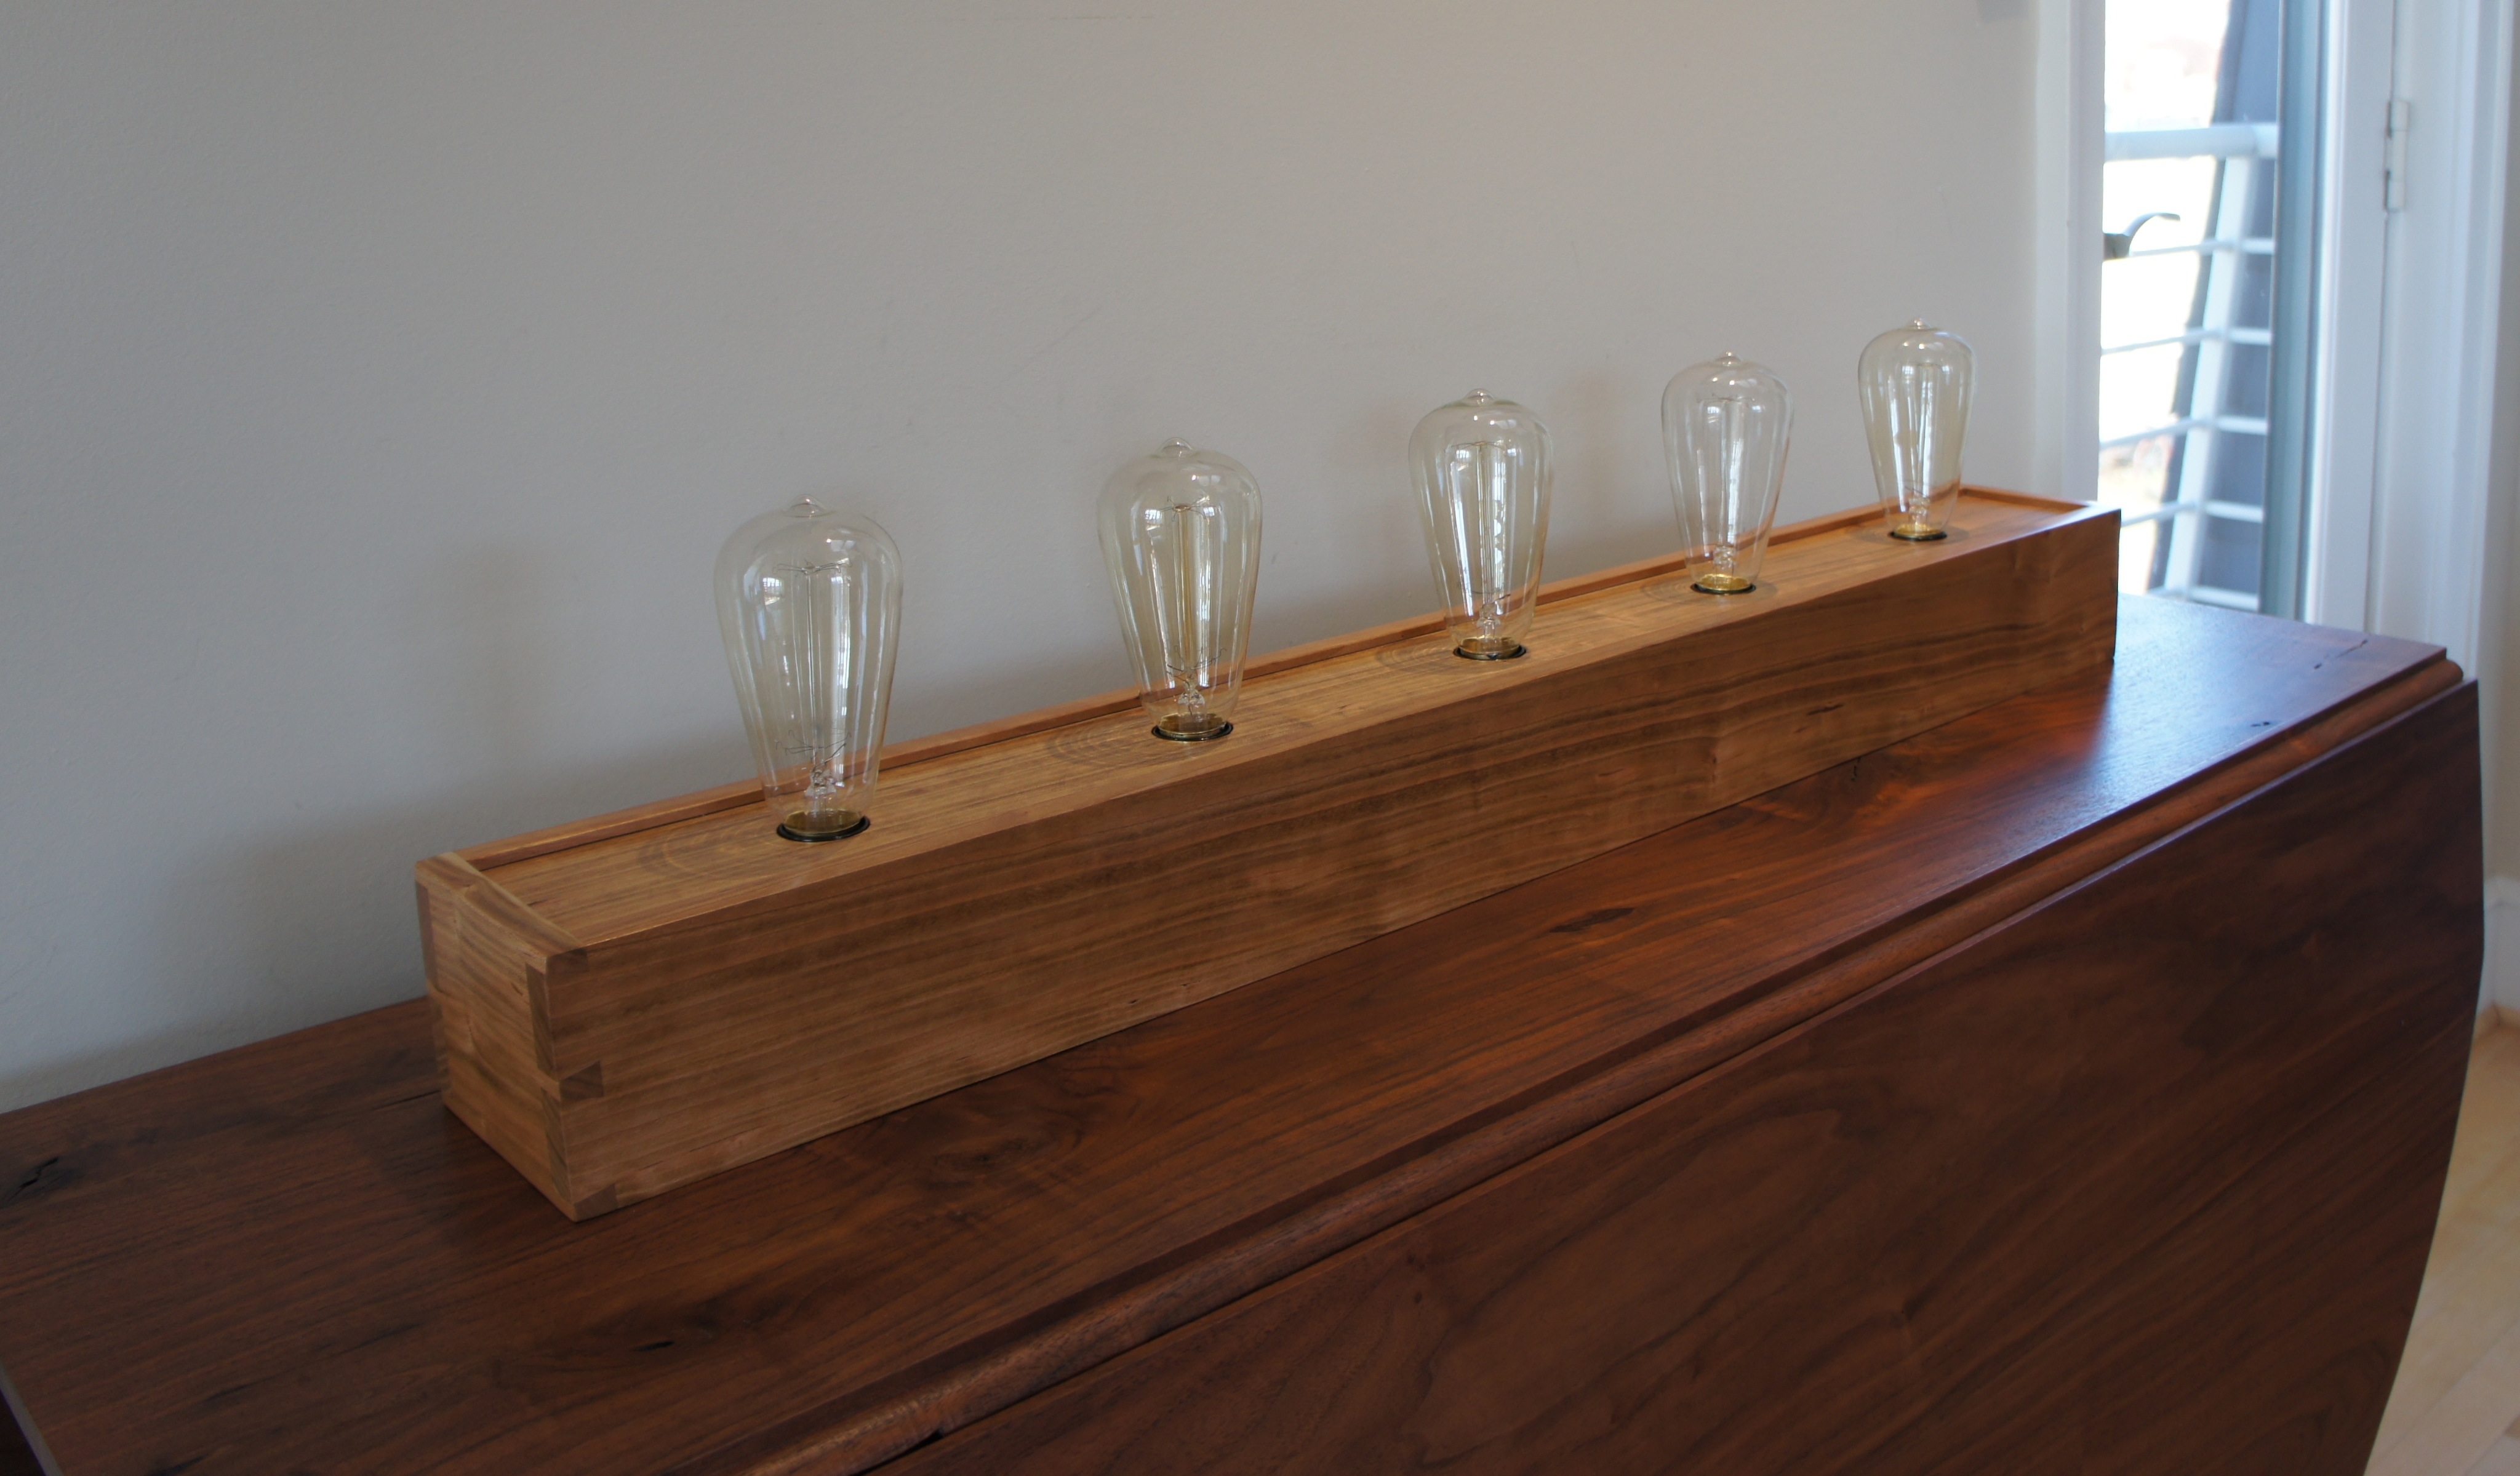
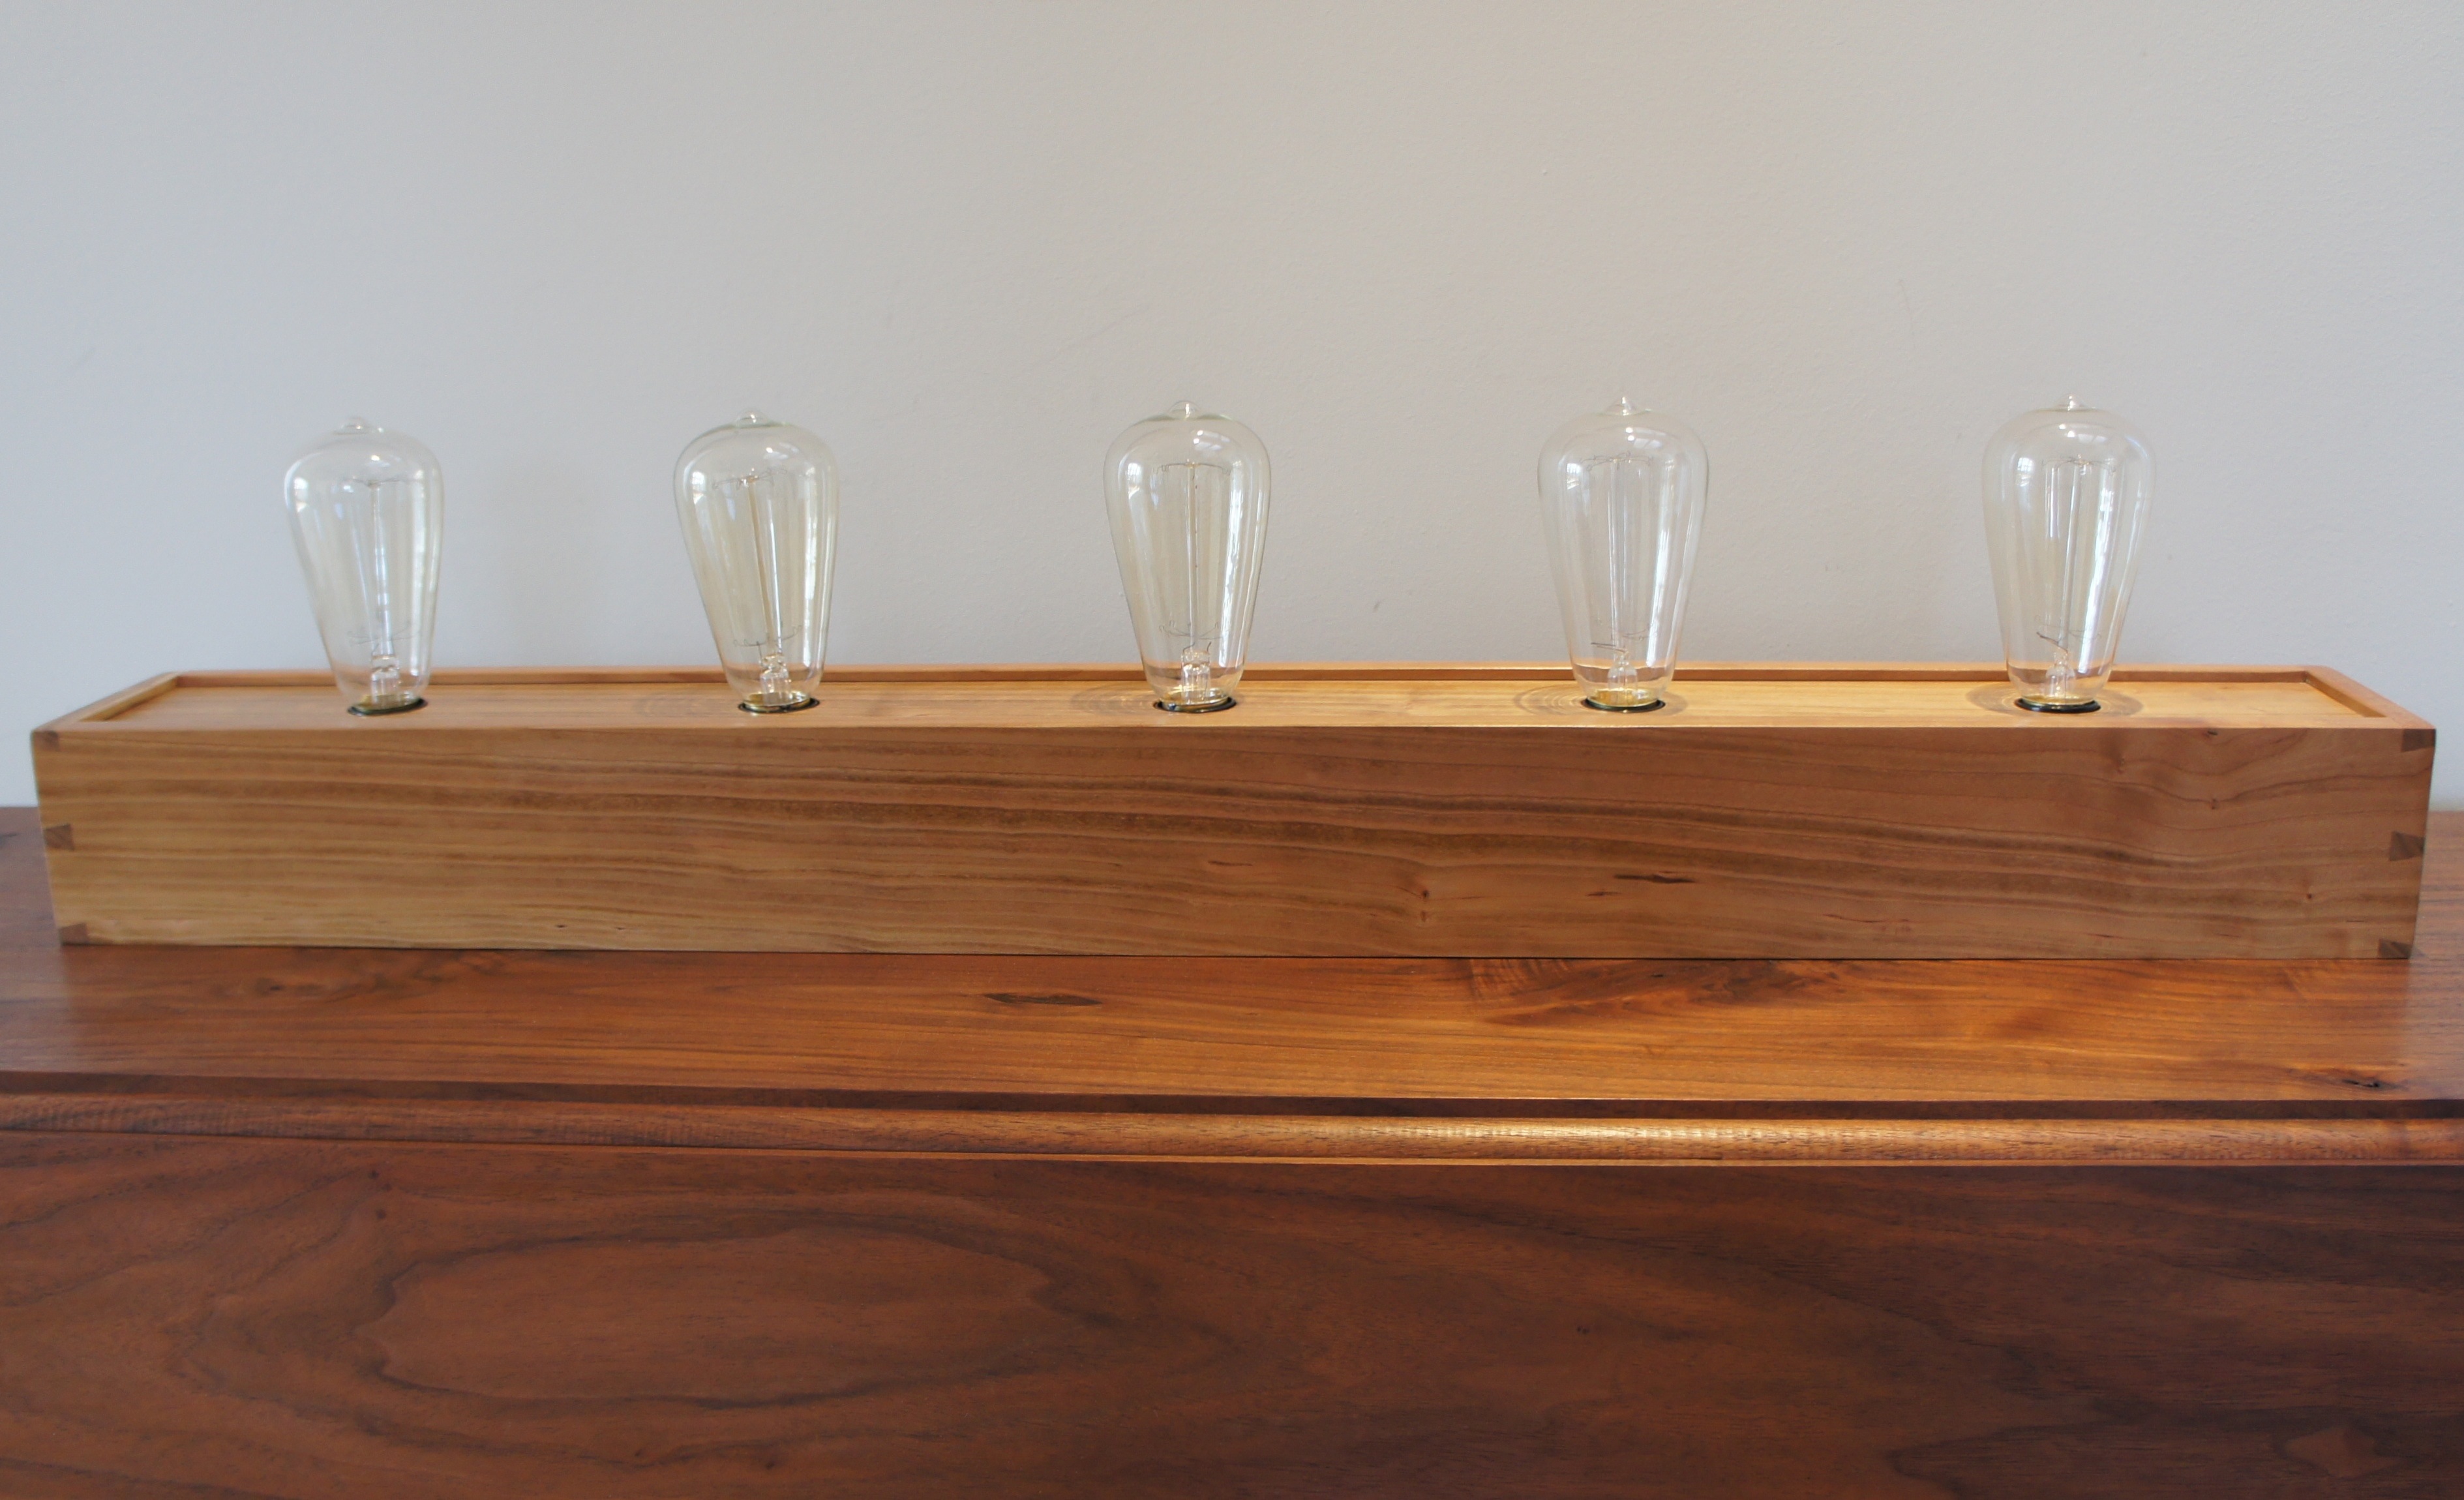
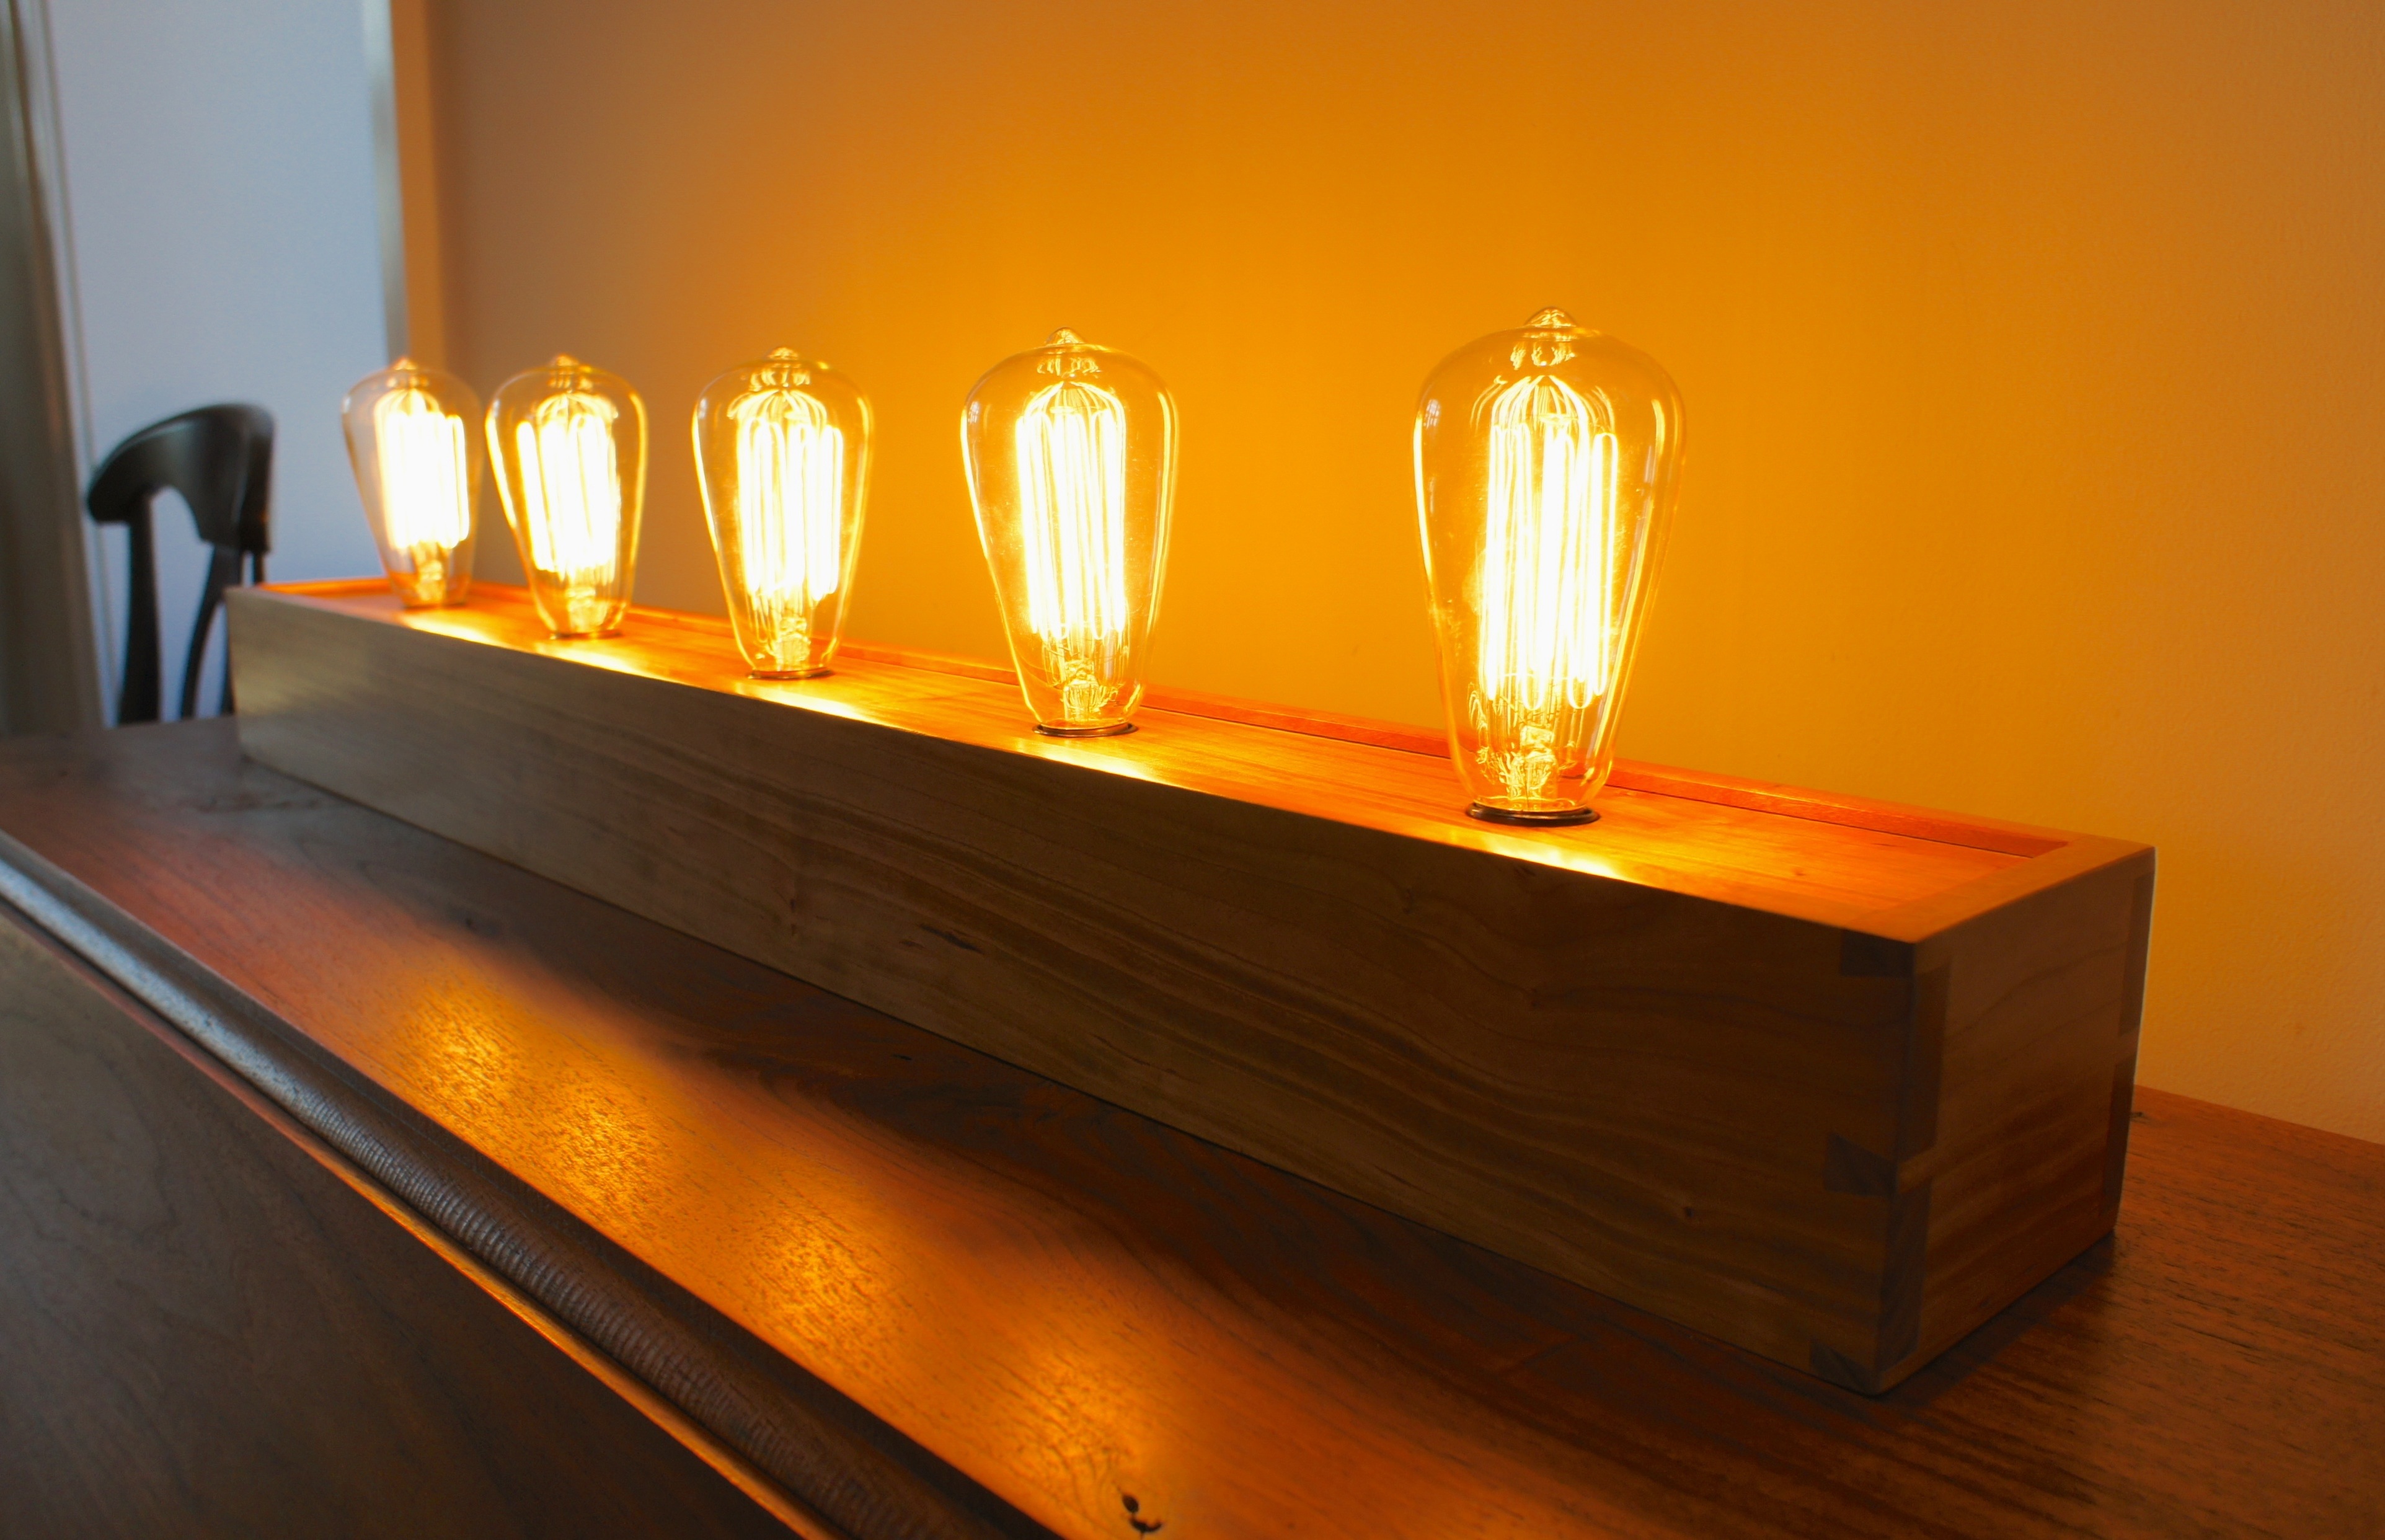
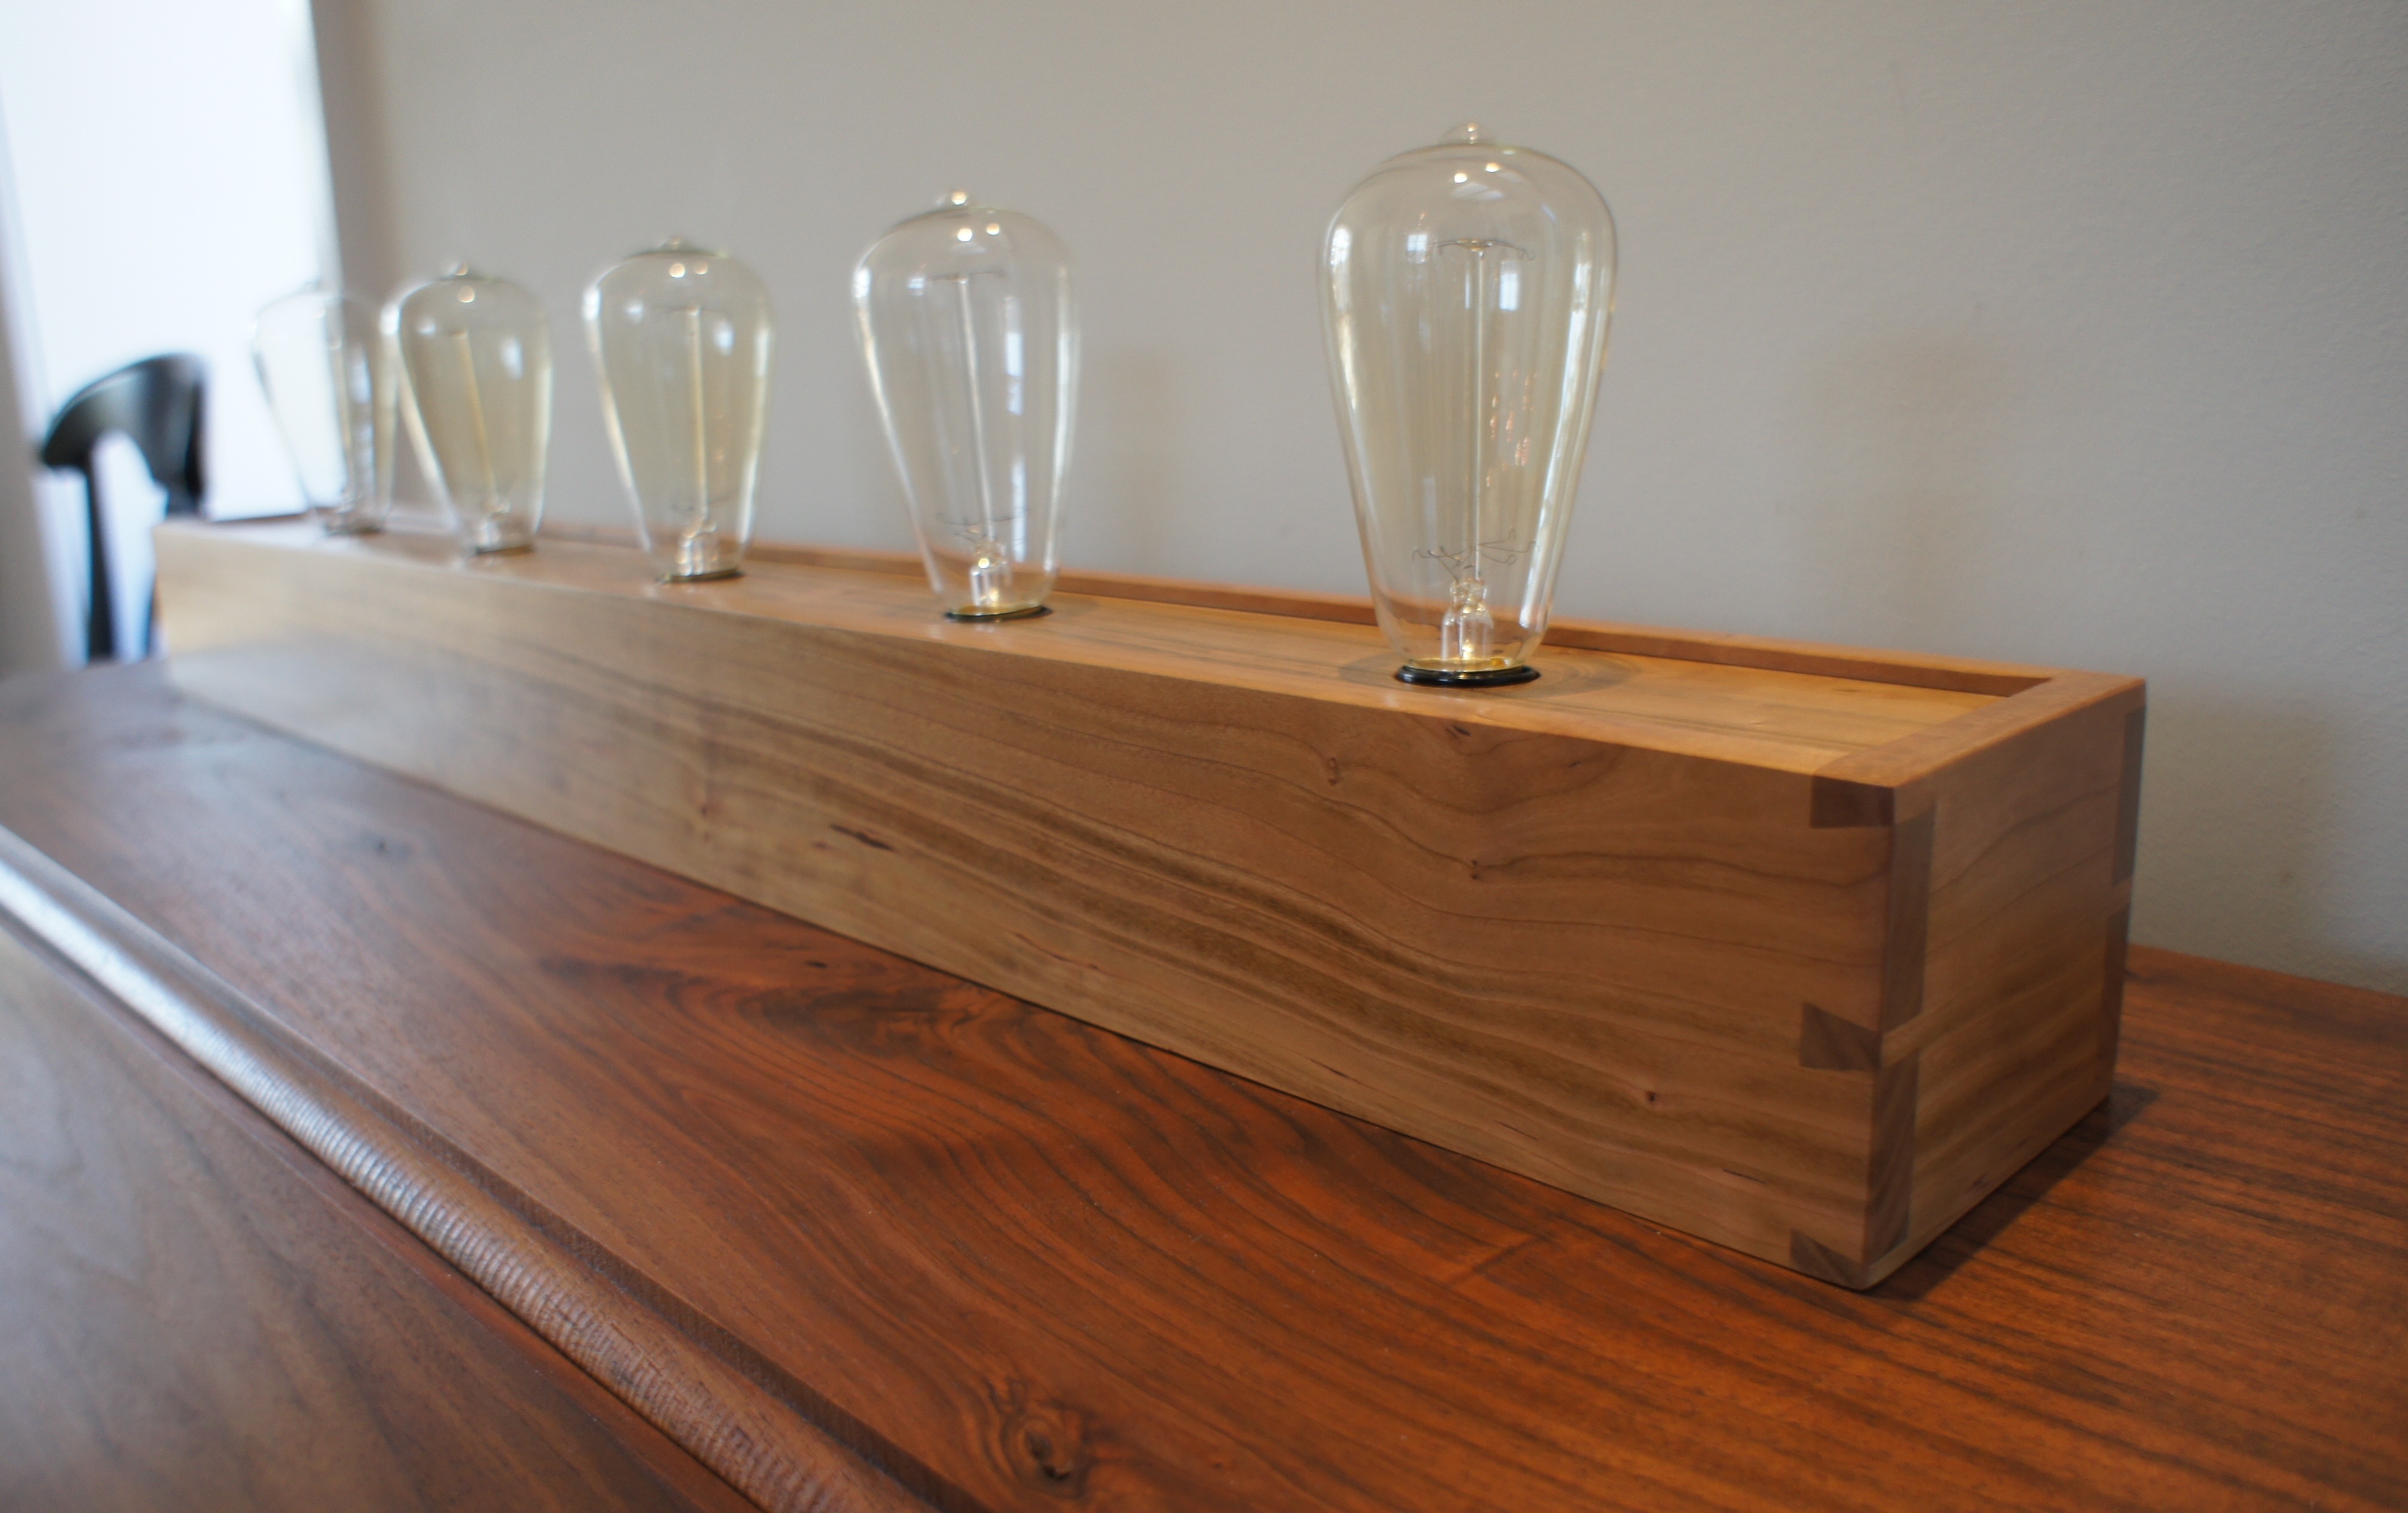
I started working on another variation of the Edison lamps I’ve been building. Per a customer request this one will be about 36″ wide (I had been building them around 18″ wide so far). I wasn’t sure how it would look at first, but after the original dry fit I’m liking the proportions.

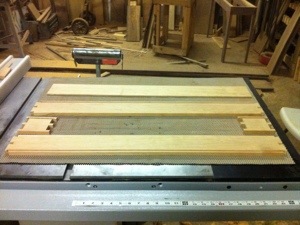
It is big enough though that I needed to use some of my standard stock (I like to build these out of leftover lumber or from some repurposed lumber). So no interesting lumber story to go along with this piece. I was however able to get all of the pieces out of one piece of lumber. It may not sound like a big deal, but by getting all of the lumber from one board I don’t really have to worry about the cherry matching in tone. Prior to planing the box pieces to thickness, I was able to resaw the stock for the 1/4″ thick top. This resulted in the box pieces being a fraction of an inch thinner than I usually build, but it definitely doesn’t ruin the look (it actually gives me some more options when it comes to the dovetails).

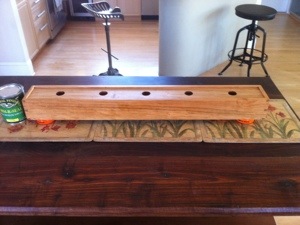
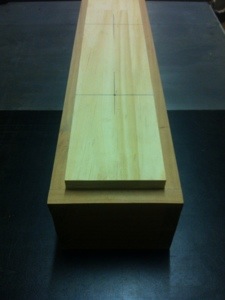
In the 2 photos below you can see my initial dry fit and all of the pieces awaiting the initial glue-up. I should be sanding up and working on the wiring on the next shop trip.

20121104-210140.jpg

20121104-210216.jpg