Claremont Designs


Leave a comment

Finished Sapele and Walnut EdisonLamps

Just a quick post tonight to show the 2 most recently completed lamps… The walnut lamp was built for a customer and features my traditional Edison lamp design. On the sapele version I’ve switched over to a porcelain socket that doesn’t rise above the top of the lamp base. I really like the look of the bulbs being embedded in the base as a result. One of the sockets must be a tiny fraction of an inch below the surface of the top. As a result I had to really screw in one of the bulbs to get it to work… In the future I’ll have to ease the edges of the opening a bit more or make the top a bit thinner. I built this one to go on etsy and I think it will still go there, but I’ll definitely have to be very clear about how hard you have to screw down the one bulb…

20130309-222800.jpg

20130309-222834.jpg

20130309-222859.jpg

20130309-222941.jpg


2 Comments

Lots of Sanding for 2 Edison Lamps and Almost 40 Coasters

Just a quick interim post here to update on the status of current projects. In the photo are two Edison lamps that are ready for final finish. The walnut lamp is being built for a customer. It is a pretty standard build. The only distinction is that this is the first chance I’ve had to build a 5 bulb version out of walnut. I’m sad to say that this lamp used up the last real amount of walnut that I’ve been working from. The other lamp pictured is made from sapele. It’s the first time I’ve worked with sapele and so far I’m happy with the results. There was a distinctive pattern on the board that I featured on the front of the lamp. Taking it one step further, the 1/4 inch top board is book matched to the front to further highlight the pattern. Finally in the front left you can see the stack of coasters ready for finishing. The coasters are great but trust me that it’s a lot of work to sand all 6 sides, break the edges and steel wool between 2 coats of finish. It’s a great use of my scrap lumber, but it sure is a lot of work to get a product that I’m happy with.

20130303-143645.jpg


Leave a comment

Not Always Sure What You’re Going To Get When Starting a Walnut Edison Lamp

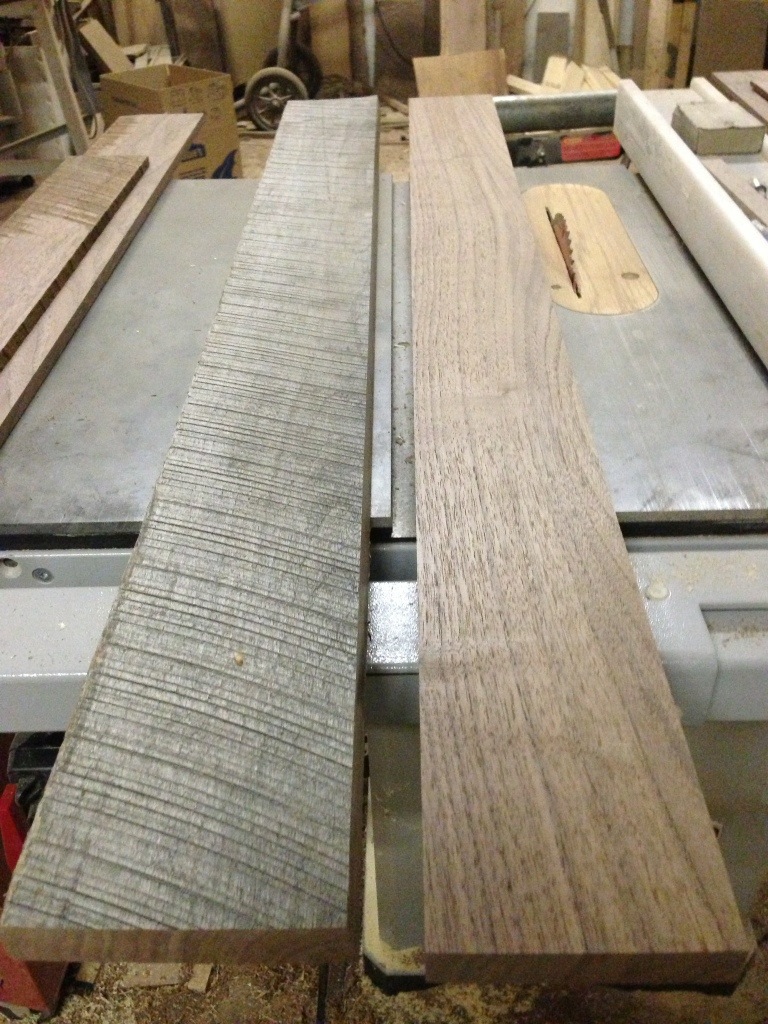
I’m finally building a 5 bulb Edison lamp out of walnut. I’ve been wanting to do a walnut version for a while now, and thankfully I just got an order for one through my shop on etsy. I’ve been working off of the same stack of walnut for years now, so I have a fairly good idea of how it will look when dressed. If I hadn’t been working from this same tree, I would be flying blind. In the photo below, you can see the board I used to construct the case. The board on the left is rough sawn; I haven’t done anything to it yet. The board on the right has been passed over the jointer (both to expose the beauty of the walnut and to flatten one face / square one edge). Sometimes you don’t know what you’re going to get until the lumber hits the jointer.

20130224-225032.jpg

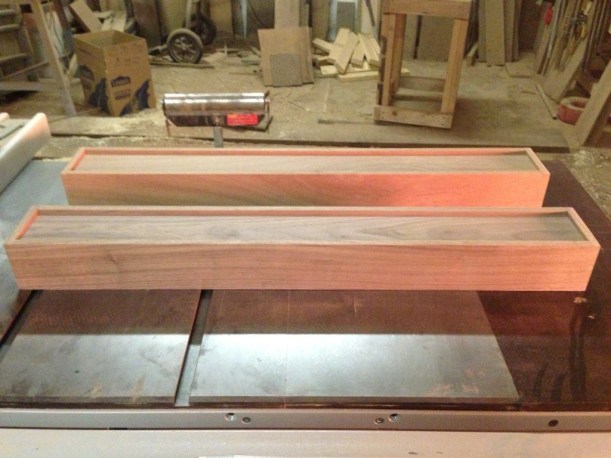
From there it was on to my normal sequence of planing, dimensioning, routing and assembling the case. I’m not going to detail those steps here, but there are plenty of other posts on this site that show those steps. Ultimately, I got to the point where the 2 boxes pictured below were ready for sanding. I decided I would add another lamp to the weekend build. Once you go through the steps to setup tools to build one, you feel like you might as well build a second one too. The box in the back is made from sapele. I’ve never worked with sapele before, but it seemed like I was getting a good deal on the lumber (and you can build an entire lamp from one board). Unfortunately, the photo isn’t the best… The ceiling light in my shop is not great, so the photo is overly lit by my space heater. As a result it’s hard to see any details or the colors of the lamps. Once I get to the finishing stages, all of the details will become clearer.

20130224-230348.jpg