Claremont Designs


Leave a comment

The Shop Has Moved (and a Shift to Lamps in Inventory)

It wasn’t quick and it wasn’t easy, but the Claremont Designs shop has made a 9 mile move. It seemed like it would be easy to move a 600 square foot shop… but 10 years of work (and sawdust), several pieces of equipment over 300 pounds, and a few projects that are perpetually WIP added to the complexity.

During the (extended) move time, the Etsy Shop has been on vacation mode. I’m sure Etsy has a better description, but it basically means my Etsy shop existed with nothing listed. It also means that all of my search rankings plummeted… After years of having several of pieces show up in the top 5 positions when people search for Edison Lamps, Claremont Designs is now not even in the top 50 (it’s probably worse than that, but I gave up on counting other listings before I found any of my lamps). Hopefully that will be fixed by the holiday season.

I haven’t made too much of a mess in the shop yet, so it’s still pretty clean. I’ve made 3 new lamps since the shop was setup, and I’m still happy with the level of cleanliness. Beyond being new and clean, the biggest improvement in the new shop is actually having some natural daylight and overhead lights that actually work. I hope that means that quality of furniture coming out of the shop will improve, but time will tell.

The other big change with the shop is that I’m going to transition away from only selling made to order lamps. I think that will improve options for both me and customers.

For me, I’m going to enjoy building furniture (and lamps) on my schedule rather than the (largely) unpredictable timing of lamp orders. I’m also going to start building lamps from wood that I think is interesting, as opposed to wood which is fairly generic. It might sound counterintuitive, but when building custom pieces it is not generally the best idea to use interesting wood. Interesting can refer to the color, the grain, the lack of uniformity, etc. The challenge when building custom pieces (when only interacting over Etsy and building to an aggressive timeline) is that it is usually safest to use lumber with consistent color and straight grain. Going forward, I’ll try to build more lamps that use “interesting” wood. We’ll see if customers want that… An example of one of the new lamps is the 3-bulb Ambrosia lamp below.

While I’m trying to do some more interesting wood choices, I also want to make sure that I build the lamps that customers have been expecting (and purchasing for the past few years). To start building up the inventory, I’ve built 2 single bulb lamps. One is in cherry and one in walnut. Over the years, walnut has by far been the most popular wood choice, but I like the cherry the best.

For customers they will get 2 big benefits. First, they will know exactly what they are buying. The pictures on the Etsy listings will now show them exactly what they are going to get. For customers that like the surprise, they can still order a “made to order” version of the lamp. But my primary reason for the made to order option is for customers that want to make some small changes to the lamps (e.g., different size, different finish, custom cords, etc.). The second big benefit for customers is that I can ship the lamps much quicker. I’ve listed the shipping times online at 3-5 days, but I’m hoping I can ship faster than that.

We’ll see how this all goes, but hopefully these changes will make the process better overall.


Leave a comment

Catching Up With The Shop… And One New Piece

It’s been 995 days since I’ve posted anything to this blog… kind of embarrassing, but I’m guessing that I’m not the only one that has taken such an extended break from updating.  Although the title of this post implies that I’ve only created one new piece, that’s not really accurate.  But time spent making Edison Lamps has monopolized most of my shop time.  Originally the lamps were supposed to be made between making other items, and only if someone found me on Etsy to buy.  Since that original thought I’ve sold about 80 lamps.  Consequently, the other pieces coming out of the shop have slowed significantly…

Earlier this year, I finished a new entertainment center.  You can see pictures of that piece in this post.  It is built of solid cherry and has 2 major pieces.  The main body that supports the stereo equipment and the turntable is just a large through dovetail case.  For those reading this that mainly know my lamps, this is basically the body of an Edison lamp (but a lot bigger).  The dovetails are visible when you are viewing the piece from above or the side.  They don’t do anything special in the function of the piece, so they are largely form over function.  There is some function in there too though…  The dovetail is great for ensuring a 90 degree angle in the corners, and it is much stronger than other joints than I can use.

The second major feature of the piece is the mortised and tenoned exoskeleton (14 mortises and tenons to be exact).  The legs, bottom box support, side rails, and top rails are all made from different size pieces of cherry.  The legs are the largest at roughly 2 inches square.  The rest of the pieces are slightly smaller.  I wanted to use different sized pieces on the frame to create interesting shadow lines when looking at the piece and to give the piece a sense of depth.

The original concept was that I would build the box and the exoskeleton separately.  Then I would be able to slide the box into the exoskeleton.  It wasn’t that simple, but let’s just pretend it was…  This is one of those times that an extra set of hands in the shop would have been nice.  Overall this was a fun piece to build, and it gave me a chance to try some new techniques [some by design (knife hinges) and some out of necessity (carved door pulls)].

Up next in the shop…  As you might have guessed, more lamps.

SONY DSC

SONY DSC


Leave a comment

Pricing an Edison Lamp on a Cost Plus Basis

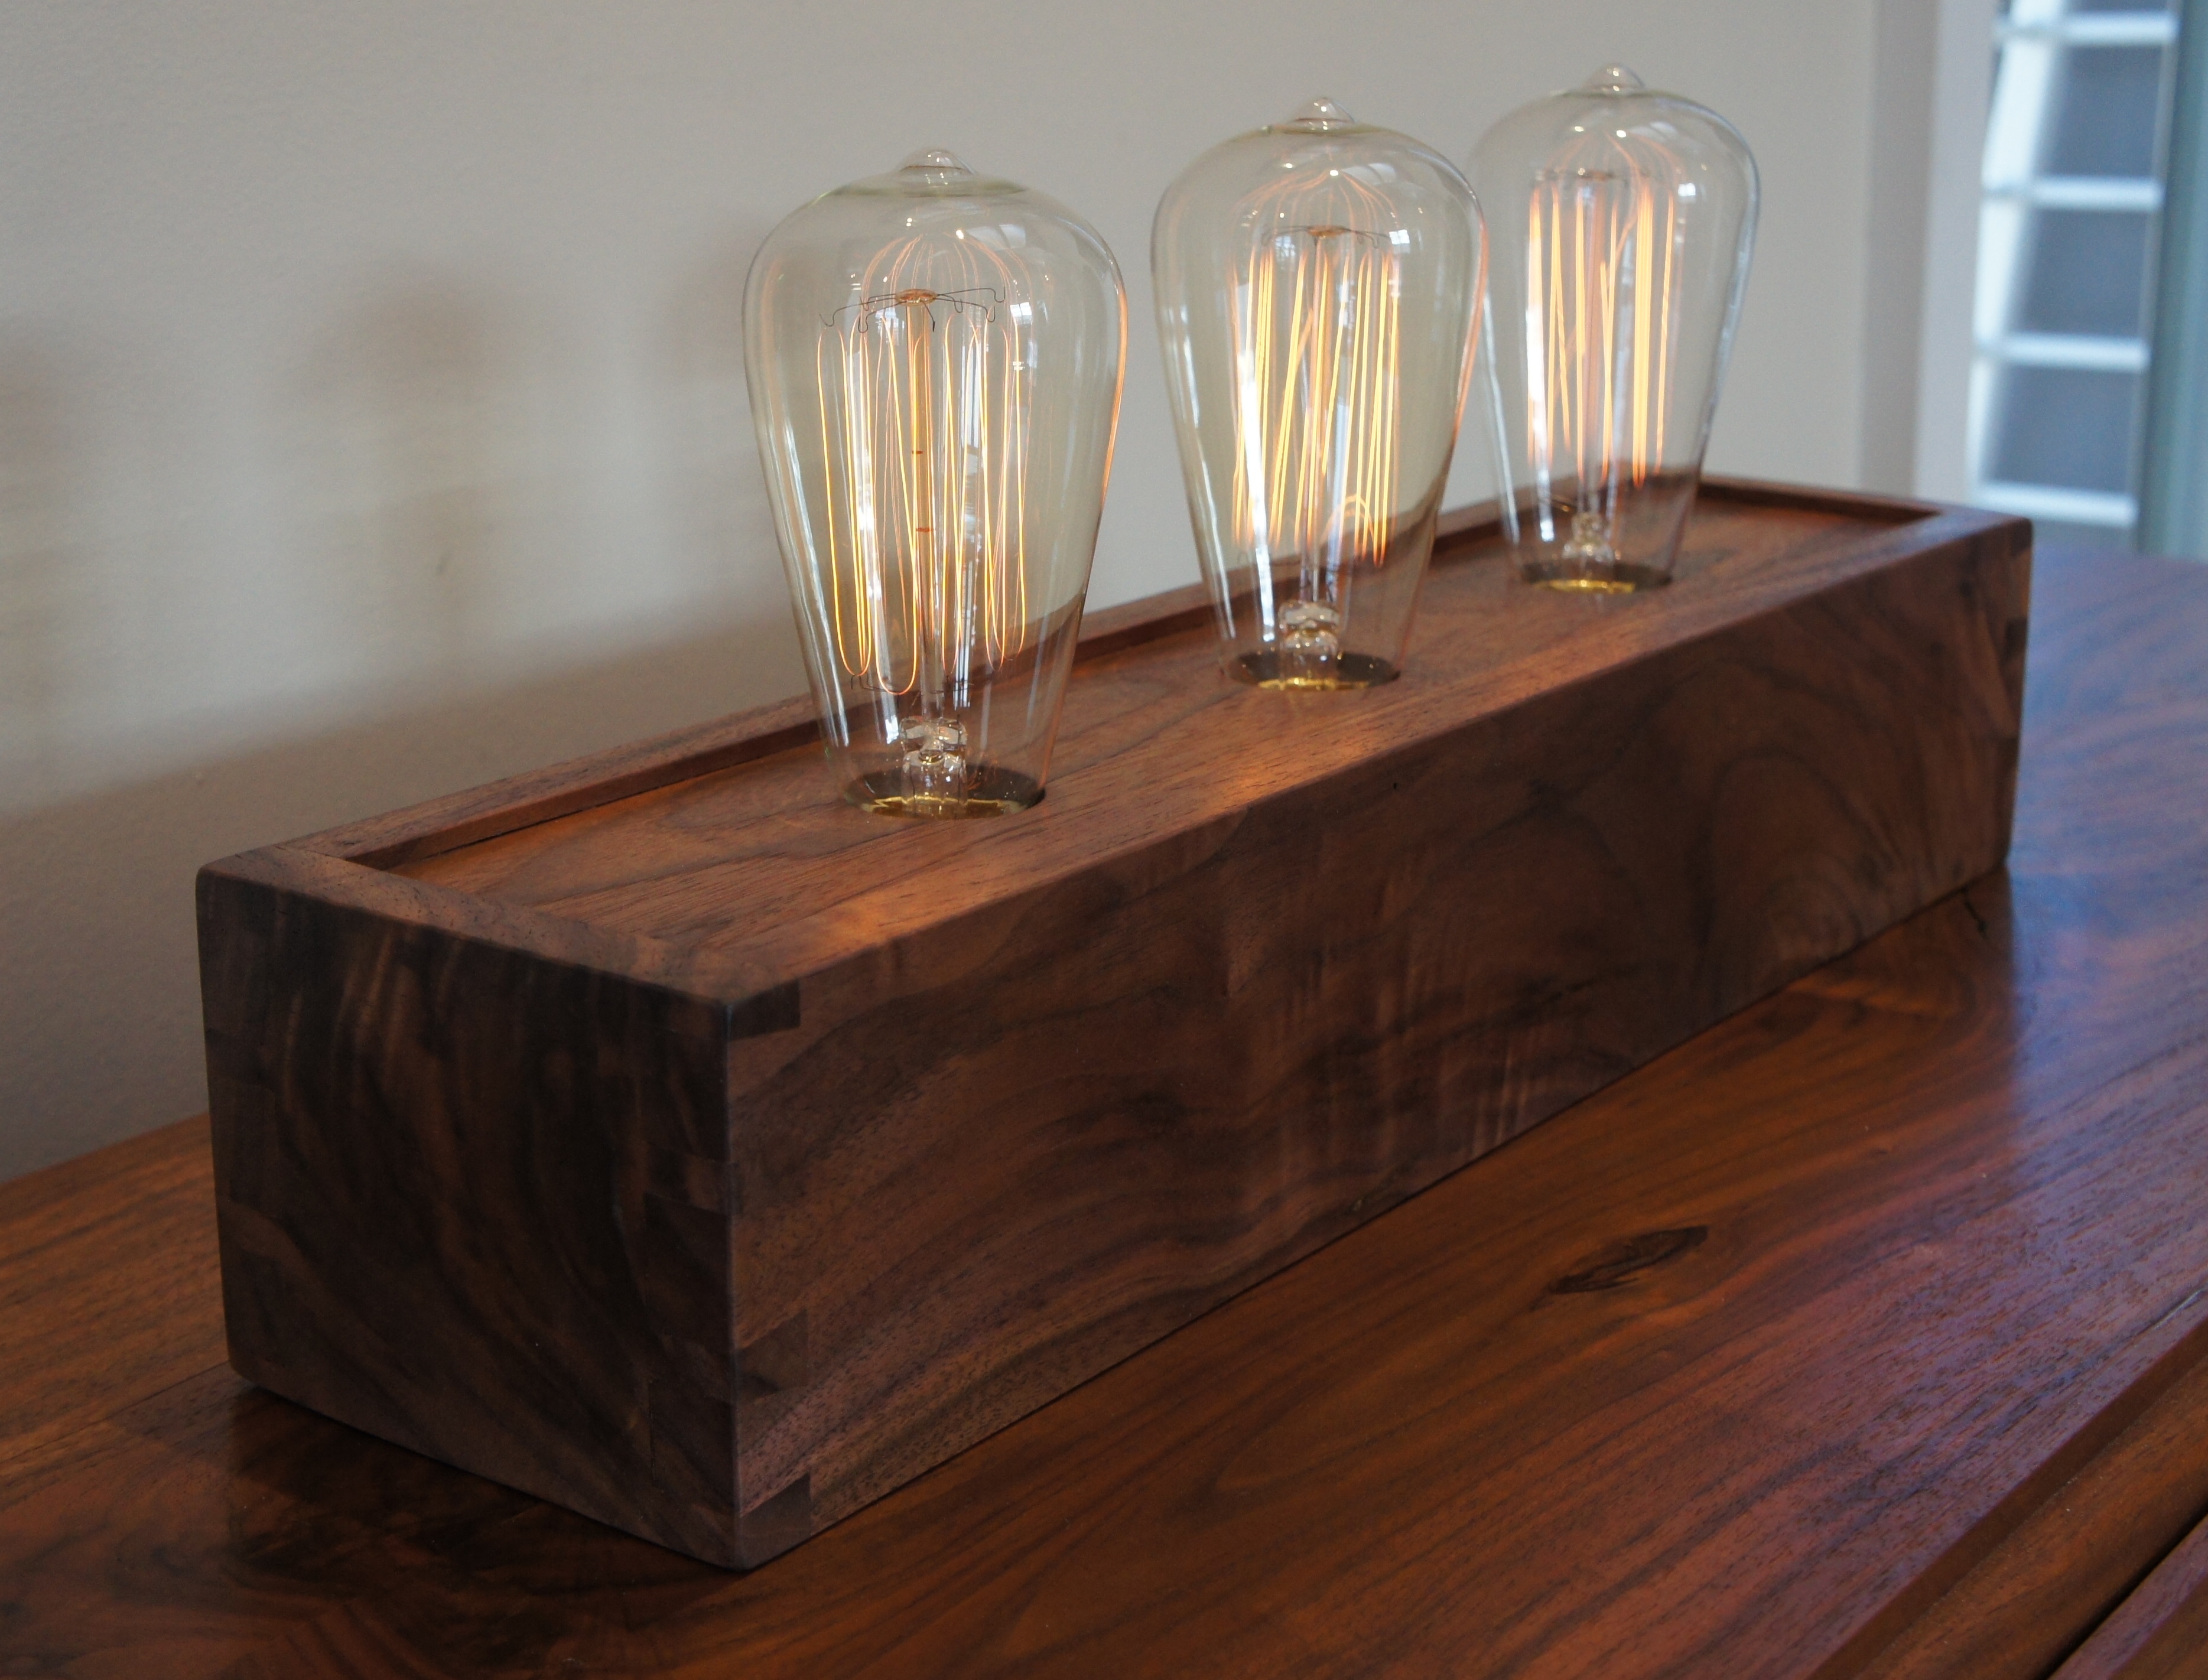
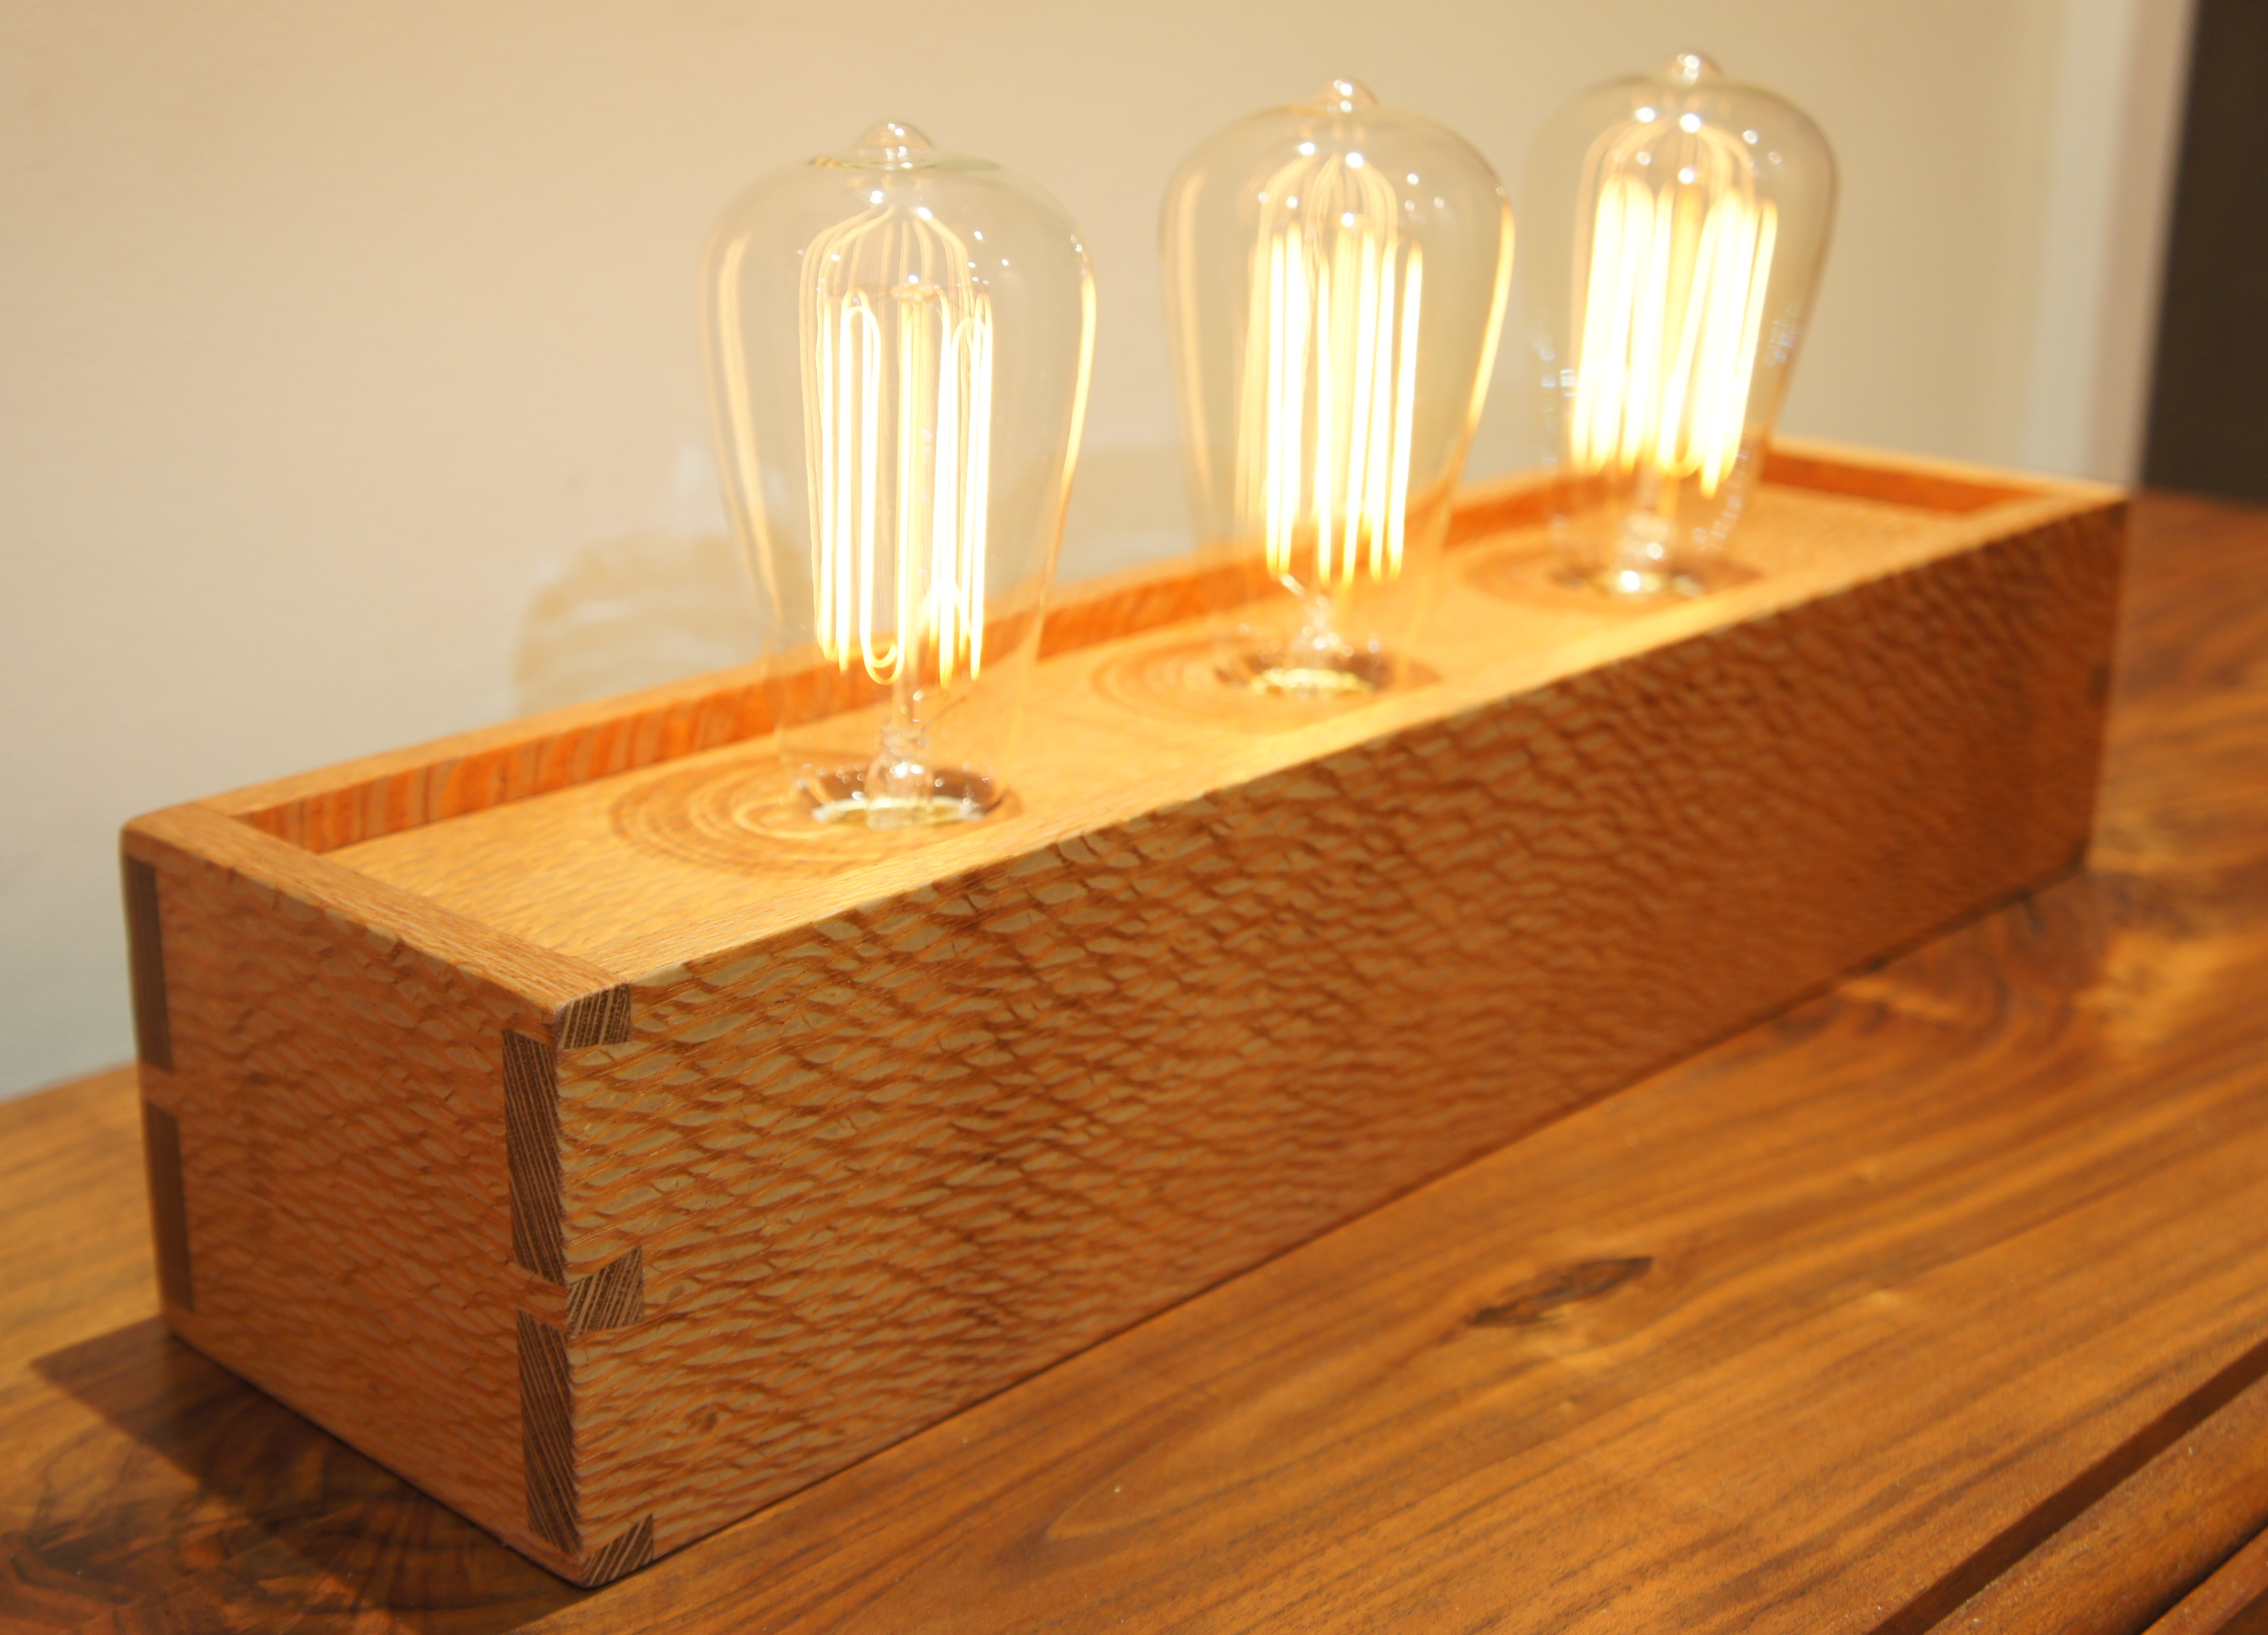
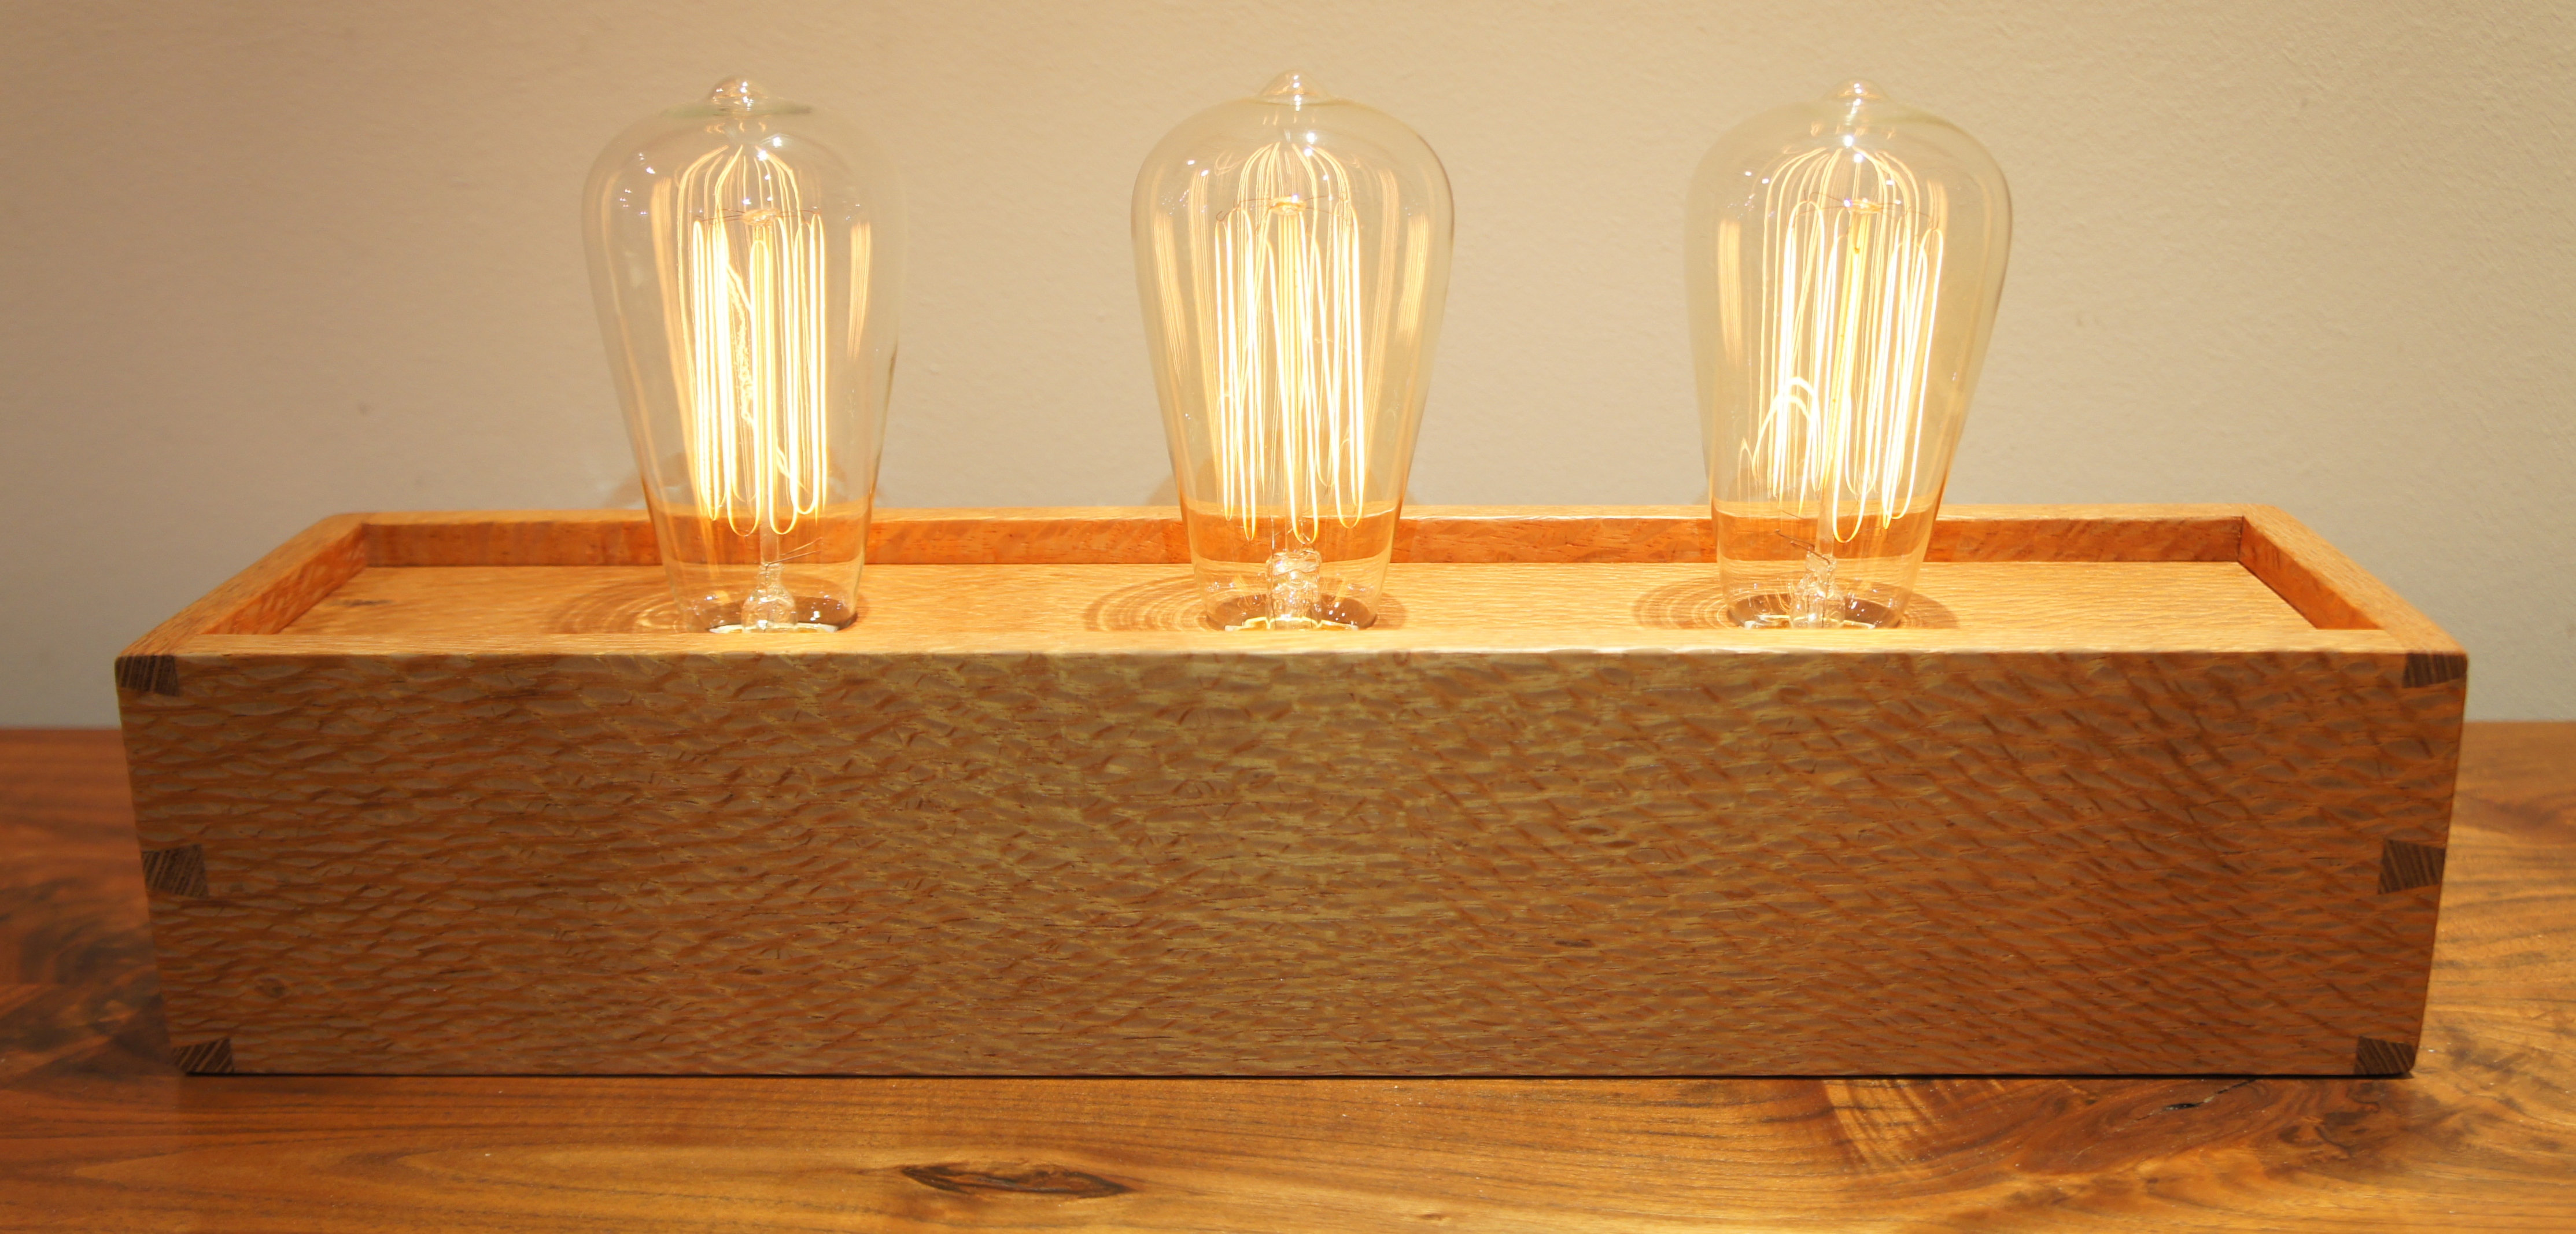
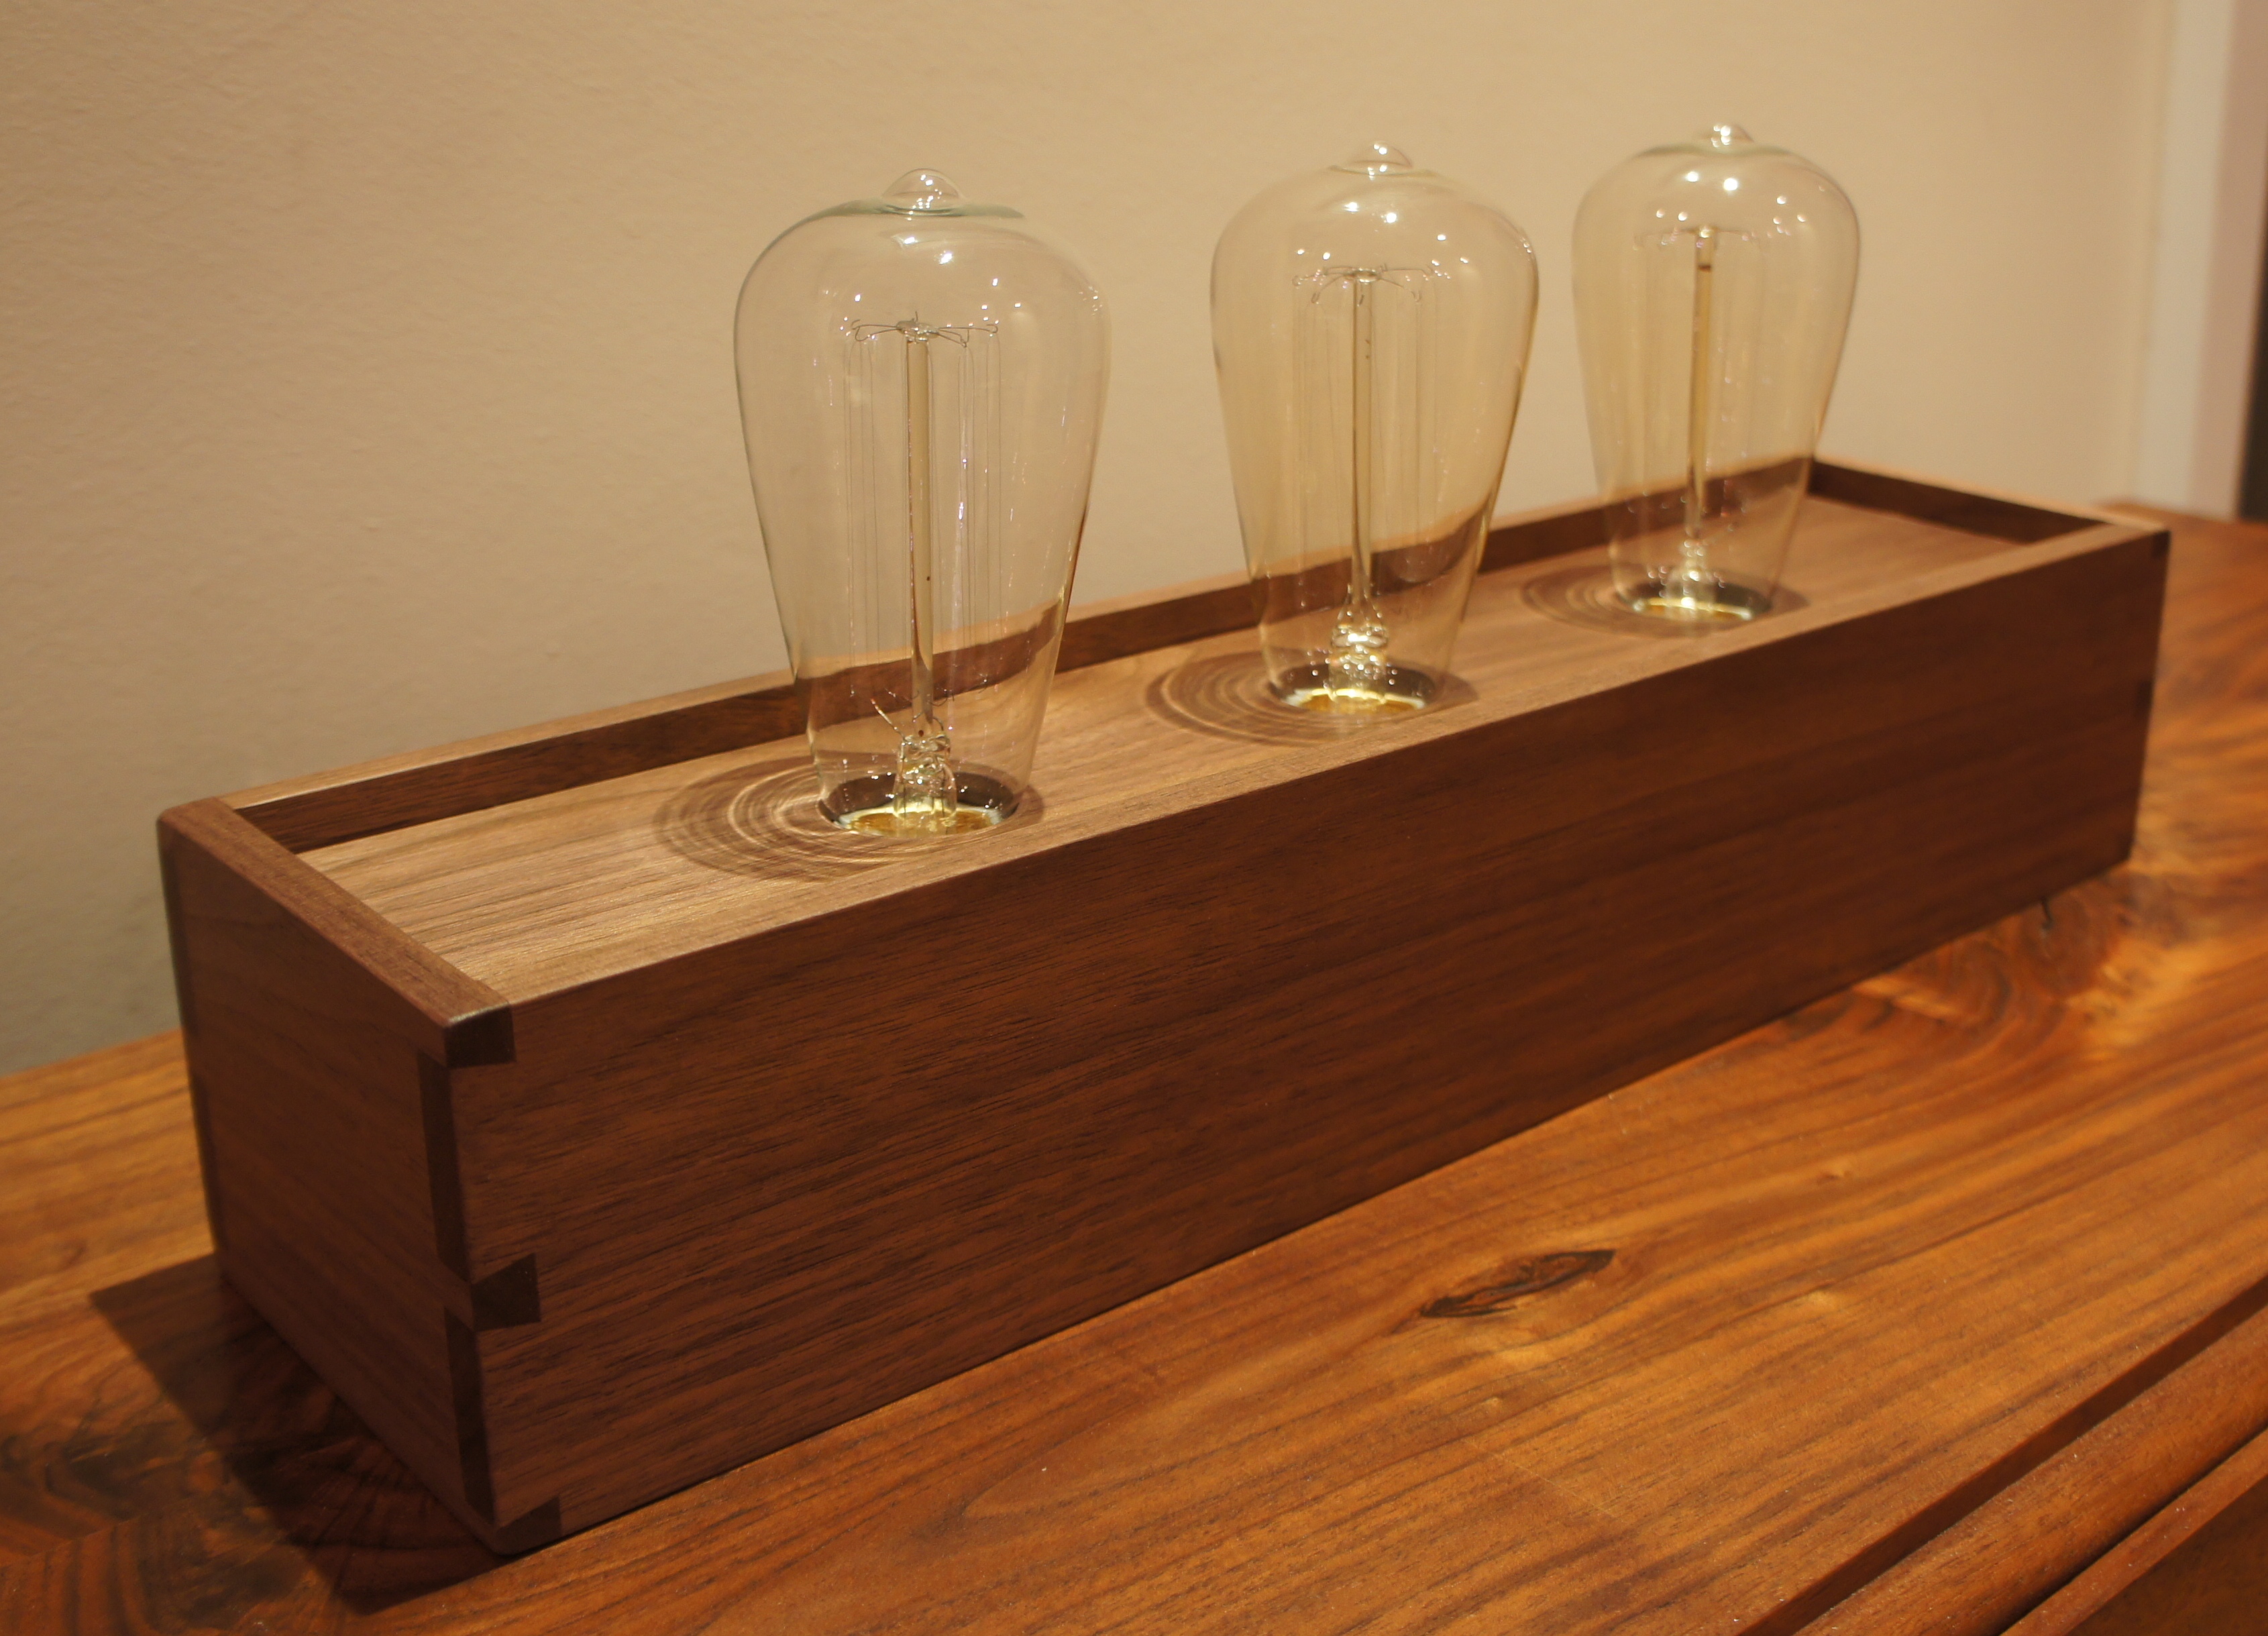
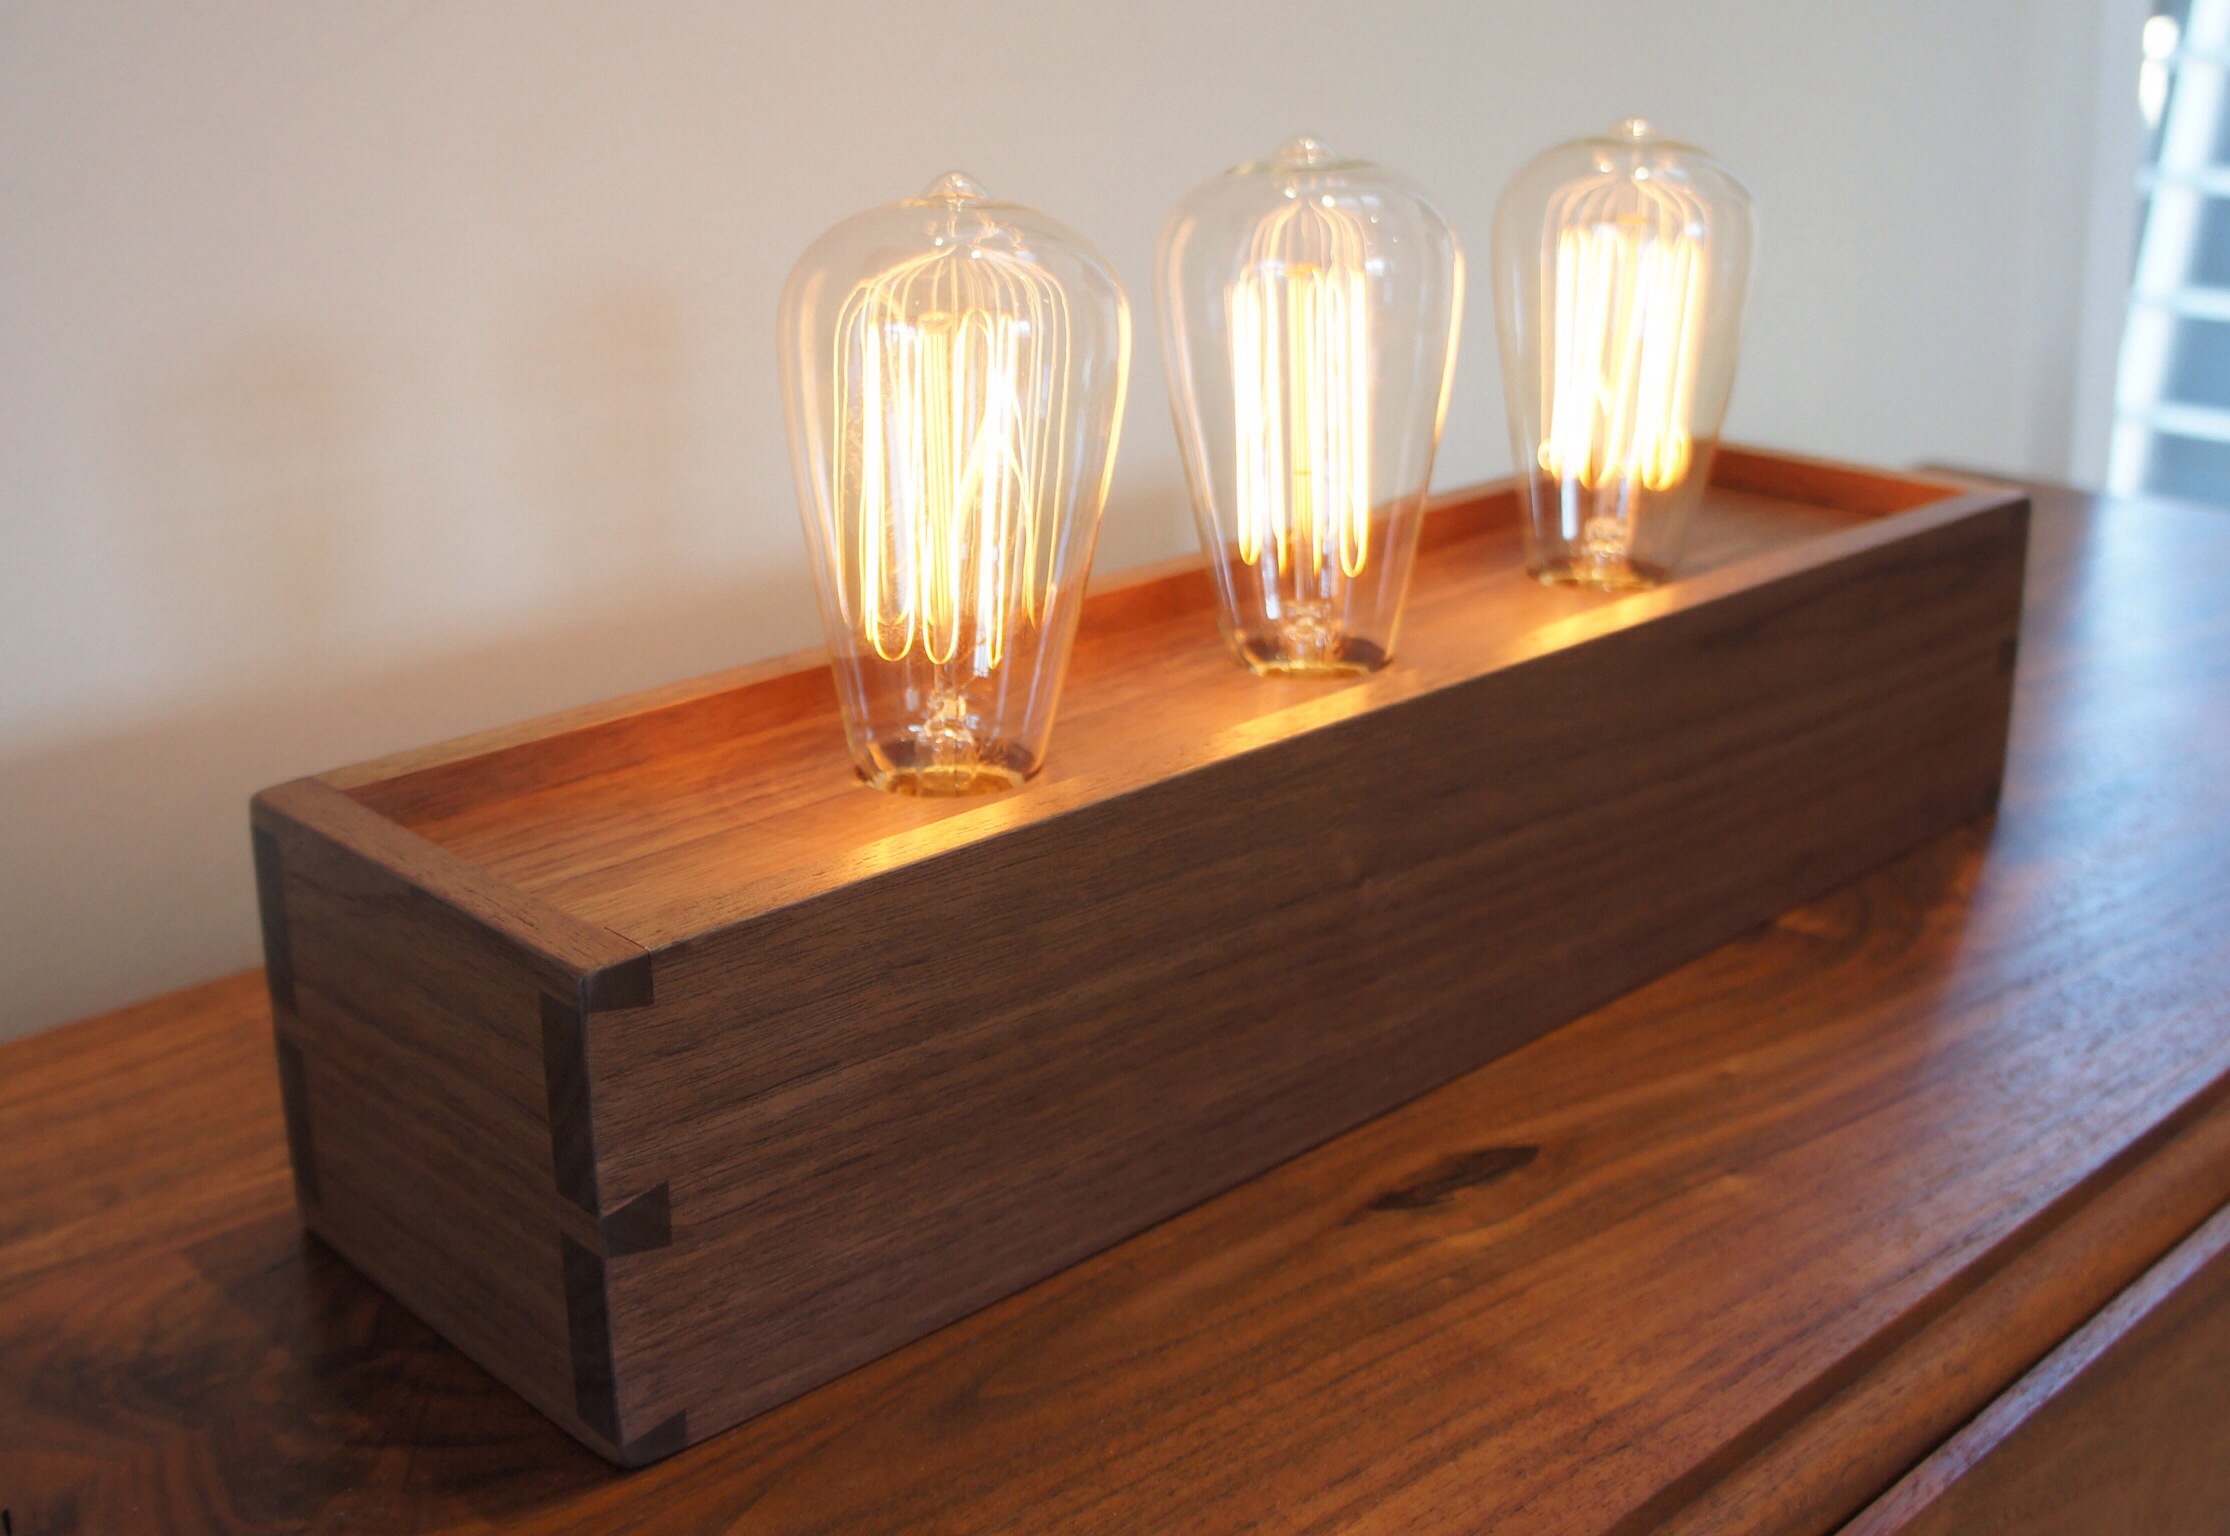
I built my first Edison Lamp nearly 2 years ago.  I’m not sure yet if I’ve perfected how to price them.  In fact I’ve made some slight changes in pricing based on writing this post.  There are numerous approaches that I could take to determining the right price for a lamp…  Price based on a cost plus model, based on what the market dictates, based on a reaction to competition, or any number of other approaches.  So far I’ve priced based primarily on a cost plus basis.  I know that what I’m doing still isn’t optimal, but I’m working on it.

To put pricing in perspective, it’s important to consider that I’m still building Edison lamps for the enjoyment of the work; it’s still fun for me.  Although the “fun factor” shouldn’t enter into pricing decisions, it’s impossible not to happen when you are operating at a small scale.  In the cost plus model, the fun factor means that my labor is free.  If this ever turns into a job and not fun, my hourly cost would make the lamps only available to the oft-spoken of 1%.  So for now, we can avoid that aspect of the pricing equation…

So if labor is free in my cost plus model, from there I need to factor in all of the costs associated with building a lamp.  The materials costs can add up quickly.  I have the lumber, glue, light sockets, dimmer switch, wiring, wiring nuts, lamp cord, and the finish itself.  In all cases these materials are purchased in bulk – bulk for convenience reasons rather than the volume discounts that I would love to get.  Unfortunately, I don’t order in large enough quantities to get a volume discount.   

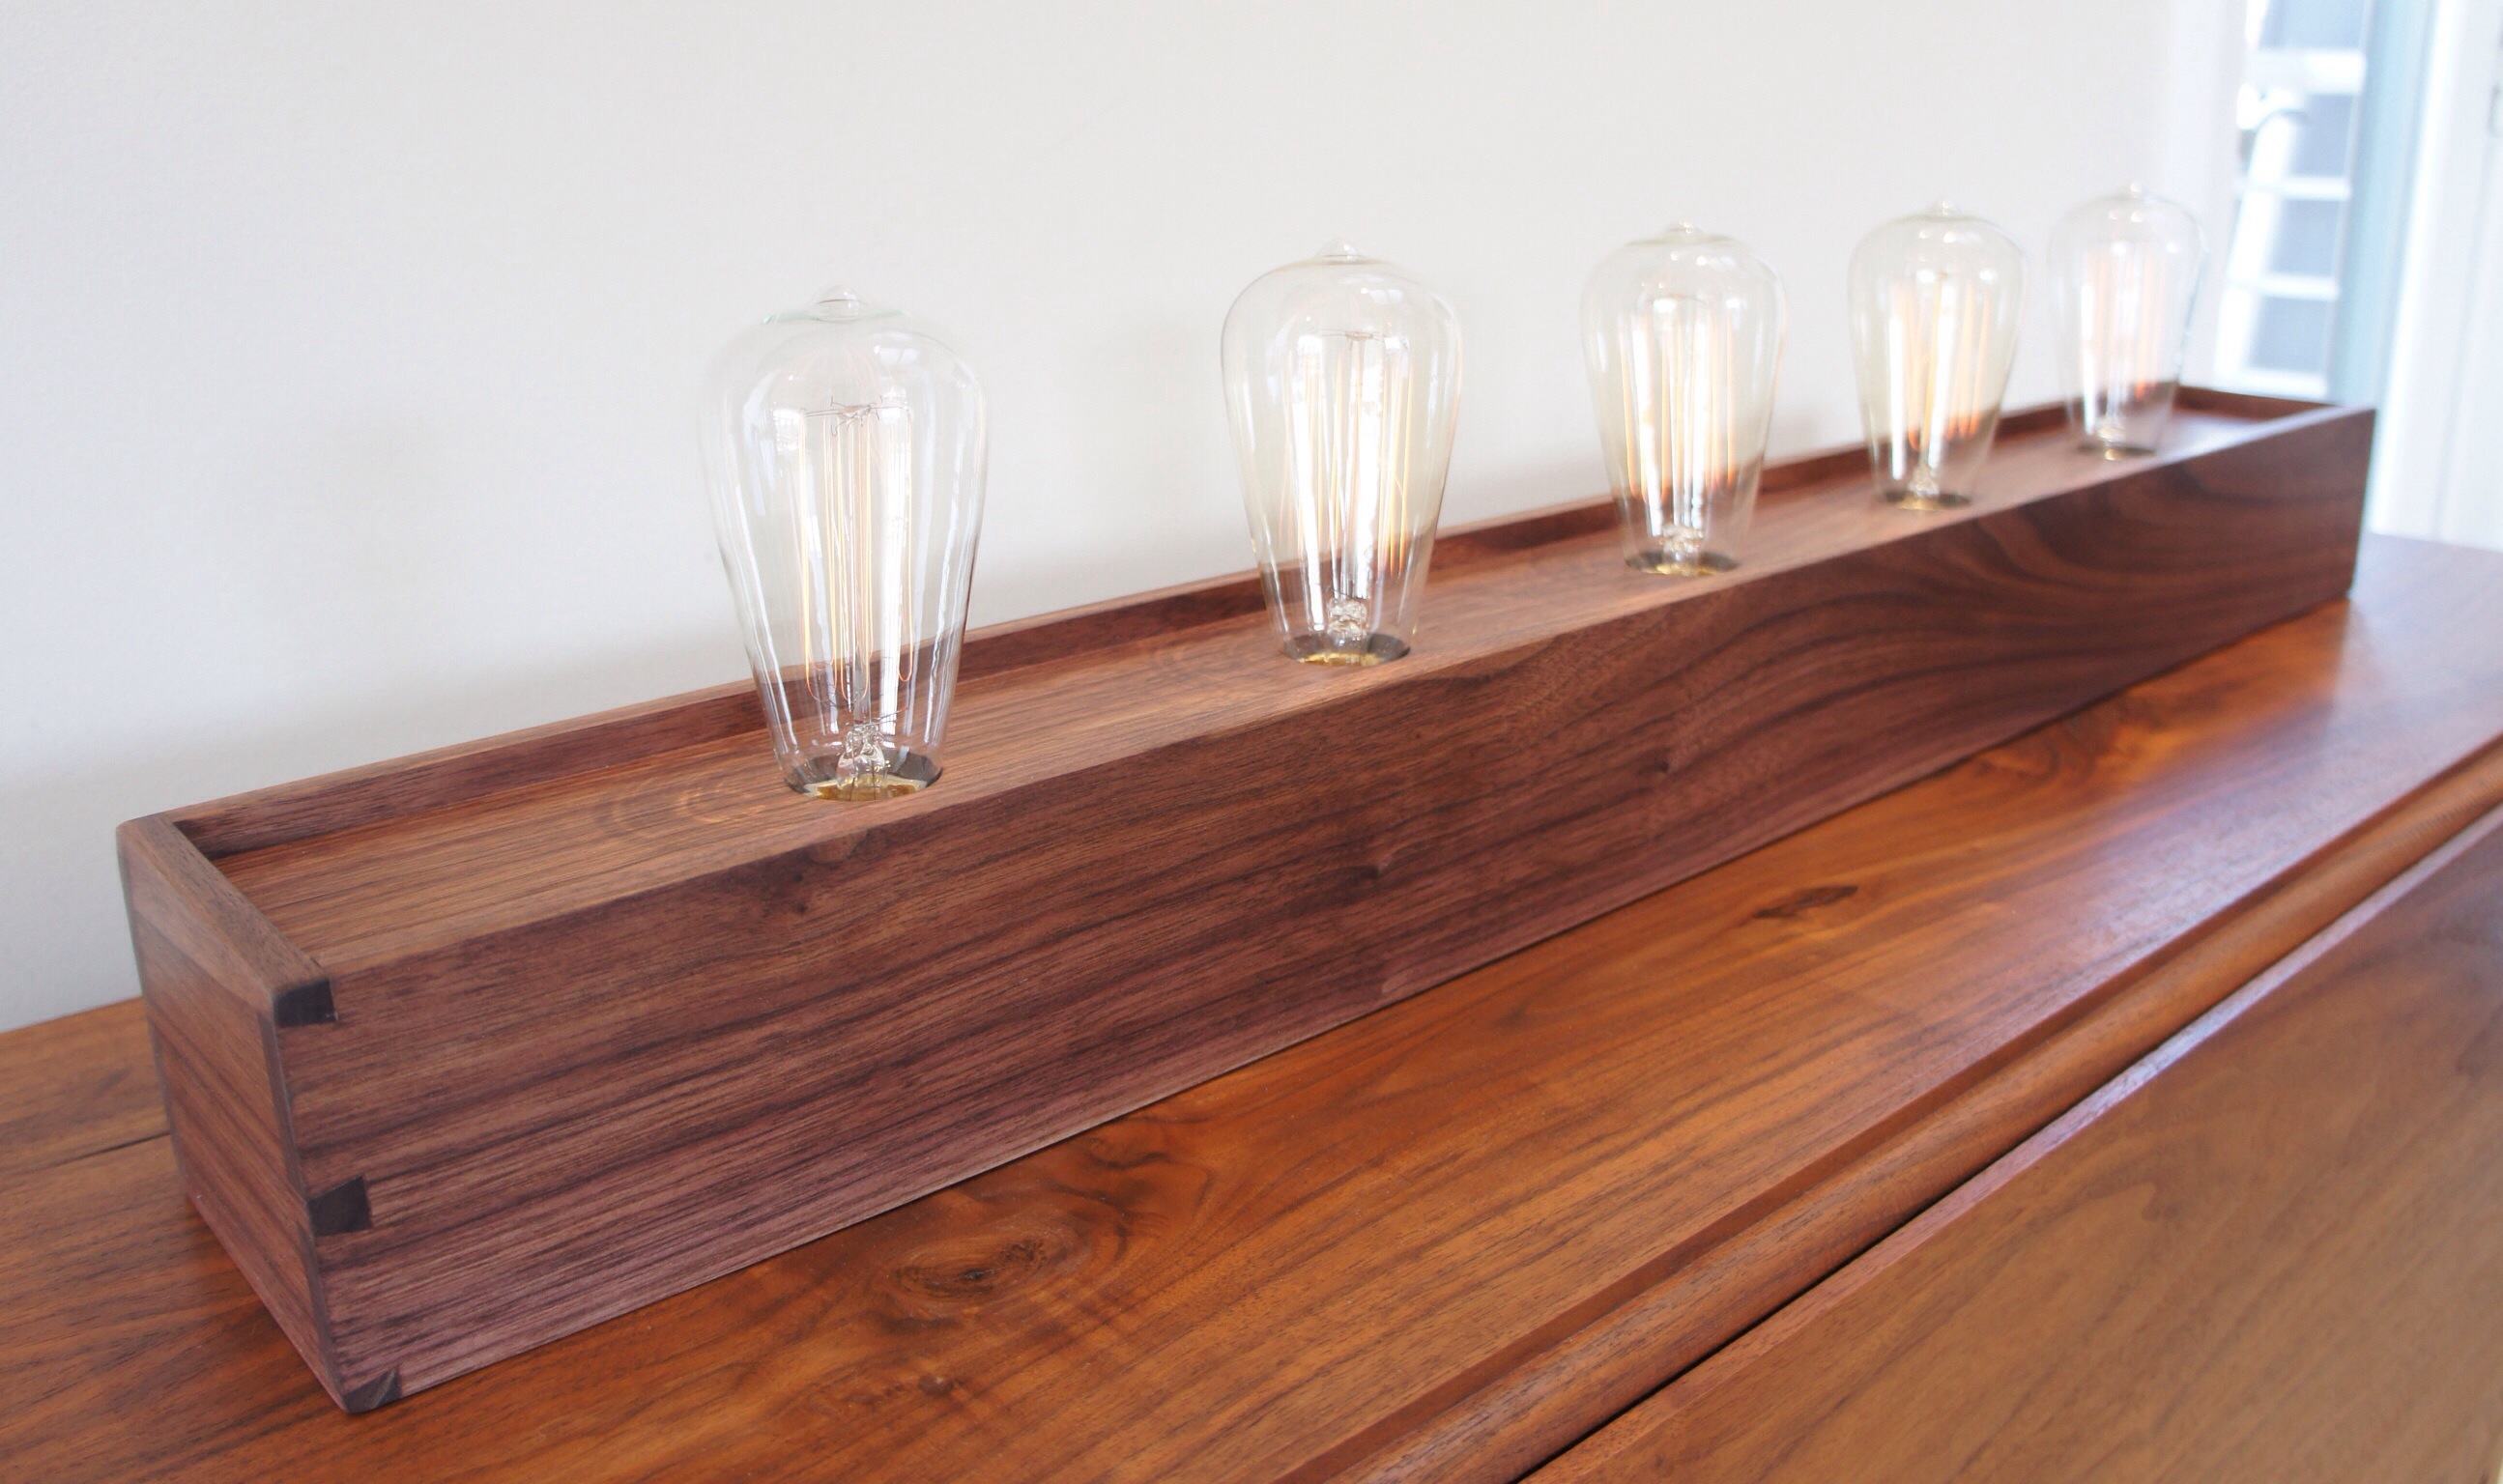
The costs that are known and don’t tend to vary much are the dimmer switch, the sockets, and the lamp cord.  I’ve ordered the sockets and switch from the same provider for the last 12+ months.  My “standard” order is 20 light sockets and 5 dimmer switches.  Home Depot has become my de facto provider of lamp cords.  The lamp cord is one area where I should be able to find a lower cost provider.  While there is only 1 switch and 1 cord per lamp, obviously the number of sockets varies directly with the number of bulbs in the lamp.  The table below shows standard costs that I incur for a 1-, 3-, and 5-bulb lamp build.

lamp_materials_cost

The costs associated with the glue, the finish and the wiring supplies is tiny.  It’s so small that I’m not even sure what it is.  There might be ~$1 in cost per light bulb in the lamp, but even that is a guess.  That’s not going to make or break the lamp cost, so I choose to ignore it.

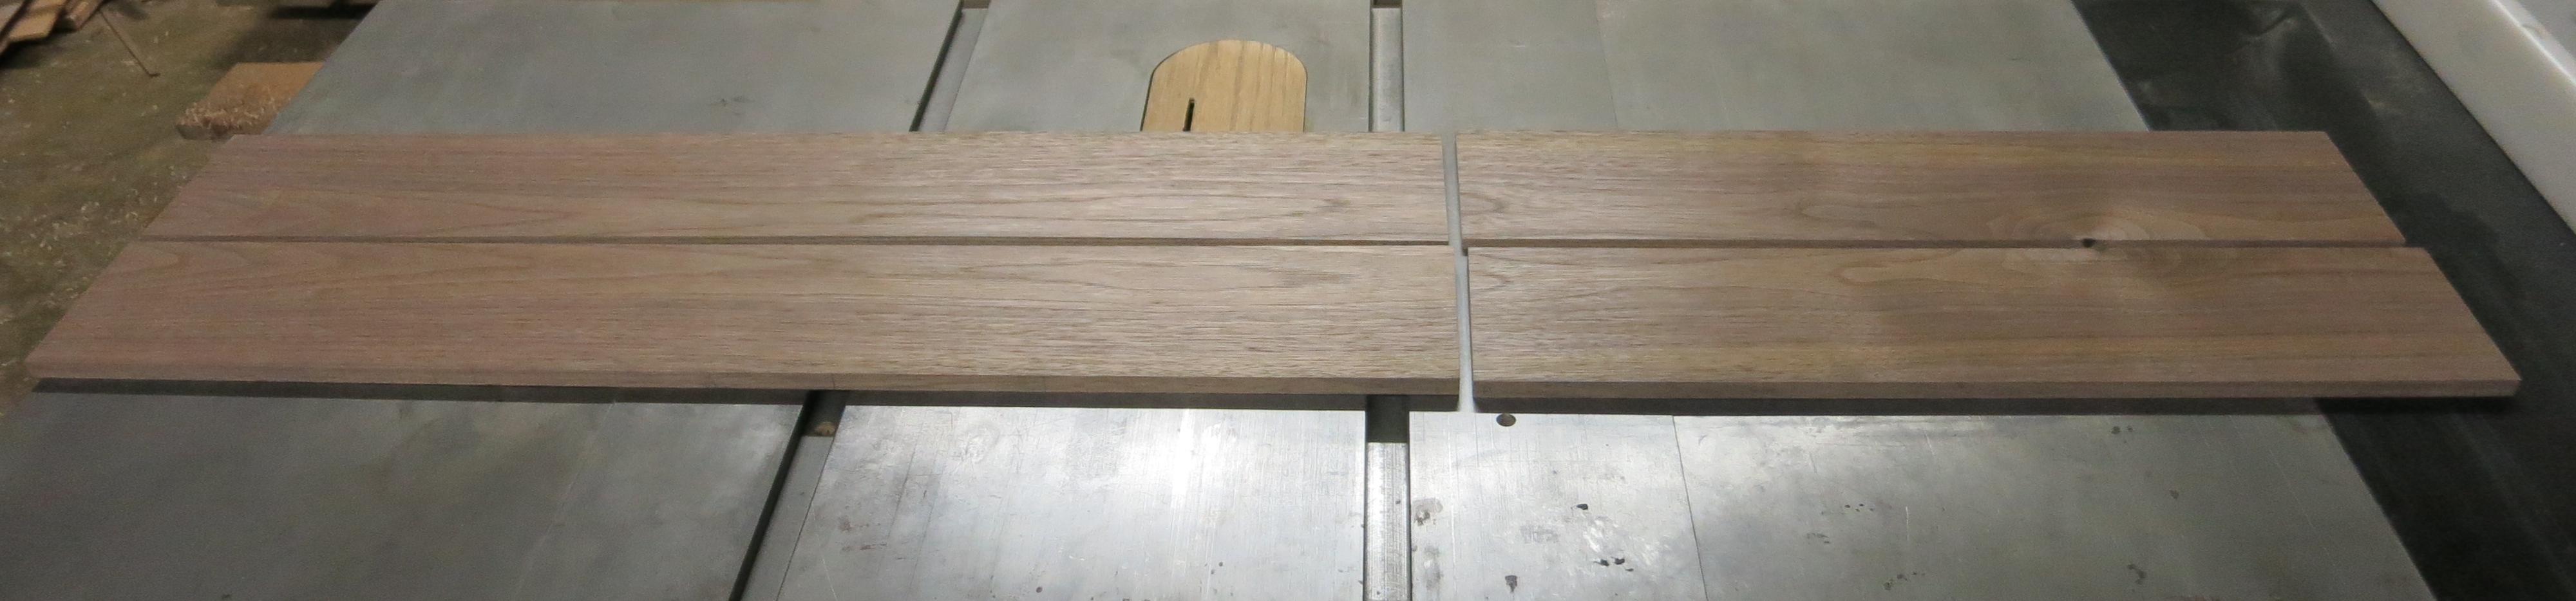
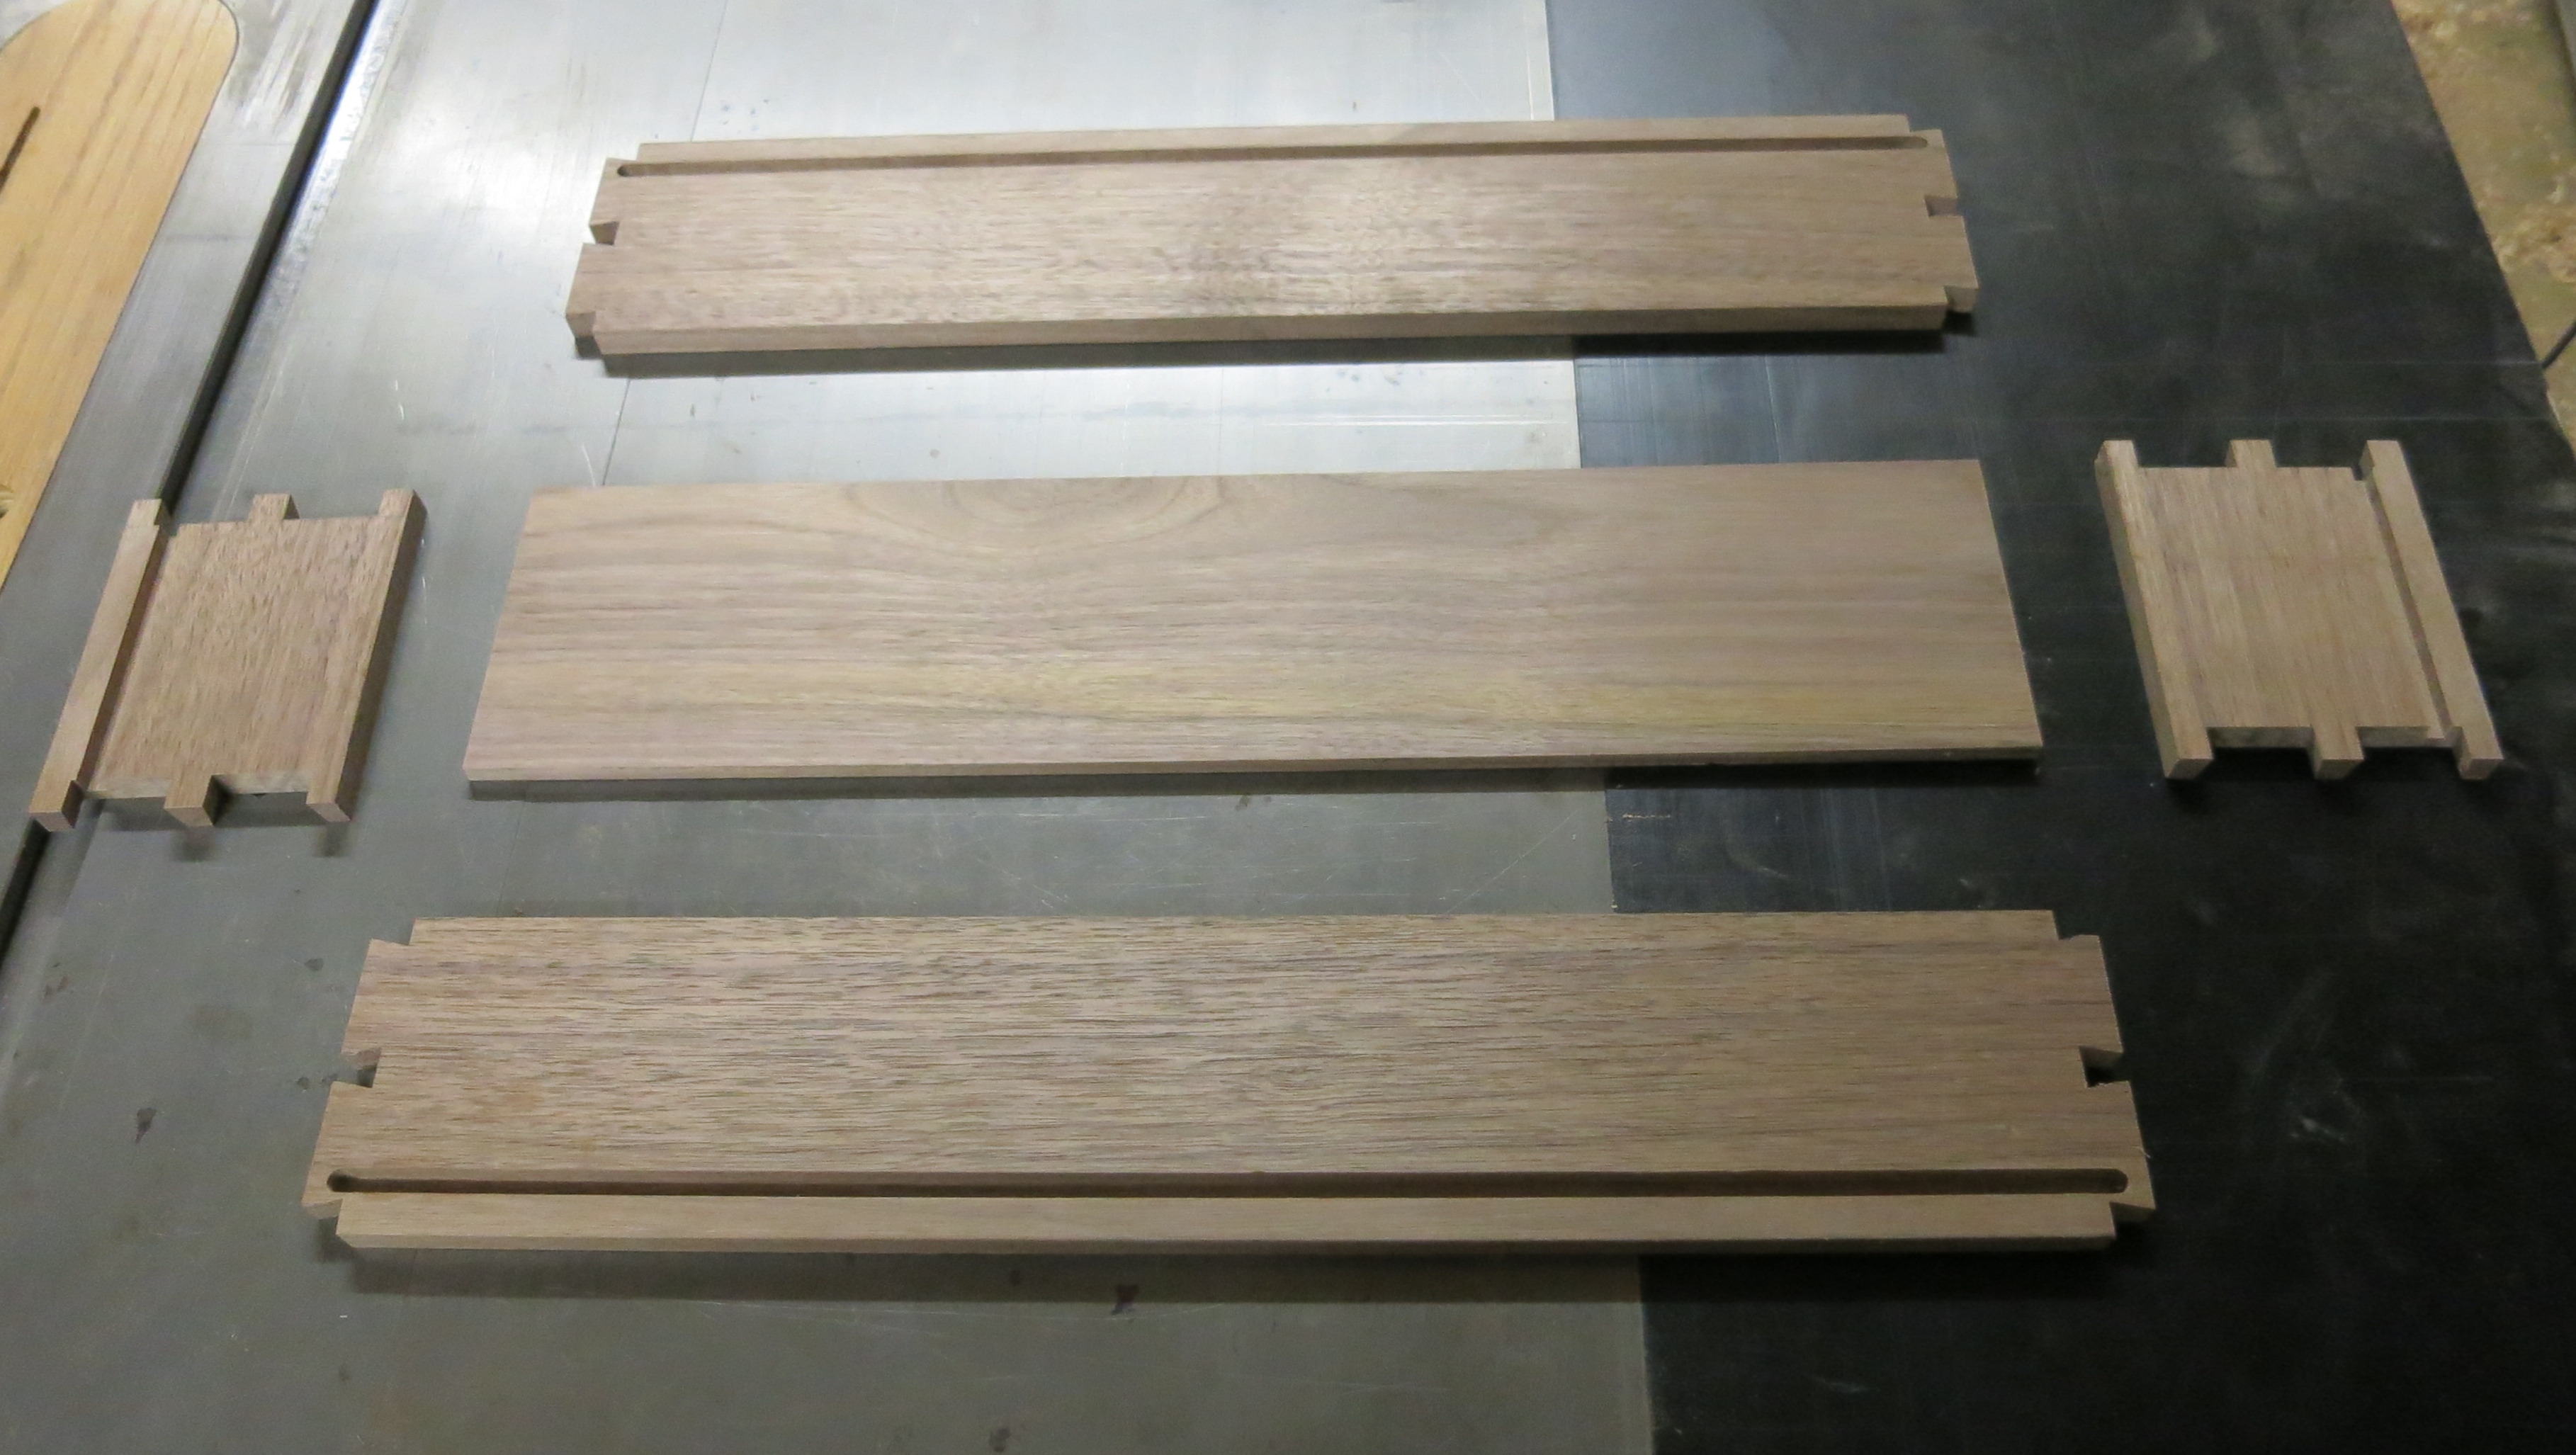
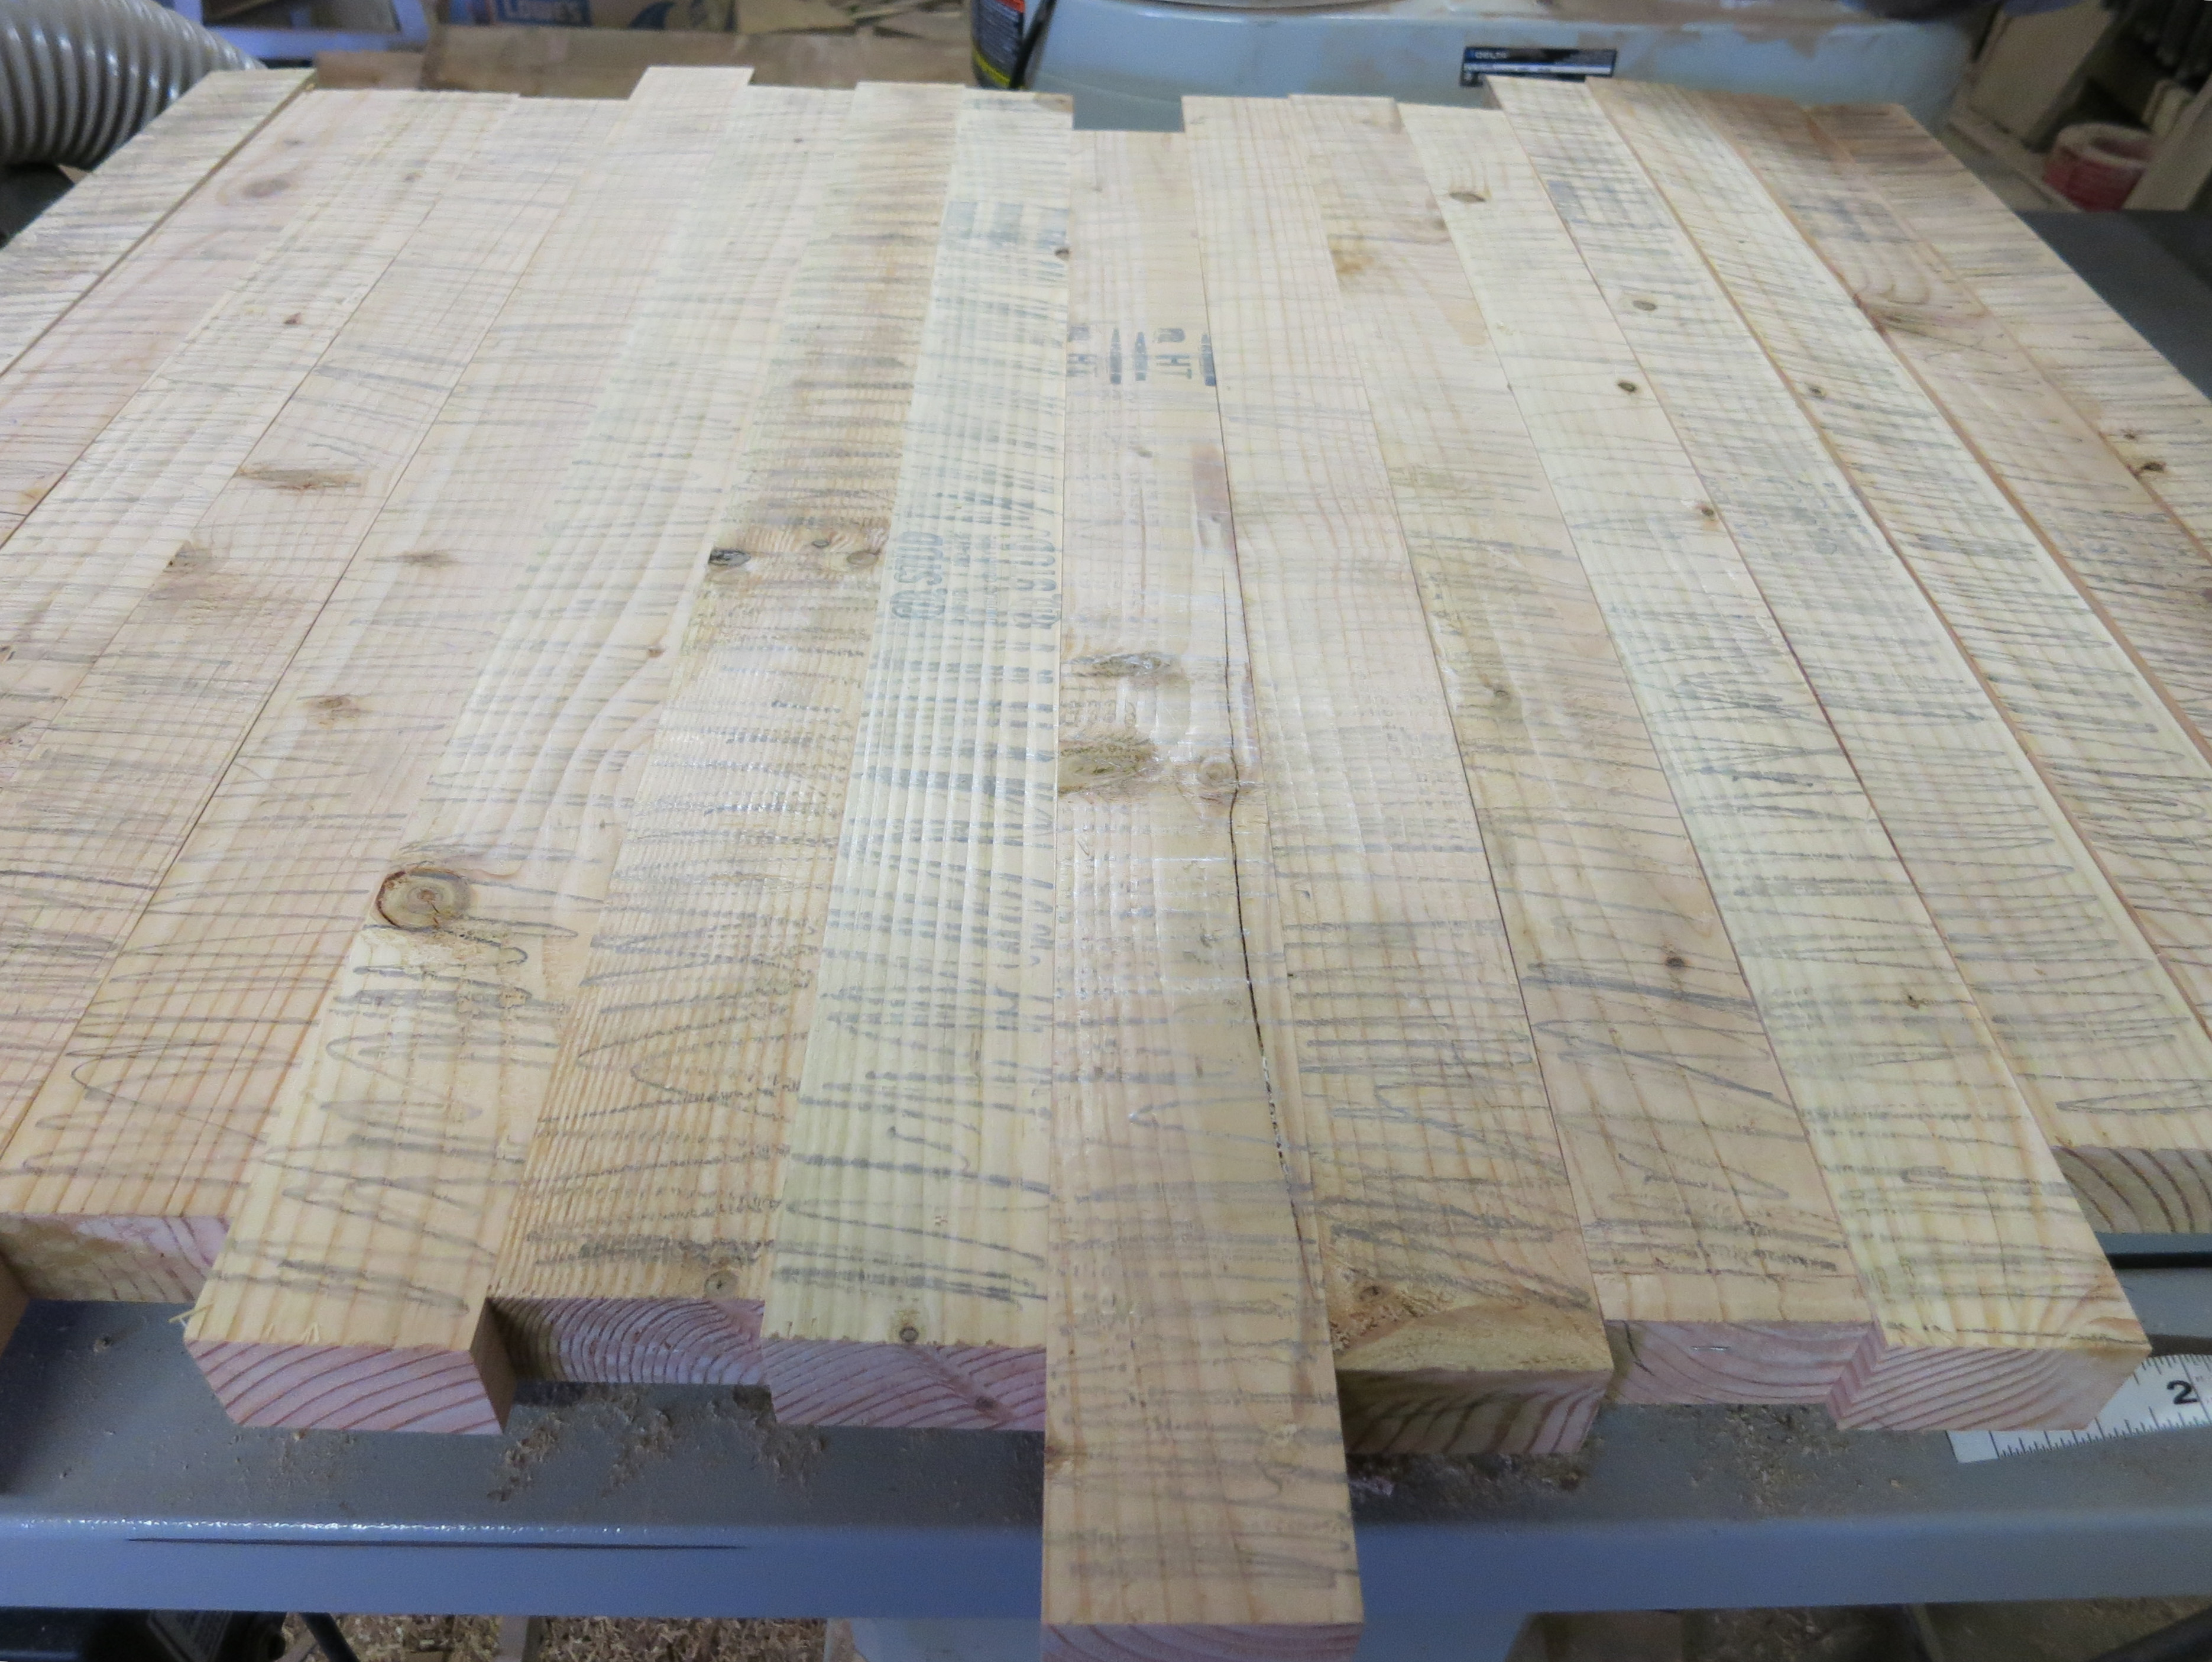
Ultimately, the lumber is the hardest raw material cost to factor in – prices differ significantly based on species, supplier and quality.  Additionally, there is a significant scrap material factor.  Lumber is sold by the board foot and priced according to the quality and the species.  I’ve used some lumber that cost as little as $4 per board foot, and some lamps might cost as much as $40 per board foot.  Obviously, I try to avoid building the $40 per board foot versions, but sometimes that’s what the customer requires.  I price the standard versions of my lamps based on a $9 per board foot average cost.  Additionally, I need to factor in at least a 35% scrap factor – this basically means that if the lamp requires 2 feet of material, I need to expect to use 2.70 feet of material.  20% scrap is an industry standard, but 35% seems to be more realistic.  The table below shows how this prices out for a standard lamp (walnut or cherry).

lumber_materials_cost

I’ve now basically figured out my Cost of Goods Sold (COGS) for 3 types of lamps.  At the low end, a single bulb lamp is running me $24.80 and a 5 bulb lamp is coming in at $59.51.  Compared to my selling prices, I have pretty decent gross margin (~69%) on the lamps themselves.  I can’t think of anyone in the manufacturing world that wouldn’t love to have margins like that. 

lamp_gross_profit

My challenge of course is that I don’t produce (or sell) lamps in quantities that even remotely approach those of a full time shop.  This volume of output factor really hits my profitability when it comes to considering my allocated costs.  I have shop rent, insurance, utilities, equipment and equipment maintenance.  The first 2 are basically fixed costs for me; fixed in the sense that I know what they are each month and that they don’t vary based on volume output.  Utilities should vary with output, but it hasn’t significantly for me.

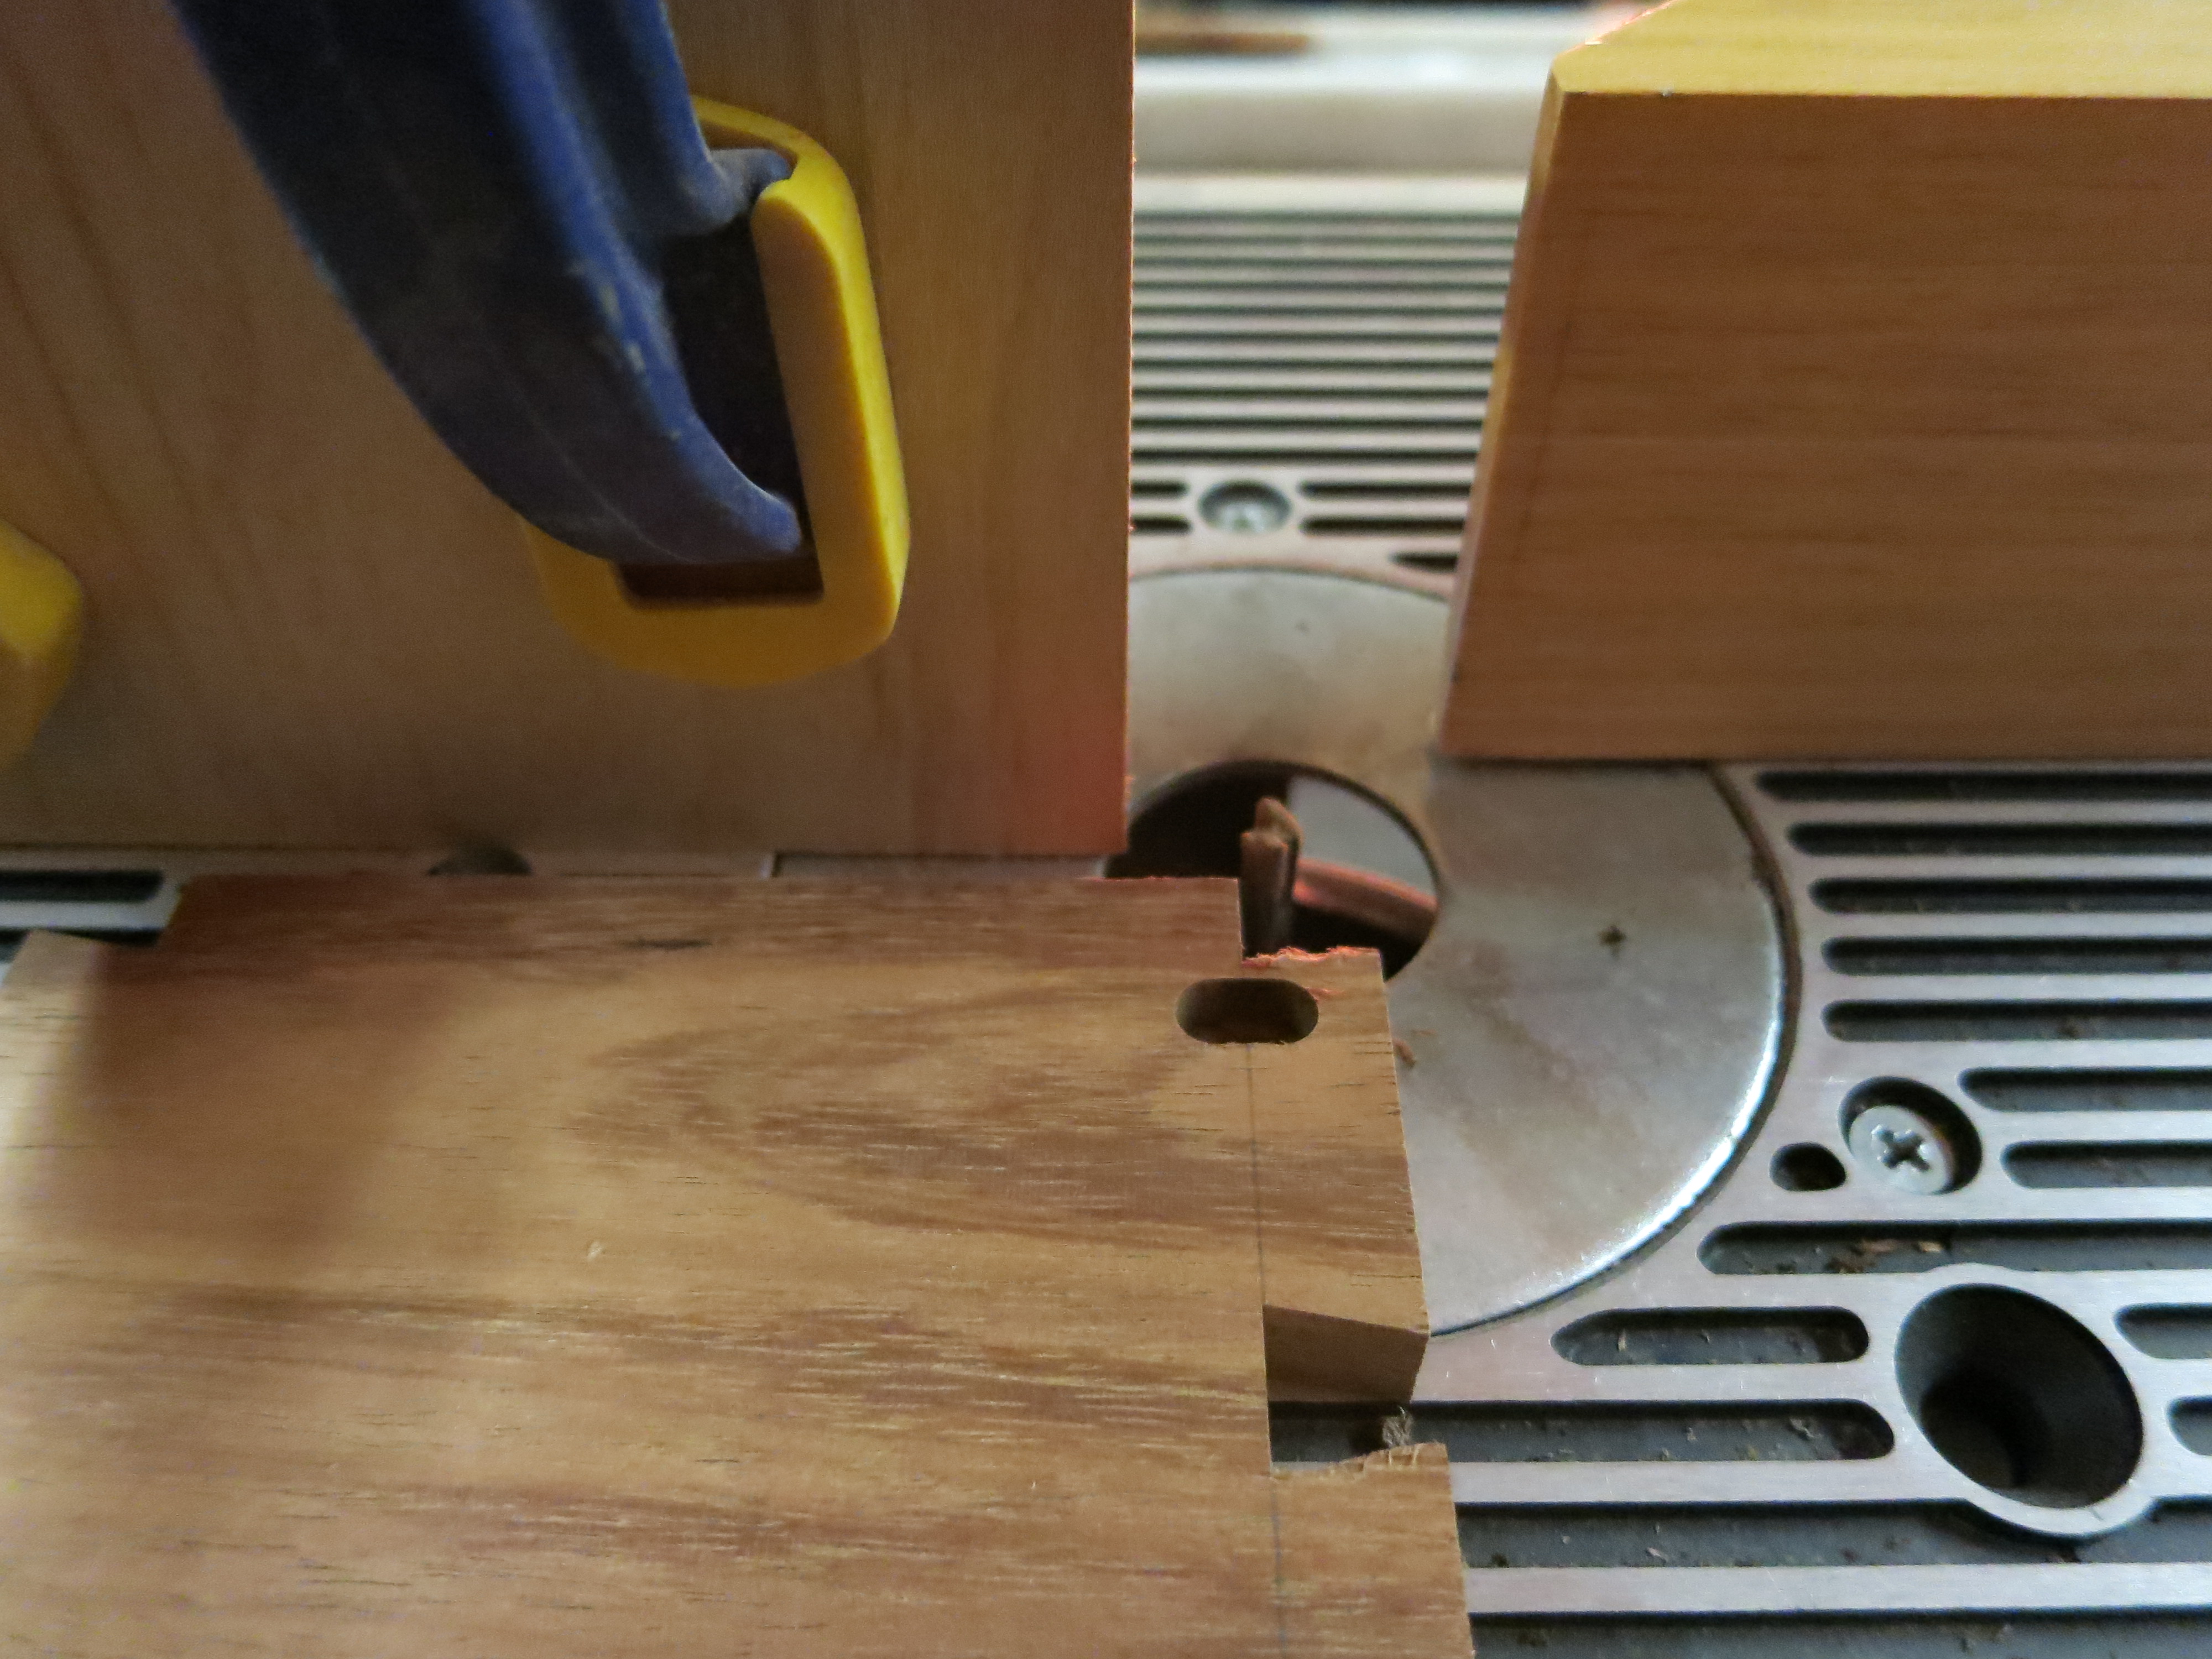
There are a lot of pieces of equipment required to build a lamp.  The list (in order of use) is: miter saw, jointer, table saw, band saw, planer, dovetail jig, router, router tale, clamps, drill press, and sander.  I would ballpark the cost of all of that equipment combined at ~$6,000 (that’s probably underestimating it).  From an accounting perspective, most of my equipment is old enough that it is now fully depreciated and doesn’t really have a cost for me.  Thankfully maintenance is pretty limited as well – small enough that I don’t need to factor it into my costs.  Basically, this means that I’m completely ignoring my equipment related costs in the pricing decision.  This isn’t the right way to think about it, but this goes back to the “fun factor” which allows me to make illogical business decisions.  The fun factor would almost prefer to see equipment fail, so that I could buy all new shiny shop tools.  Illogical – yes, but this is the difference between a hobby business and a true for profit enterprise.

So if I isolate just the shop rent, insurance, and utilities, I incur a monthly charge of ~$585.  The question then becomes what volume of lamps I would need to sell to cover these allocated charges.  There are a number of ways to get to the $585 figure, but the most direct path would require selling 7 lamps (in one month) – 3 single bulb lamps, and 2 each of the 3- and 5-bulb varieties.  7 lamps per month would be 84 lamps in a year – last year I sold 25.  So the question is if the $585 figure is appropriate…

$585 pays for a month in my shop.  On a perfect month, I might get to make 9 trips to the shop (this is a fun side way to make money, not my career).  So one logical approach might be to take a normal work month of ~20 days and say that I’m able to effectively use 45% (9 divided by 20) of the shop workdays.  Under this math, I would only need to sell enough lamps to cover $263.  I can cover that with just 3 lamps a month (1 of each variety).  Another way to view it is to view my effective usage of the shop at 30% (9 divided by 30) of the average month.  Under this scenario, I’d need to cover $175 each month.  There are numerous ways I can get to that number, but as few as 2 lamps would need to be sold to cover costs.

The only other costs come from my channel partner.  I’ve chosen Etsy for all of my sales needs (at this point).  The fees are fairly reasonable.  In total they charge about 7% of the net sale amount (not including shipping).  These fees are split between the listing, transaction cost, and credit card processing costs.  Ideally that cost should be closer to 5% – 6%, but given the small volume I do with Etsy, I can’t complain.

So where does this leave me in this cost plus world?  Under my current pricing model, I need to sell about 24-36 lamps a year (depending on the mix) to cover 30% – 50% of my shop costs.  That’s not bad, but it’s not where a full functioning business should be operating.  Maybe I have a cost issue, maybe it’s price, maybe it’s awareness of my offering…  There are any number of factors that can be influencing my ability to turn a profit.  I’ll run some tests throughout 2014 to see what kind of impact I can have on my little hobby business.  I’ll have to do an update post later in the year to show what the results are.


3 Comments

Setting the Depth of the Top Reveal on an Edison Lamp

Selecting the depth of the reveal is partly for aesthetic reasons and also for a simpler build out process.  I hinted at these reasons in a prior post about updating the Edison lamp prototype.  Probably the first 5 versions of the lamps I built were similar to the prototype.  Since then, I’ve set the Edison lamp top about an 1/8th of an inch lower.  It’s a minor change but it has significantly reduced the number of times that I’ve had to rebuild a lamp – frequently the corner of one of the pins would chip out when routing the channel for the top.

By lowering the top a fraction of an inch, I’m able to route the front and back of the lamp without using a plunge cut.  On the sides the plunge cut is still required.  Basically what I’m doing is dropping the lamp side down on top of the router bit.  The photos below show the result of the plunge cuts.  The first photo shows the result of two plunge cuts and a little clearing between the cuts.  Technically a single cut on each side would be more than enough, but I’ve taken the belt and suspenders approach.  To make sure that I don’t extend my cut too far, I clamp a stop block to the router table fence.

From there I’ve flipped the side over and drawn lines on the top of the lamp sides.  The lines are shown in the second picture below.  I align the marks with router table fence where the cuts start and stop.  In the picture the left side of the piece is complete.  From here I repeated this process of plunge cuts and marking the sides on the right side of the piece.  Finally I remove the stop blocks, plunge the piece over the existing cuts and then route the piece between the plunge cuts on each side.

This whole process takes maybe 15 minutes to complete properly, but any missteps can result in having to start the entire build over again.  Thankfully by dropping the top a fraction of an inch, the number of rebuilds has dropped to zero.  Final picture below shows the end result – the latest single bulb koa Edison lamp to leave the shop.

IMG_0022 IMG_0025 SONY DSC


Leave a comment

Building Out the LinkedIn Company Presence

I started this blog a little over a year ago to chronicle my experiences in the shop.  With this post I’m expanding the scope of the blog a bit.  While the focus will still be on the shop experience, I also want to address some of the business experiences of having a side business (maybe better defined as a glorified hobby).  This scope creep actually lines up with my original intentions for starting this WordPress site, as I was also doing this to learn more about some of the topics that I address in my big boy job.

Outside of the shop, I’ve worked for years as a consultant.  I’ve been advising clients on how to improve their interactions with customers (and channel partners).  In less consultantese, I help my clients improve their marketing, sales, and customer service operations.  Now of course the execution of these tactics for a Fortune 500 company is a little different than what I can do in a few spare hours during the week.

I’ve already tackled many of the common aspects (this blog, the facebook site, etc.), but now it is time to tackle LinkedIn.  I originally joined LinkedIn September 22, 2004.  Apparently, I created the 1,158,025th profile (you can check your count by looking at the ID number in the URL when editing your profile).  It’s been useful for connecting with past colleagues, finding jobs and researching clients.  About 8 years after I joined LinkedIn, they released their most recent version of company pages.  There have been some additions and deletions from the company page feature set during that year, but things appear stable enough now to actually build out a page.

Fortunately the Company pages don’t cost anything to create; there are a few administrative hurdles, but it’s free – can’t complain about that.  Unfortunately, company pages are geared towards companies that don’t fit my profile.  I’m not trying to attract employees.  My products need to focus on the visuals rather than the words.  I offer custom made pieces, not SKUs.  And while there are many potential customers for me on LinkedIn, professional networking sites are not the best place to say “please buy my products”

So why even bother with LinkedIn?  A significant part of it is simple curiosity.  I also want to see if I can think creatively about how to work within the structure (opportunity?) that LinkedIn offers.  To me, the goal needs to be to use what’s there and completely forget the areas that don’t work.

What doesn’t work?  Careers Pages don’t.  I’m certainly not looking to hire anyone.  Unfortunately, Products Pages don’t work for me either.  It should work, but the LinkedIn structure for products isn’t very well thought out.  The LinkedIn product page offers the company a product description, some really poor options for product fields, a product URL, etc.  I think that 2 items sell my “products” – my photos and the story of the build.  This just doesn’t work within the structure of the product page.

What might work?  The main company page should work.  Obviously you get the basic info on my company (location, industry, website, etc.) and you can get a news feed.  I won’t mirror all of my blog posts to this feed, but I will use it selectively.  Unfortunately, LinkedIn puts the basic “about” info at the bottom of the news feed.  This results in near endless scrolling to get to much of the information that I’m most interested in sharing.  No work around here – just poor design.

The Showcase Pages should work.  I think that LinkedIn intends this for companies with strong unique brands – think Microsoft with separate pages for Windows, Office, SQL, XBOX, etc.  The Showcase pages are linked to the Company page, but they need to acquire their own independent followers.  For me, I’m thinking the independent followers aspect is what I want to be my anchor point.  I want to focus on presenting content to unique groups of LinkedIn members.  For me I’m thinking one Showcase page dedicated to Edison Lamps and one dedicated to the experience of running a side business.

The Edison Lamp showcase page is pretty straightforward.  The content for the page can basically mirror the Edison tag feed of the current site.  Frankly that’s probably how it will start.  Over time I will refine that content strategy.  Whatever I do, LinkedIn is not going to give me an opportunity to highlight photos of the lamps.  But hopefully I can generate a few extra views / visitors for this blog and the Etsy store.

The page re: the experience of running a side business is more interesting to me.  At least more interesting in the context of LinkedIn…  I can imagine future posts on the experience with the WordPress site, creating a logo, defining my sales channels (Etsy), etc.

There are numerous future areas to consider with respect to LinkedIn…  Should I find groups that are associated with furniture making?  If I did would that do anything to help me from a business perspective (e.g., engaging with suppliers, getting new design ideas, etc.)?  Should I consider sponsoring posts (on a cost per click or a cost per impression basis)?  If I did sponsor a post, should the goal be followers, site visits (on the blog), product views on Etsy, sales/orders, other?  I’m sure I’ll also dive deeper into the LinkedIn experience (e.g., frustrating logo sizes, also using a Showcase Page because it offered a better “hero” image, etc.).

More to come on the business side…  But I want to make sure that I don’t change my tone in this process.  All of my digital content will still be presented from the first person perspective.  I will write in a conversational style (while hopefully not sounding immature).  A new year is around the corner, and I’m now exploring another one of our available social media channels.

LinkedIn Company Page


1 Comment

Updating the Edison Lamp Prototype

It’s been a few weeks since I’ve updated this site with some Edison lamp photos.  It seems that the walnut lamps are the most popular.  In 2013, I’ve sold 21 lamps and 15 of those have been in walnut.  While I don’t list more walnut lamps than cherry on Etsy, it appears that their search algorithm favors that iteration of the lamp.  Perhaps that is the reason for the popularity of the walnut version.  Of course it’s possible that people just prefer the walnut look.

The original prototype I built was walnut.  Recently, I took it into the shop to update some of the hardware on the lamp.  I updated the switch to a dimmer switch and I swapped out the sockets to a new porcelain version.  The prototype also featured a few design elements that I ultimately changed.  The most obvious change is the shift from 4 tails (in the prototype) to 3 tails (on the current version).  I’ve also recessed the lamp box top a little lower on the current version.  Whereas the shift to fewer tails was purely for aesthetics (I think it looks nicer), the change in the lamp top makes the build process a little easier.

The first set of photos below, show the original prototype (which was just sold).  Below the 2 photos of the prototypes are photos of the new design.  The next lamp was built out of lacewood (and can be purchased from my etsy store if you are interested). The final lamp is built from walnut and was highlighted in an earlier post.

SONY DSC SONY DSC
SONY DSC SONY DSC SONY DSC
SONY DSC SONY DSC


Leave a comment

Wrapping 8 Legs

A few posts ago, I showed some of the initial prep work to build some legs for a new entertainment stand.  The process started by dimensioning some wall studs and then laminating 2 studs together.  This formed the core of the legs that I was building.

The next step was to prep the walnut veneers that would wrap the legs.  There are 8 legs and 4 faces that need veneer – no need to veneer the tops or bottoms of the legs as neither would ever be seen.  So 8 legs times 4 faces equals 32 veneers needed.  Ideally I would get each leg’s 4 veneers out of the same board, but this isn’t always possible.  The process is involved, but fairly straightforward.  First a face and an edge of a piece of walnut is run over the jointer.  Next it’s over to the band saw.  The goal is to cut an extremely thin piece of walnut from the board (this will become the veneer).  The process of jointer and then band saw is repeated over and over until all 32 veneers are cut.  Unfortunately both faces of the veneer need to be smooth, and they aren’t smooth enough coming off of the band saw.  So the final step to prep the veneers involves a lot of sanding.  I use a wide belt sander (although I think a lot of people call them a drum sander) to smooth the faces and get the veneers to the final thickness.

Now with all of the pieces prepped, it’s time to start gluing on the veneers.  I first begin with the sides of the legs.  As you would imagine, it’s just gluing and clamping.  The veneers are oversized, so once the legs come out of the clamps, there is a need for some hand planing.  With the side veneers flush to the front and back of the leg cores, the front and back veneers can be applied. If you can’t tell by now, it’s a lot of work to build legs this way.  It would be a lot easier to just start with thick lumber and joint and plane it to dimension.  The challenge in that approach (and this specific situation) is that I wanted the walnut to match (in color) the rest of the walnut that would be used on the piece.  And I wanted strong, stable legs.

The photo below shows the top of a leg and one of many mortises.  By the time the piece is finished there will be 60 mortises cut.  Lots of work left to do, but finally making some real progress.

IMG_0006 1


1 Comment

New Lumber New Edison Lamp

I’ve been working off of the new stack of lumber for a couple of months now. It’s good lumber and I’m happy with the quality of the walnut, but it is definitely different than the last batch of walnut. Not better. Not worse. Just different.

I’ve recently started the 20th lamp of the year (technically it is the 21st since USPS lost one and I had to rebuild it). For those that are interested, this is the 14th out of walnut and the 5th that is of the 3 bulb variety (3 of those 5 have been in walnut). I love the look of walnut and it is my wood of choice, but I’m still surprised that I don’t sell more cherry and maple lamps at the Etsy storefront. I love them all, but sitting on my walnut table I have always found the contrasting maple to be the most striking look.

To “celebrate” the 20th lamp of the year, I’ve gone back to my old format of highlighting the build process of the lamp. To build a 3 bulb lamp I need to shoot for a piece that is 4/4 (this is woodworker talk for a board that is an inch thick; spoken “four quarter”) and at least 4 1/4 inches wide by about 47 inches long. In my last post I wrote about starting the build of leg blanks for a new custom piece. In selecting wood for that piece, I ended up with one extra board (shown in the first picture below). I didn’t end up using that board in that piece, because it had a pretty nasty little bow to it. If you look closely, you’ll see that it isn’t flat on the surface of my table saw.

Fortunately correcting that type of issue is pretty easy for this style build. I’m not going to go into every detail of how I correct the issue because there are numerous posts on this site that talk about the build process for an Edison lamp. Basically it involves cutting the board at a strategic location and then working the jointer, band saw and planer until I get the four boards shown in the second picture. One of the 4 boards there becomes scrap (or turned into coasters), but the rest are destined for dimensioning, time in the dovetail jig and then a pass through the router table. This results in the 5 boards shown in the final picture. From here it is a pretty straightforward build process. The next post related to this build will be for the final “glamour” shots.
IMG_0005

IMG_0006

IMG_0010


Leave a comment

No Wonder Walls Are Never Straight

Shop work finally shifted away from Edison lamps this past weekend.  Step 1 of the new project is to build some legs.  Ultimately, I’m hoping that the legs will be 2″ x 2″ x 30″.  The first challenge I have is that I don’t have any boards thick enough to get a 2″ x 2″ leg.  I could go and buy some 8/4 walnut, but still challenges…  By the time I get the boards flat and square I’m unlikely to still get 2″ x 2″.  Beyond the size issues, it is unlikely that I would get 4 good looking faces to the legs.

The approach I like to take is to build a core out of cheaper lumber and veneer the blank with the same lumber that will be used for the rest of the piece.  The process started by laminating together 2 pieces of lumber.  I like to just use 2″ x 4″ studs available at the local home store.  In this case, I used the highest quality studs available.  Even still, none of the boards were flat / straight (no wonder walls are never straight).  As a result, a significant portion of day 1 was spent jointing, planing, and dimensioning the lumber (the photo below shows the blanks marked up so I can make sure that I’m getting completely surfaced lumber).  This step is important as it both helps to keep the legs straight and it gives me a good flat surface to glue together.

Next posting (if it isn’t another Edison lamp post) will discuss cutting the walnut veneers for the legs…

2013-10-17T22-30-17_0


Leave a comment

3 New Lamps Have Left DC

I’m still working to get this blog in sync with actual activity happening in the shop, and it is now close. The photos in this post show the last 3 lamps that have been shipped off to customers. Nothing too unique about these builds, other than one lamp was shipped off to Canada (little pricey and a lot of paperwork) and one of the walnut lamps was done in just boiled linseed oil (wanted a slightly different finish than normal). Currently in the shop are 2 more lamps (one in walnut and one I’m trying out of lacewood) and a bunch of walnut strips that I’m turning into cutting boards.

I’m guessing now that the next post won’t be that meaningful either. Hopefully by the end of October I’m back with posts that highlight the build process as much as the finished goods.

20131006-181919.jpg

20131006-181937.jpg

20131006-181953.jpg