
I’ve been working off of the new stack of lumber for a couple of months now. It’s good lumber and I’m happy with the quality of the walnut, but it is definitely different than the last batch of walnut. Not better. Not worse. Just different.
I’ve recently started the 20th lamp of the year (technically it is the 21st since USPS lost one and I had to rebuild it). For those that are interested, this is the 14th out of walnut and the 5th that is of the 3 bulb variety (3 of those 5 have been in walnut). I love the look of walnut and it is my wood of choice, but I’m still surprised that I don’t sell more cherry and maple lamps at the Etsy storefront. I love them all, but sitting on my walnut table I have always found the contrasting maple to be the most striking look.
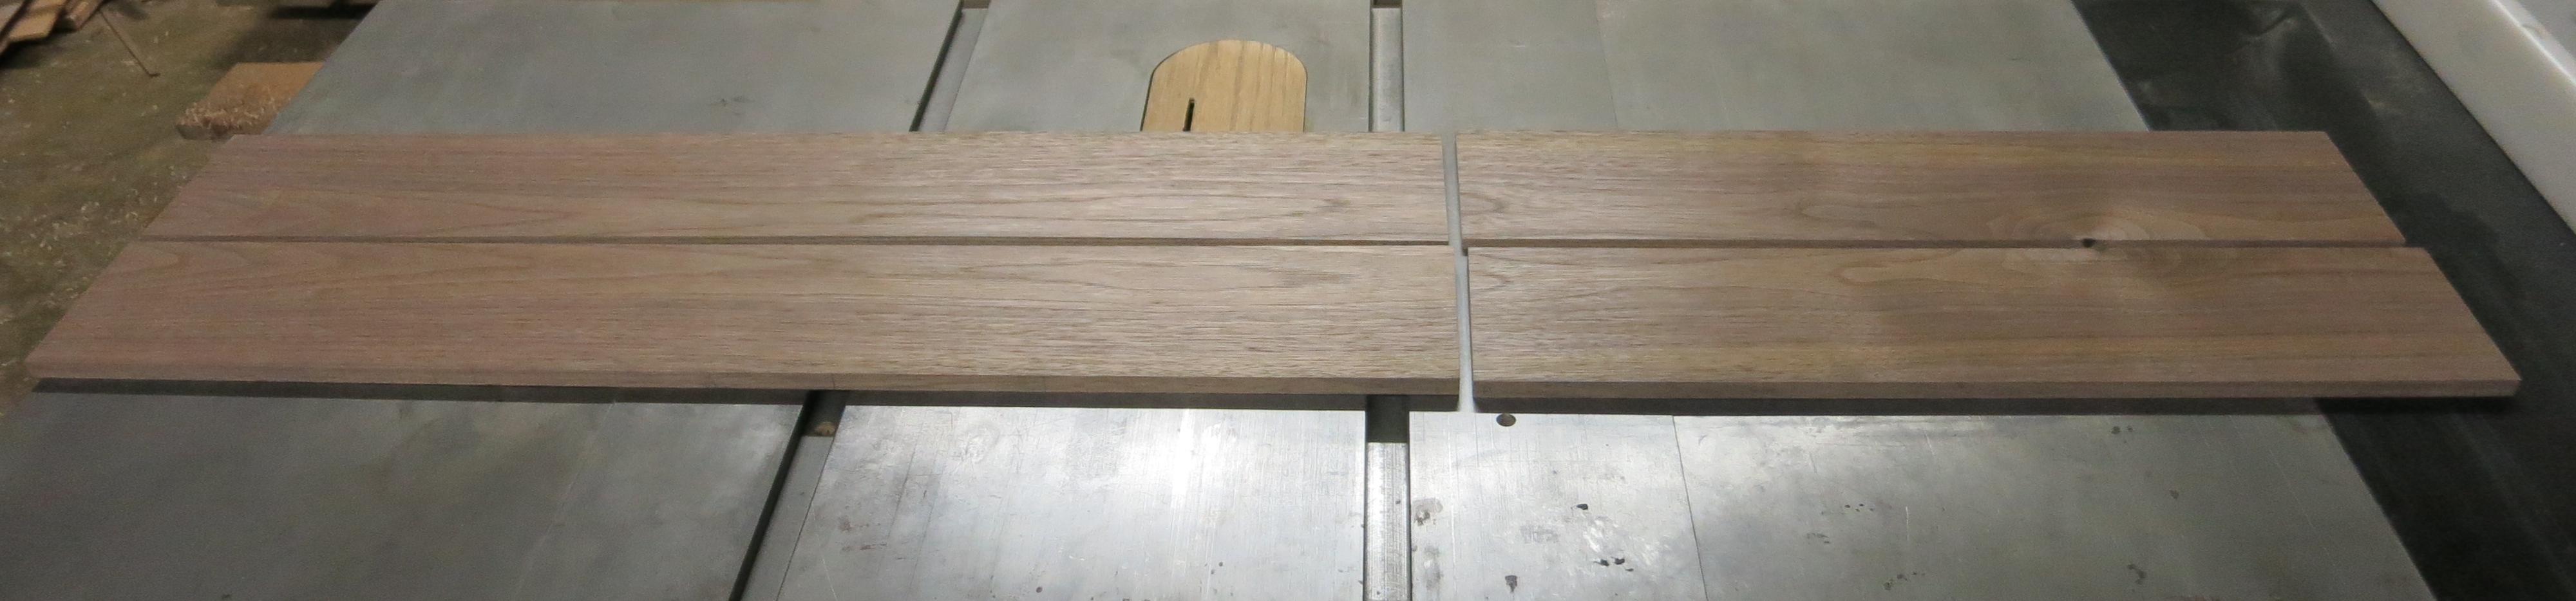
To “celebrate” the 20th lamp of the year, I’ve gone back to my old format of highlighting the build process of the lamp. To build a 3 bulb lamp I need to shoot for a piece that is 4/4 (this is woodworker talk for a board that is an inch thick; spoken “four quarter”) and at least 4 1/4 inches wide by about 47 inches long. In my last post I wrote about starting the build of leg blanks for a new custom piece. In selecting wood for that piece, I ended up with one extra board (shown in the first picture below). I didn’t end up using that board in that piece, because it had a pretty nasty little bow to it. If you look closely, you’ll see that it isn’t flat on the surface of my table saw.
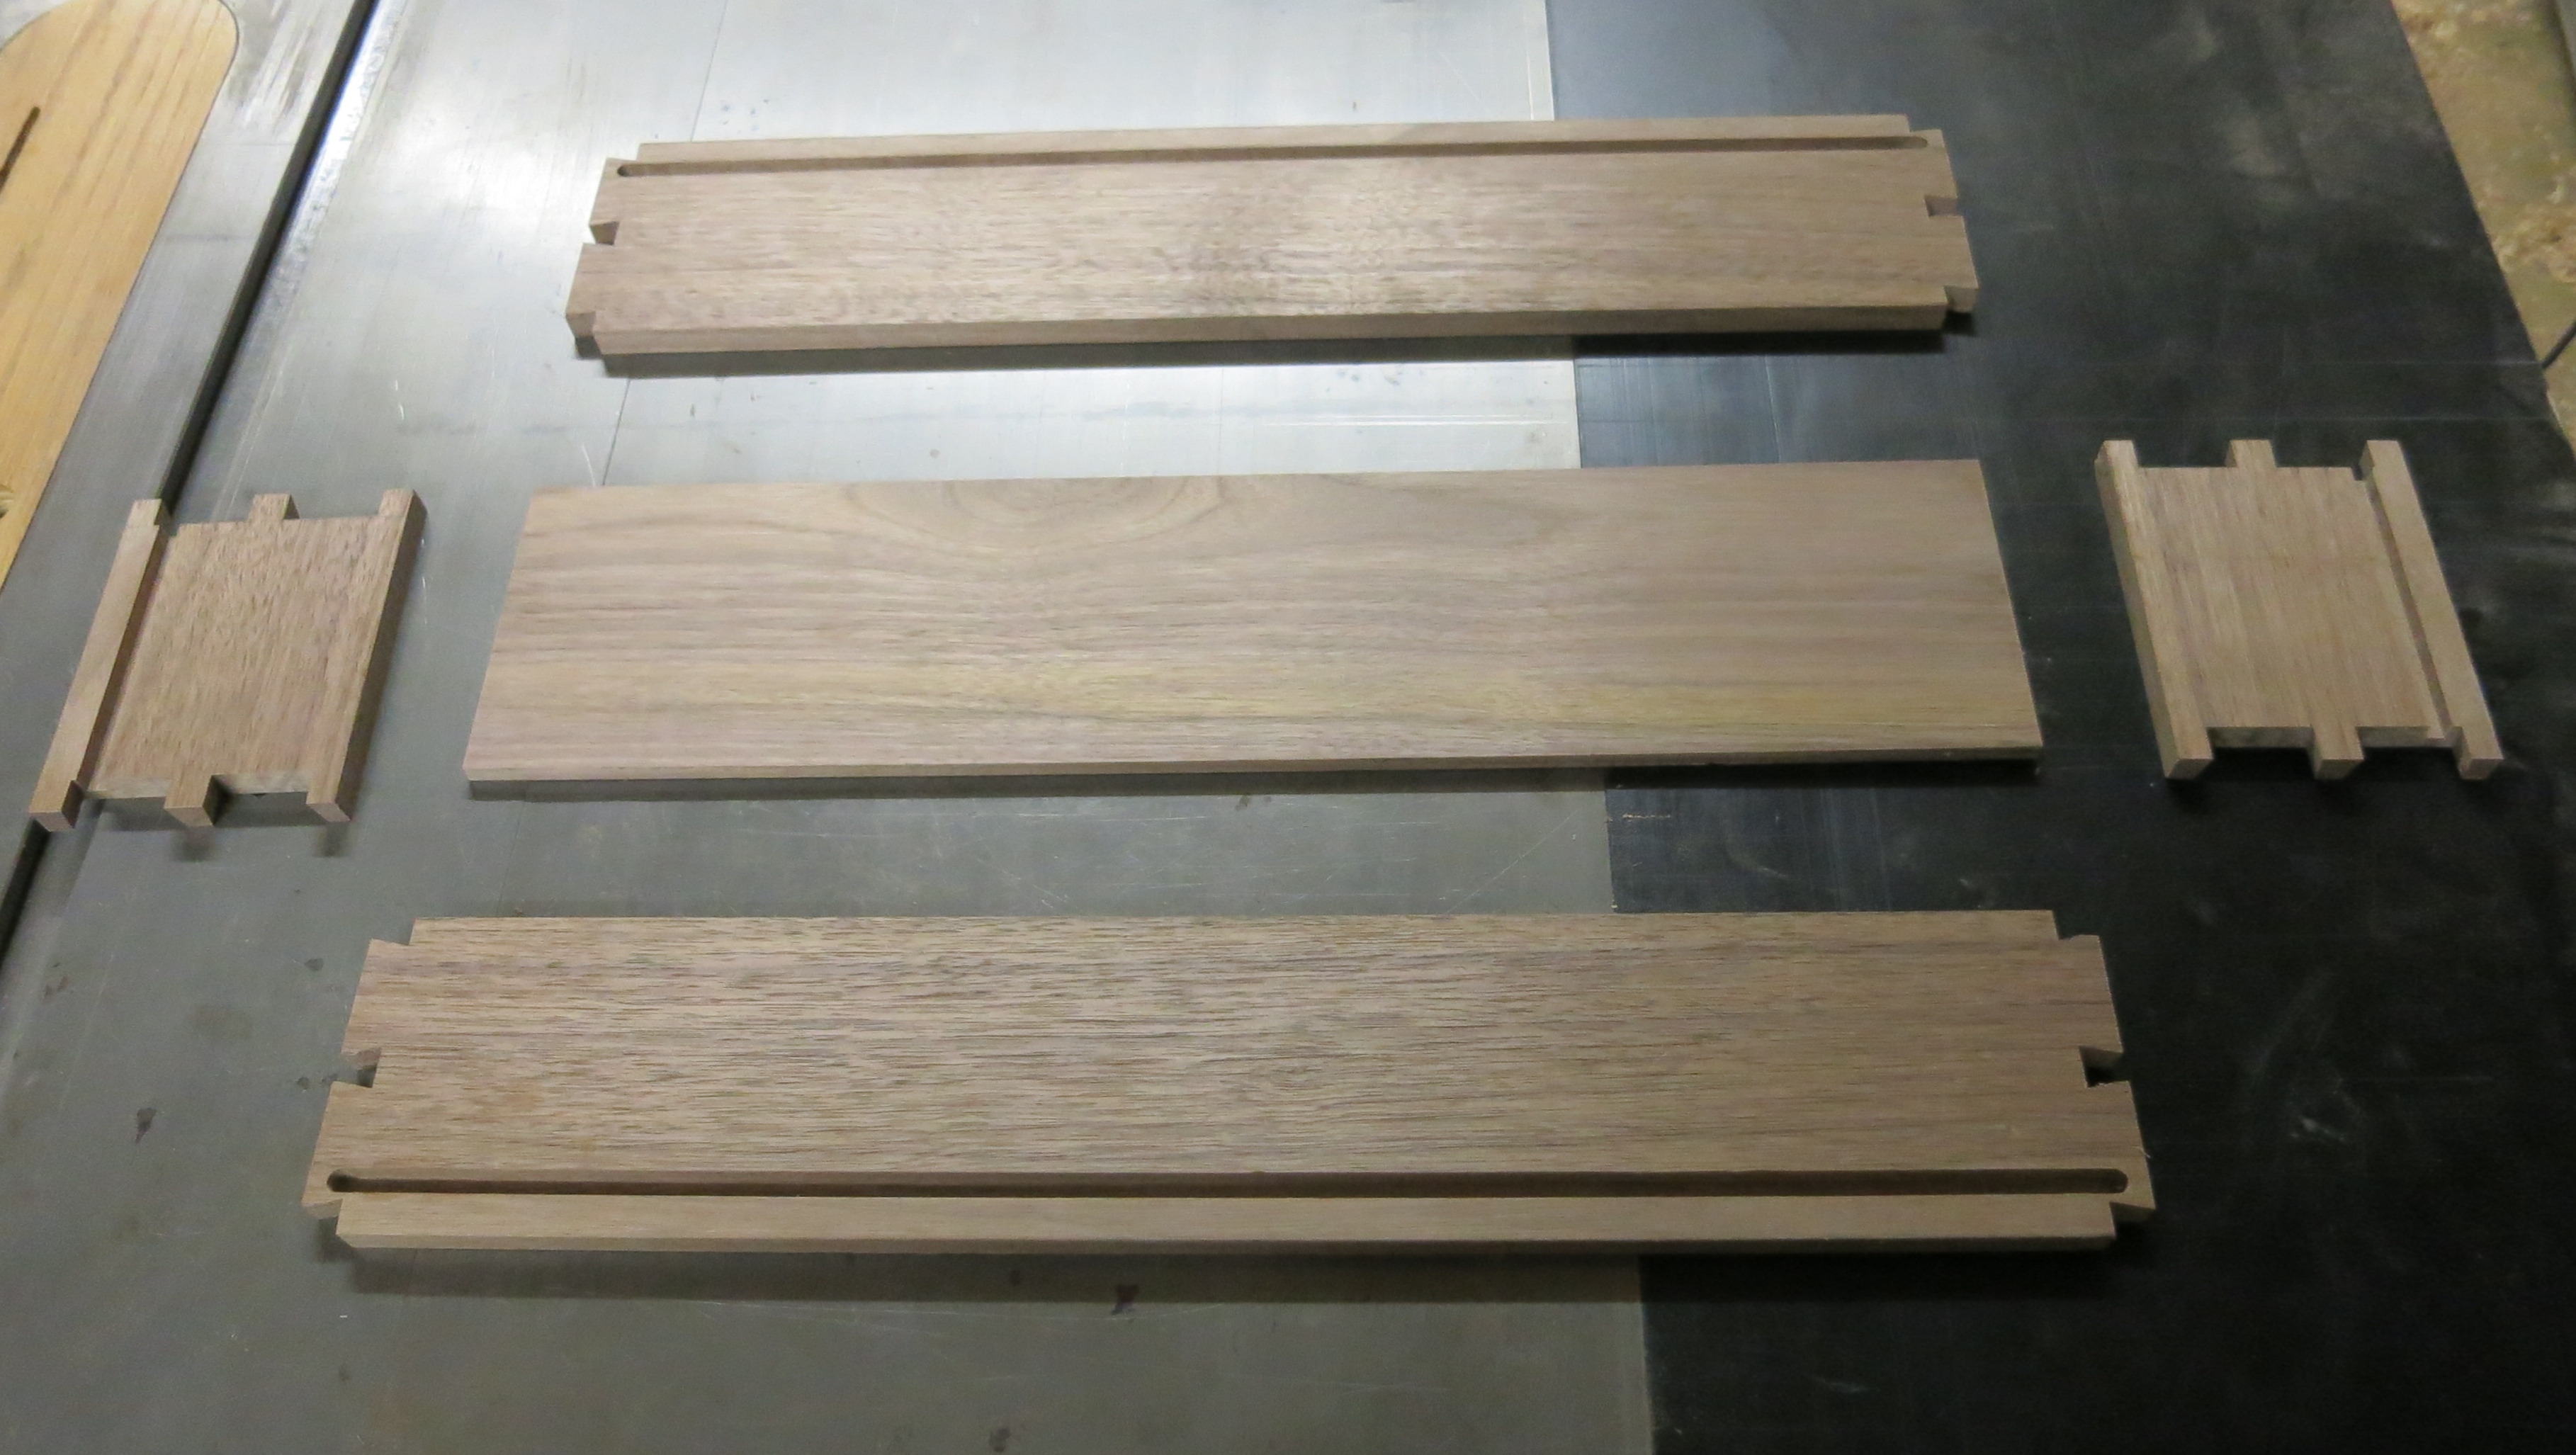
Fortunately correcting that type of issue is pretty easy for this style build. I’m not going to go into every detail of how I correct the issue because there are numerous posts on this site that talk about the build process for an Edison lamp. Basically it involves cutting the board at a strategic location and then working the jointer, band saw and planer until I get the four boards shown in the second picture. One of the 4 boards there becomes scrap (or turned into coasters), but the rest are destined for dimensioning, time in the dovetail jig and then a pass through the router table. This results in the 5 boards shown in the final picture. From here it is a pretty straightforward build process. The next post related to this build will be for the final “glamour” shots.


Pingback: Updating the Edison Lamp Prototype | Claremont Designs