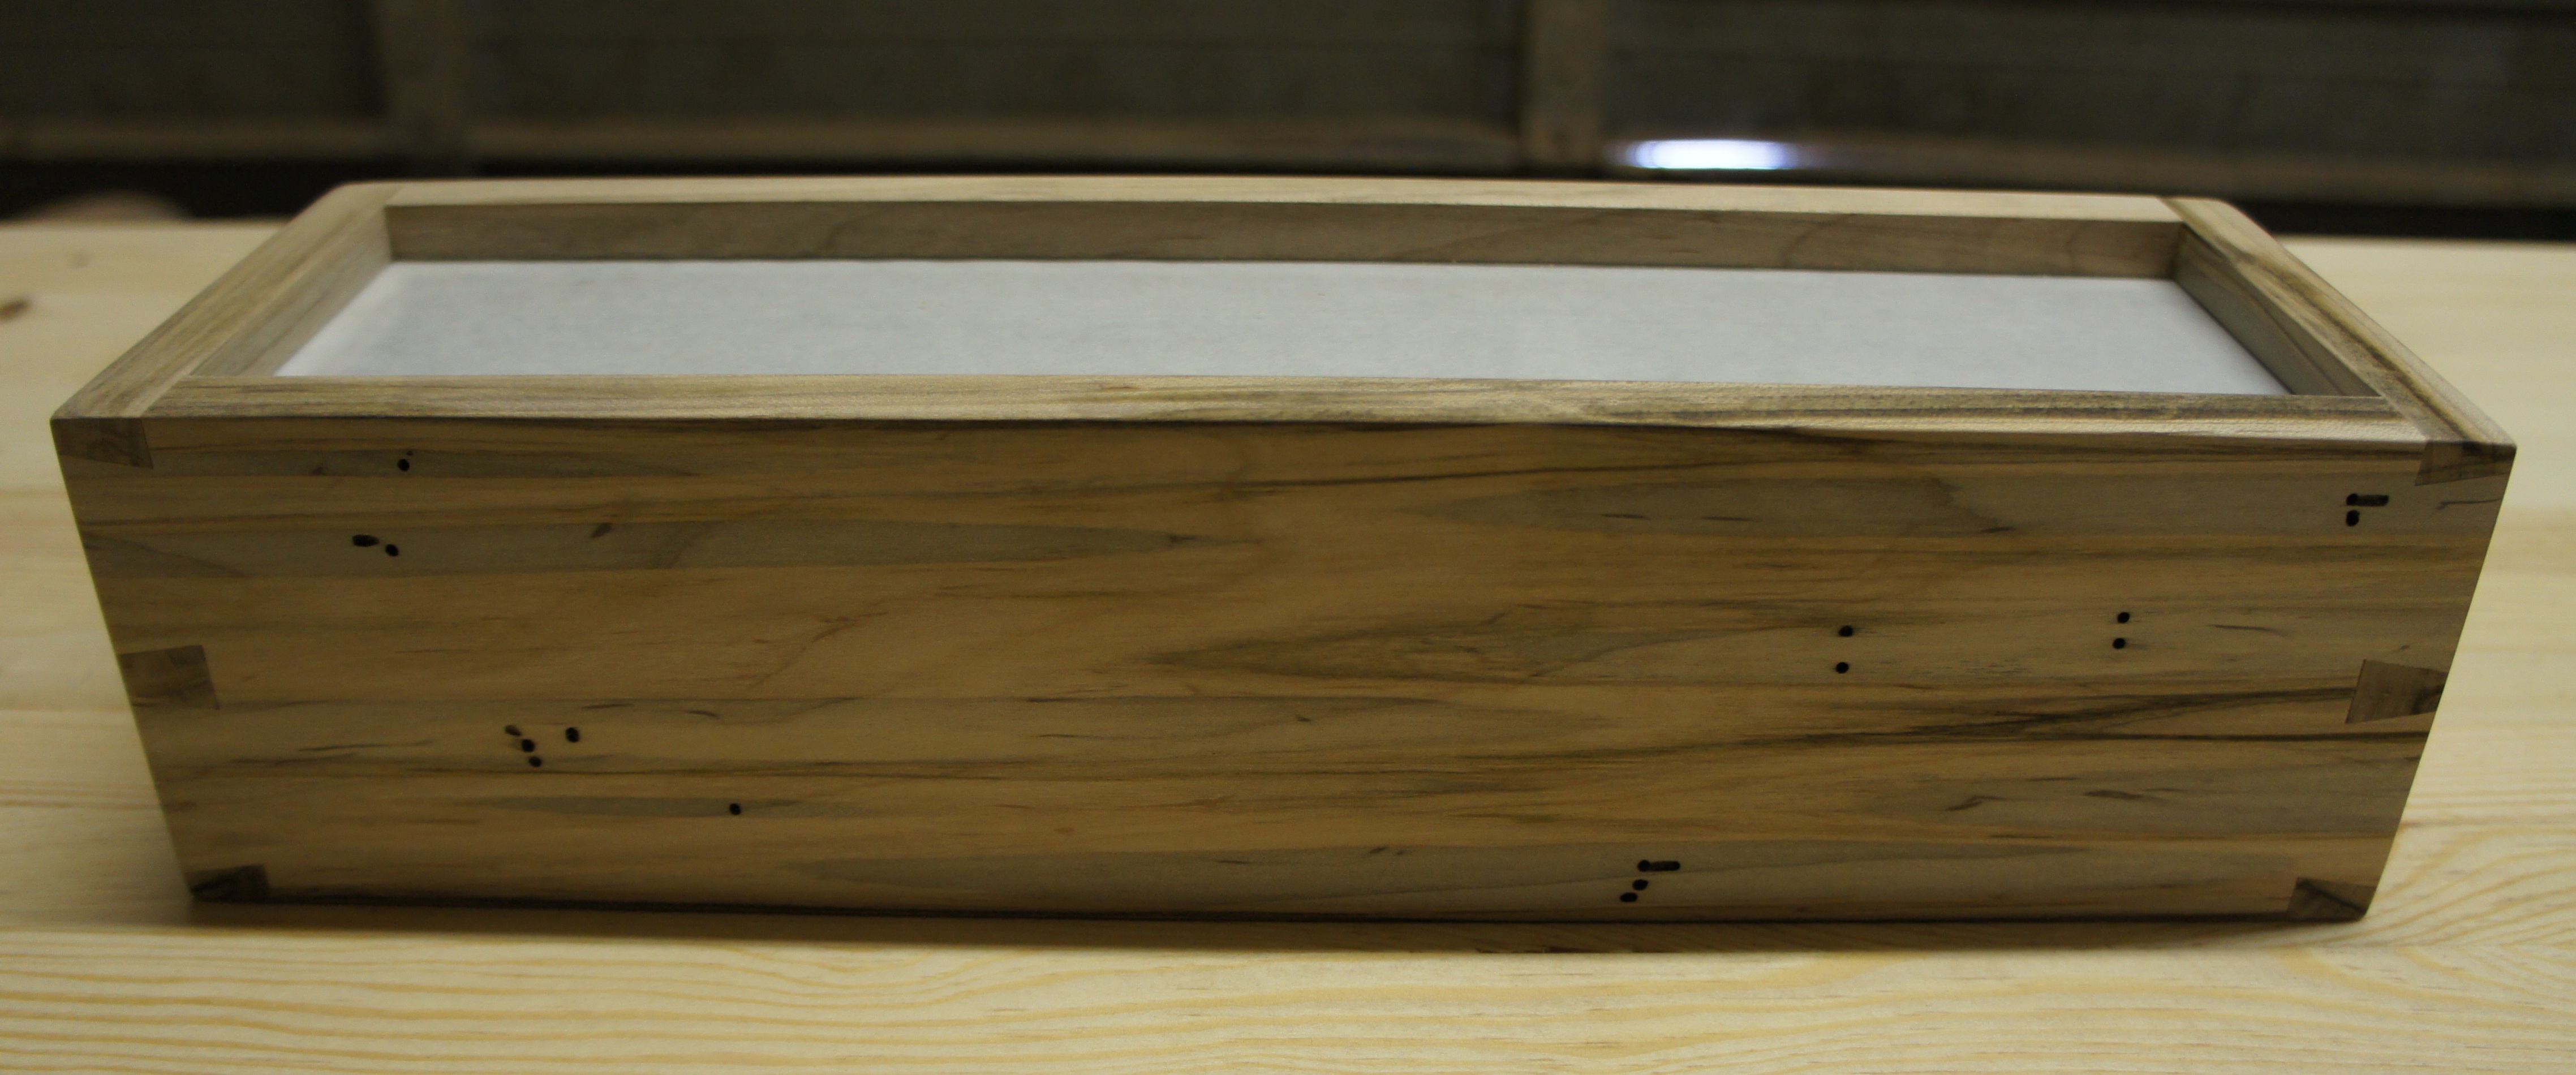
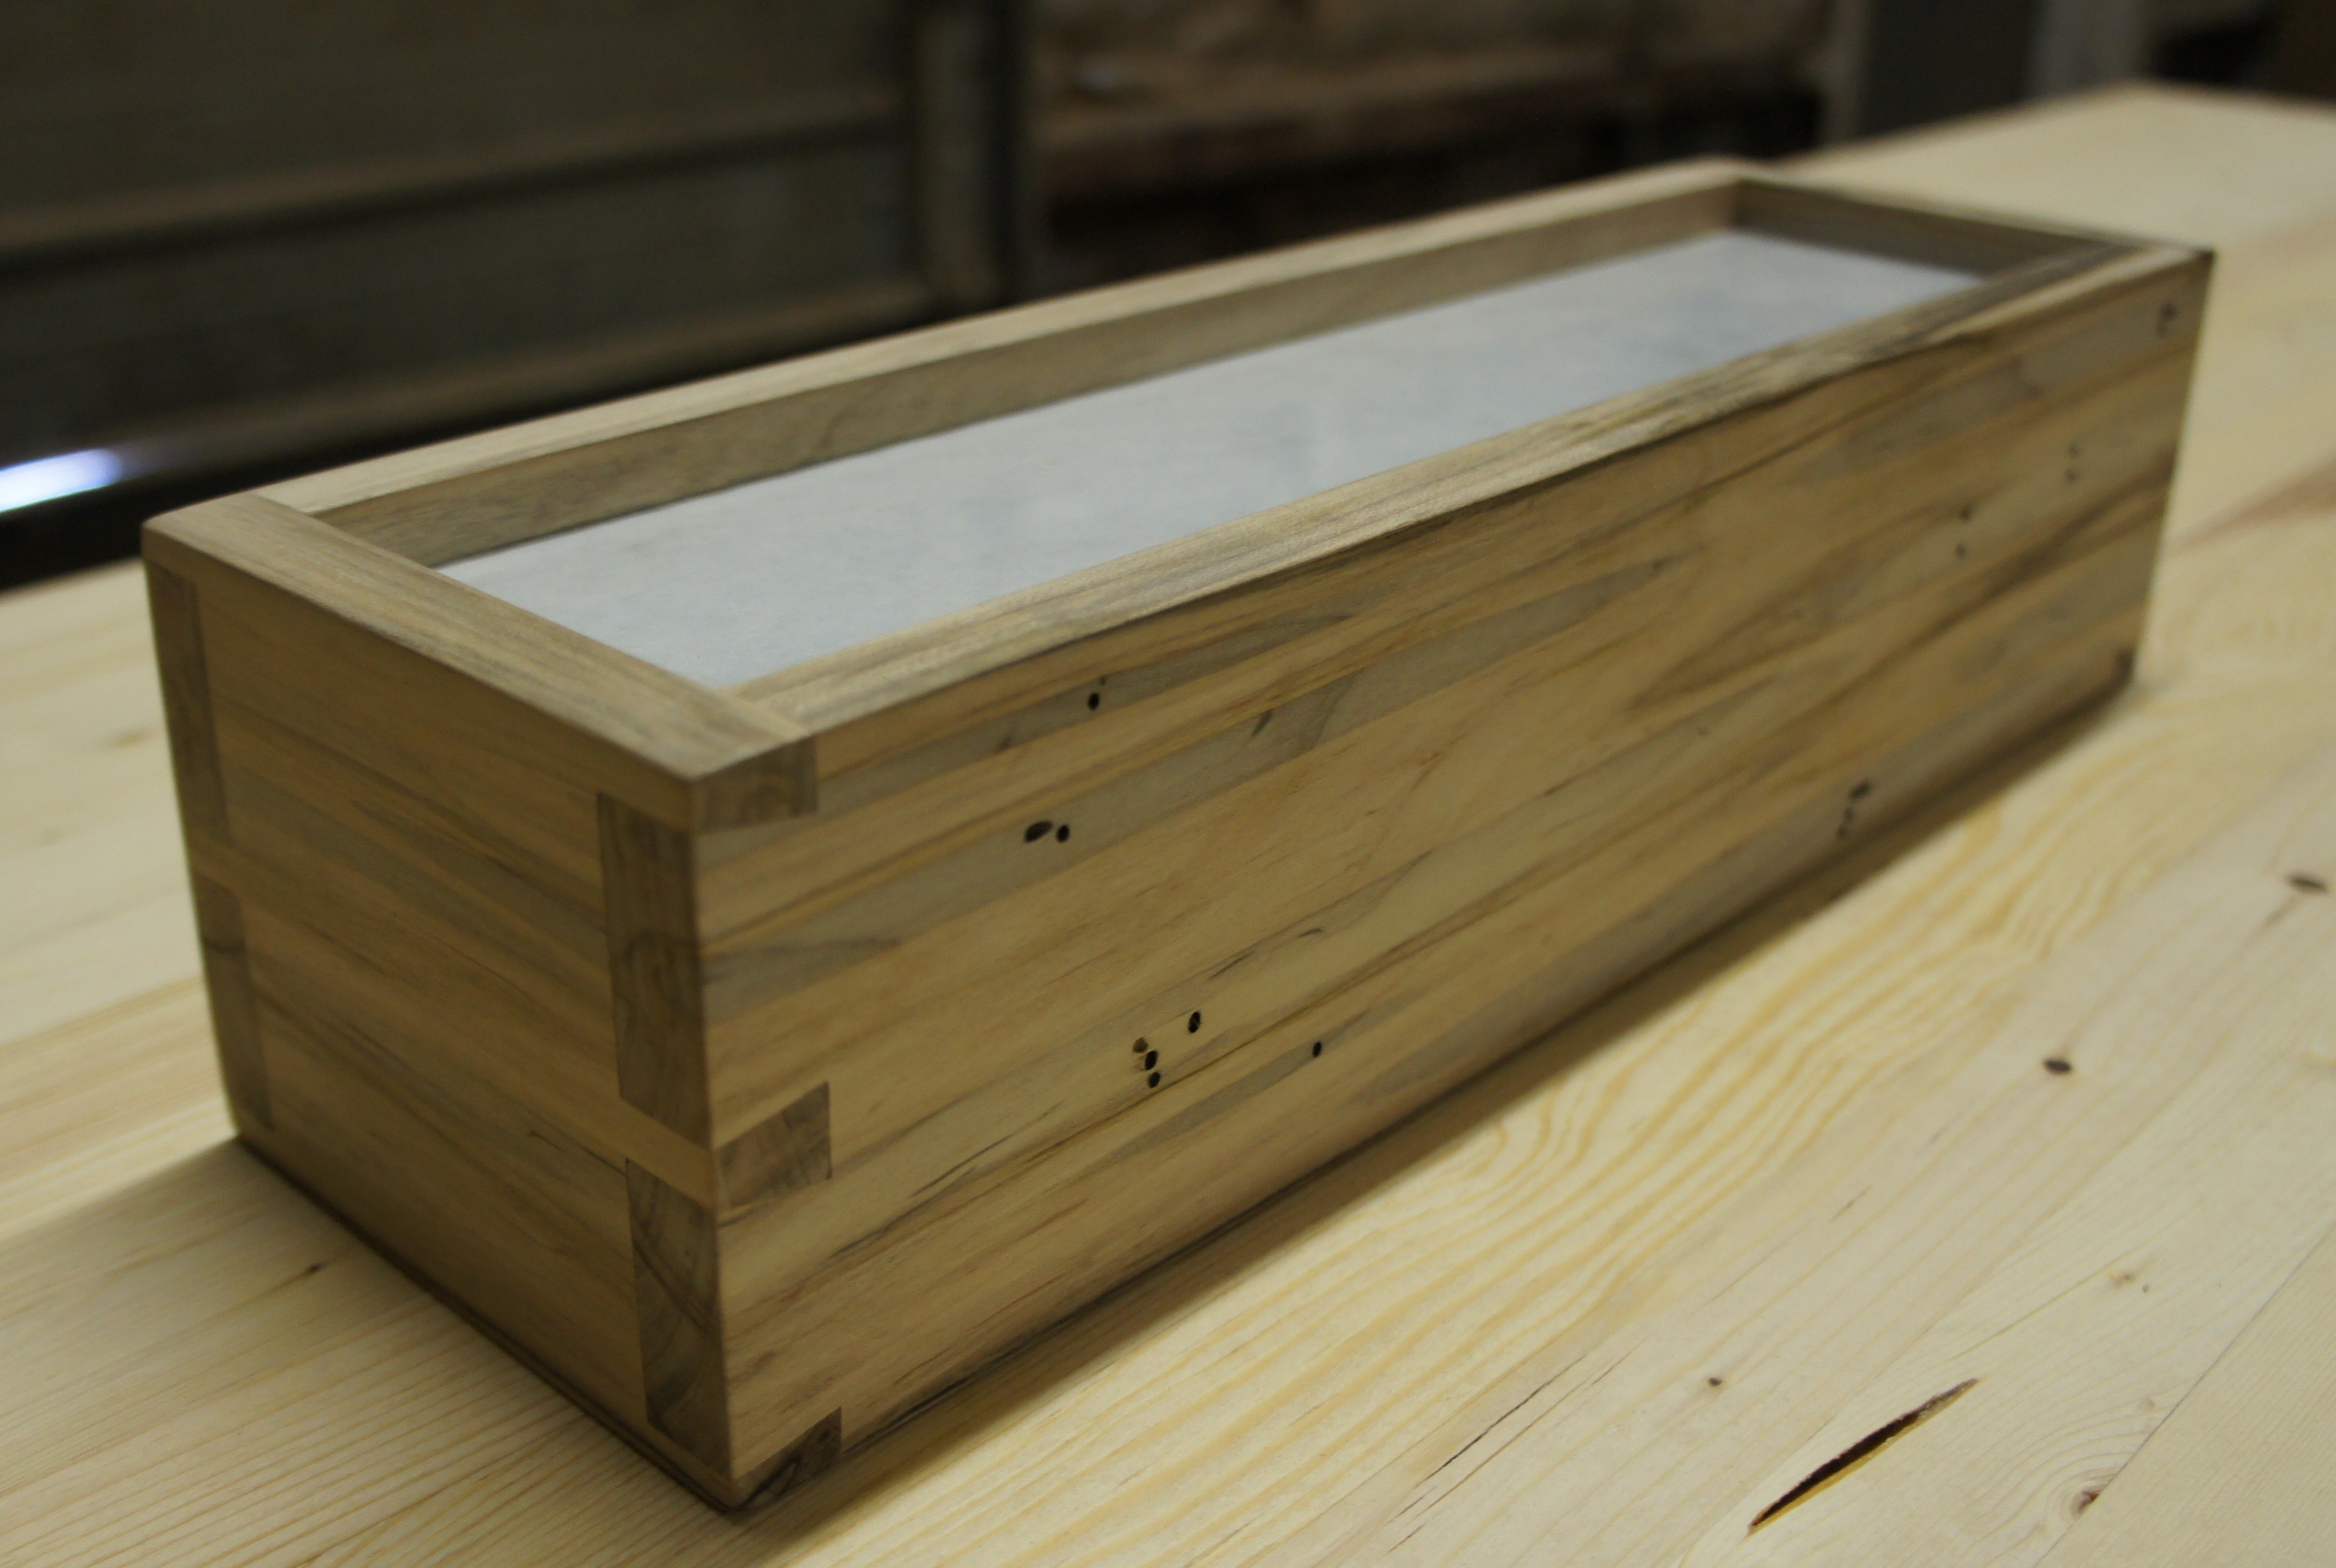
In a recent post, I was showing how to flatten an ambrosia maple board with a strategic cut before employing the jointer and planer. Since then I have finished assembling the box. As with the Edison Lamps that I make, the box features through dovetails. The ambrosia maple has such dramatic coloring that it is crucial that the box is cut all from the same continuous piece of lumber. I made passing reference to wrapping the grain around the corner in that previous post. The photos below show why that is so important.
From a woodworking perspective this box is nearly identical to the Edison Lamps that I’ve been making, but there are a few differences. The minor differences are the lack of holes for a lamp cord or a dimmer switch (this piece will be illuminated from the inside by a string of battery powered LED lights). The major difference is the top of the piece. On an Edison Lamp, I take a 1/4″ thick piece of lumber for the top of the piece. In this case, I replaced the wood top with a sheet of rice paper (same concept that is used in shoji lamps). Because I could anticipate this being used as a modern table centerpiece, I didn’t want the rice paper exposed. I wanted to be able to clean this piece without worrying about ruining the paper. As a result, I sandwiched the paper through two pieces of glass that I had cut at the local hardware store.
I still really like the concept, but I’m not positive I like my approach to the rice paper. As of right now, everything looks like it will work just fine, but I’m not sure I love the quality or coloring of the rice paper I used. And by sandwiching it between sheets of glass, it can’t ever be replaced. This one will be permanent as-is. For future versions, I think I’ll keep the glass on the top to protect it / keep it easy to clean, but I’ll find a new way to install the paper.
The photos below were taken in my shop before a first coat of finish was applied. Usually, I do WIP photos at lower resolution, but I do like the ambrosia maple, so I kept this full resolution.