Claremont Designs


Leave a comment

Koa and Birdseye Boxes

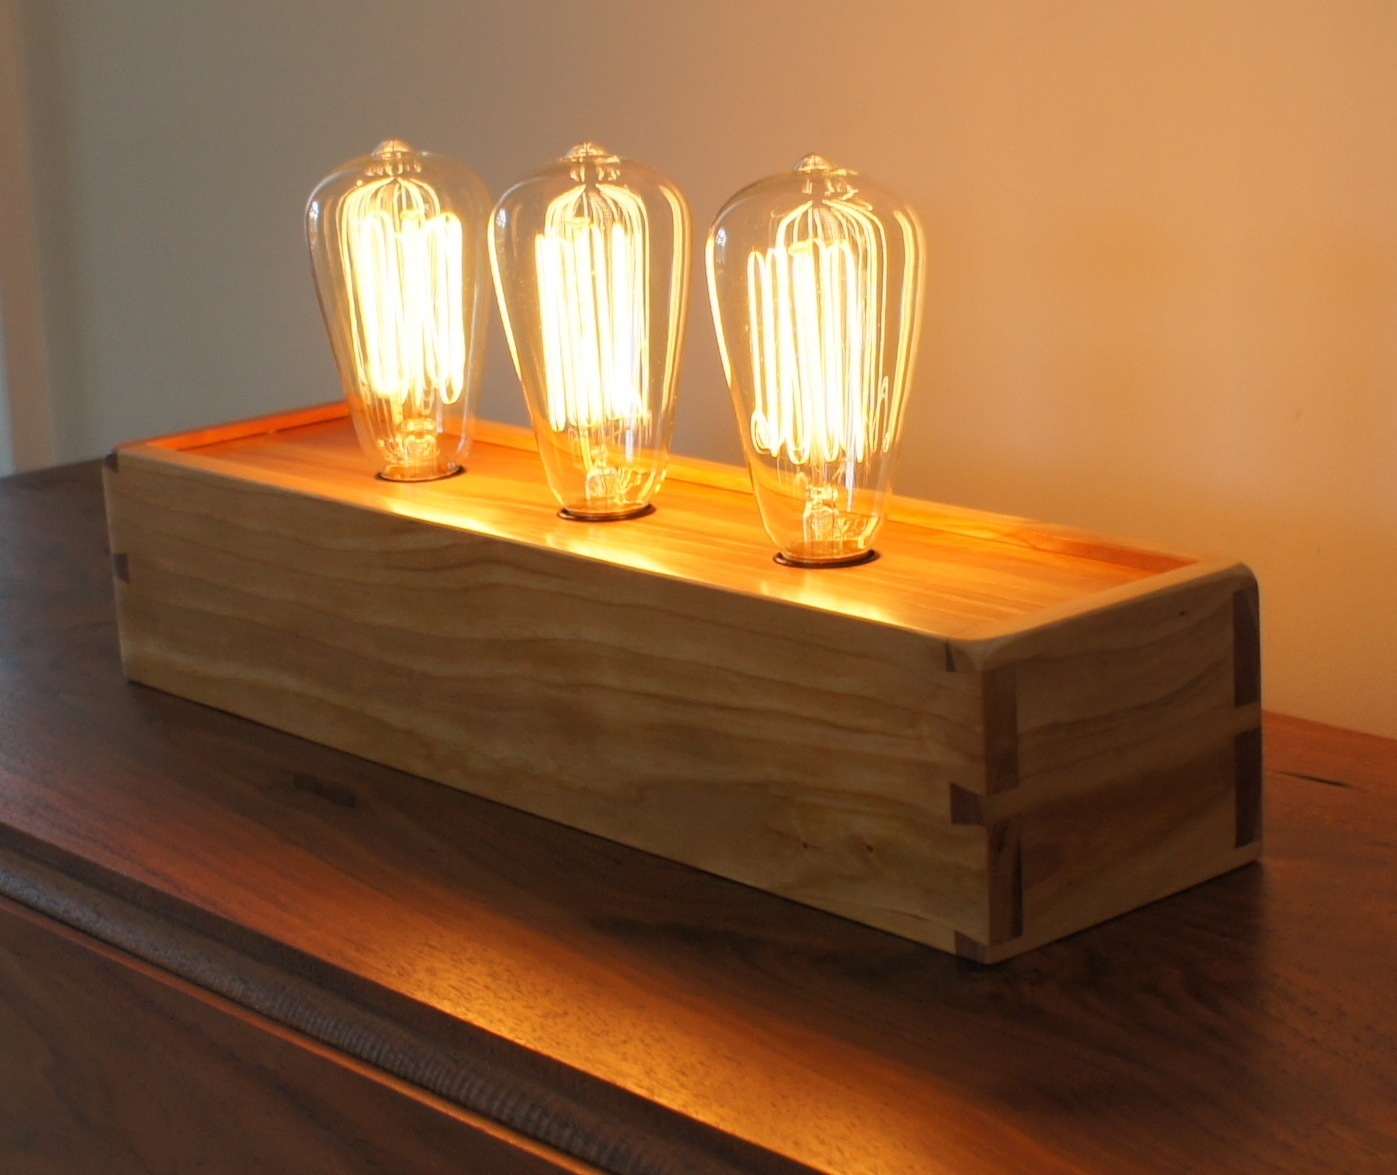
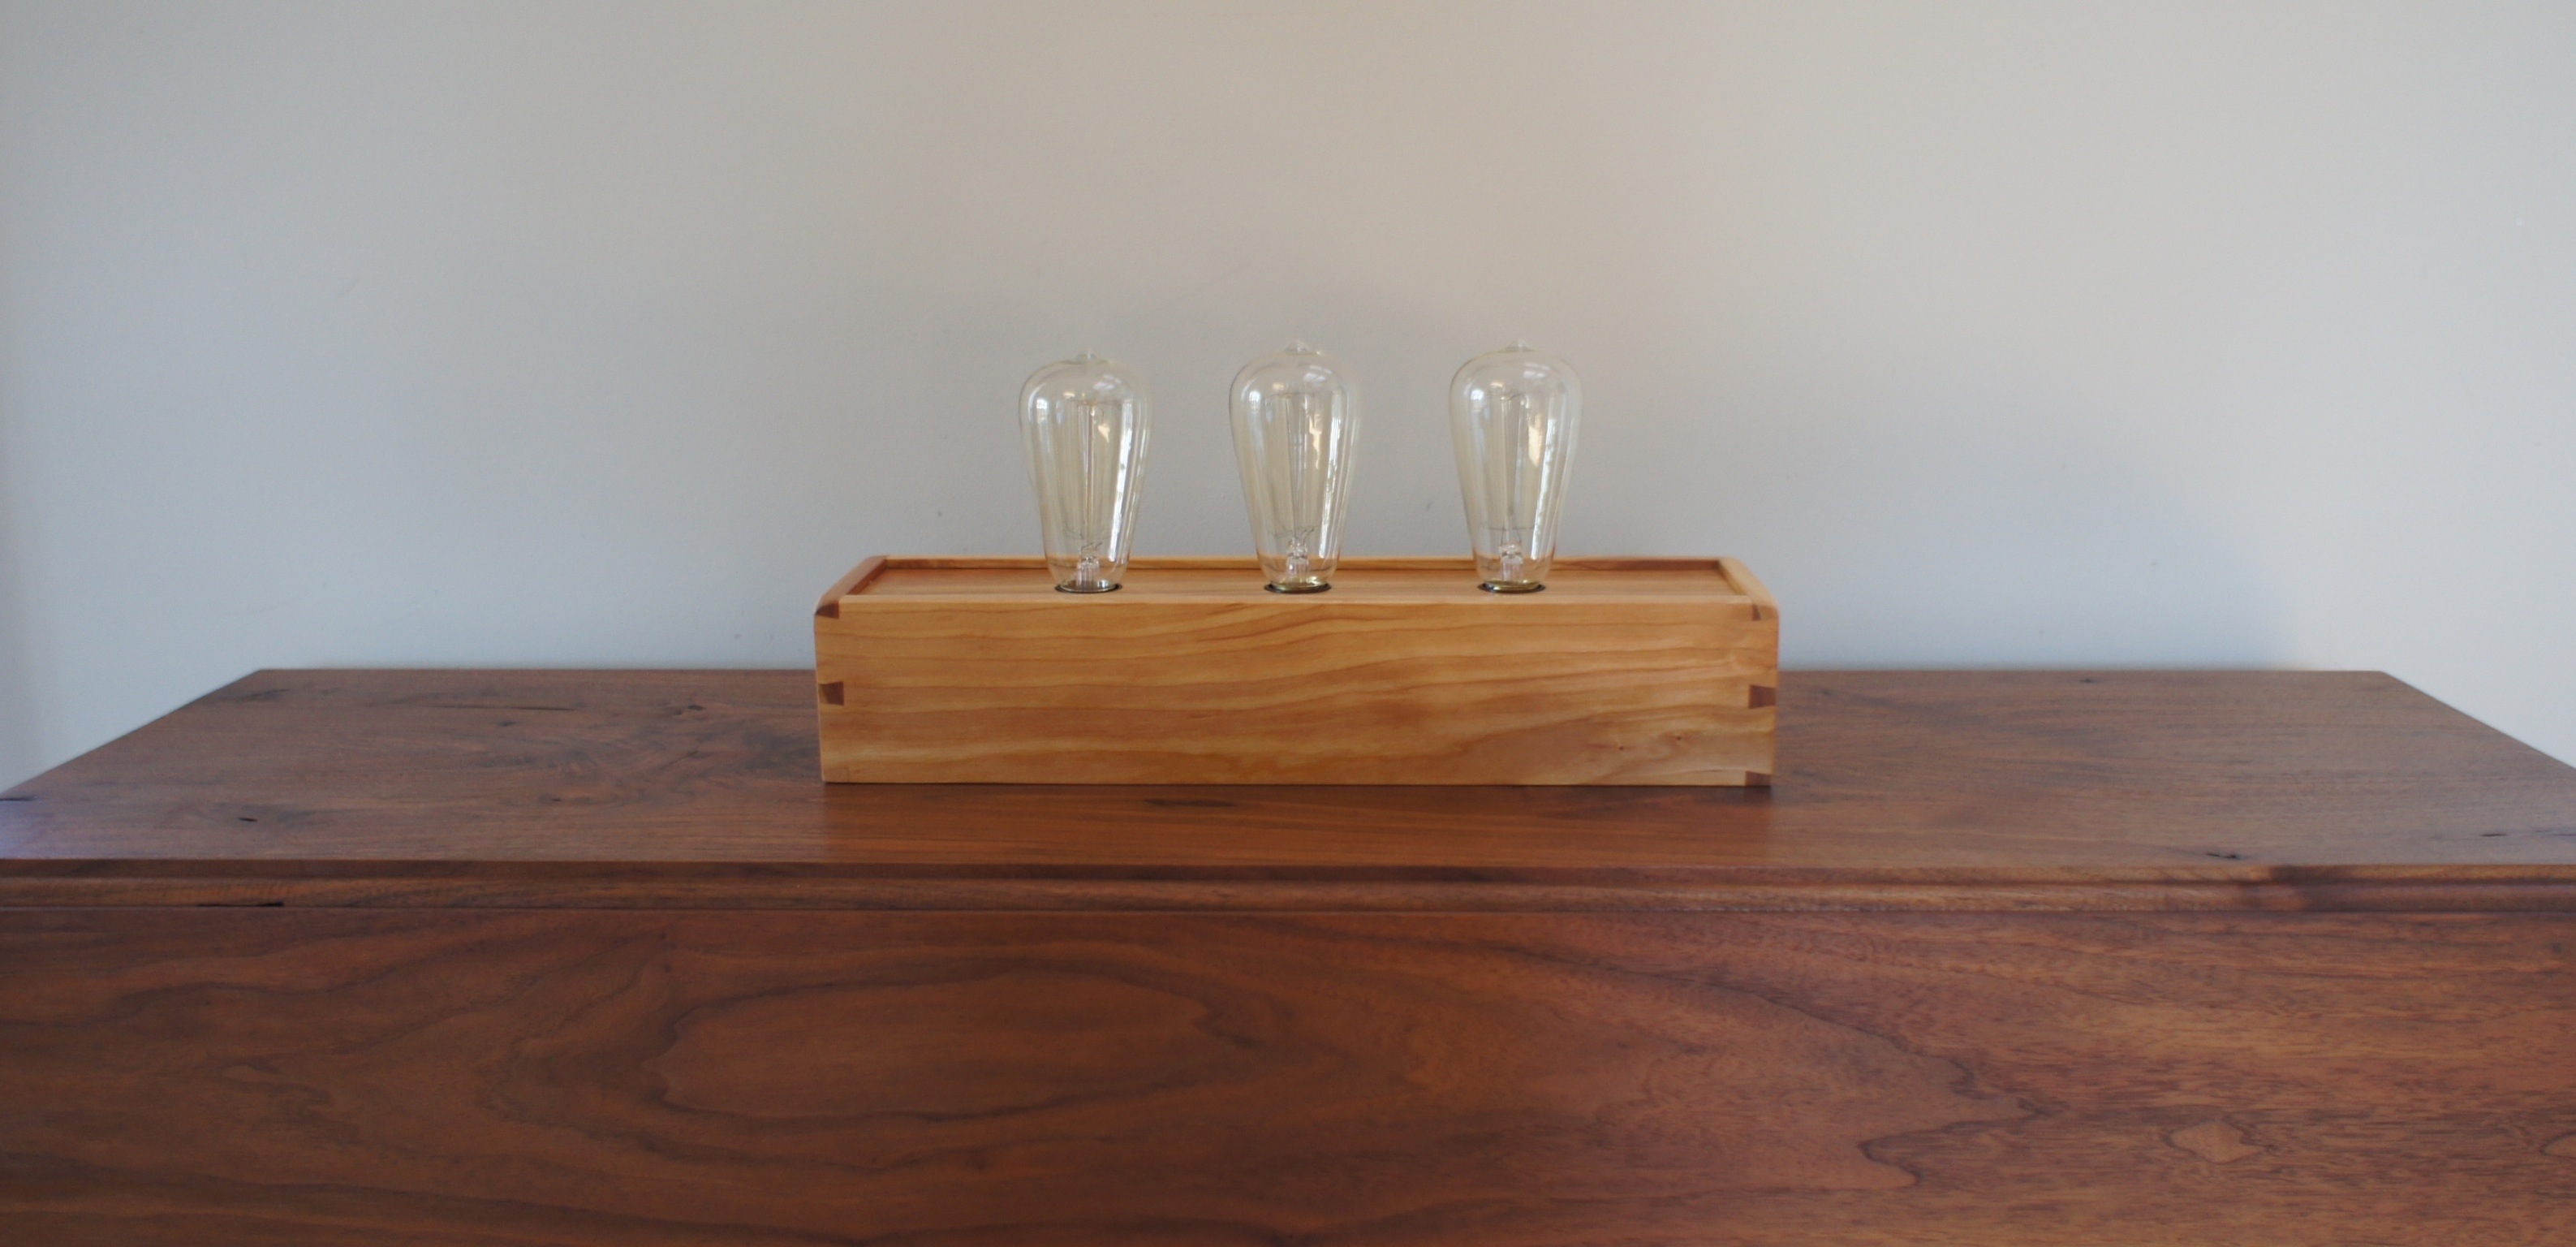
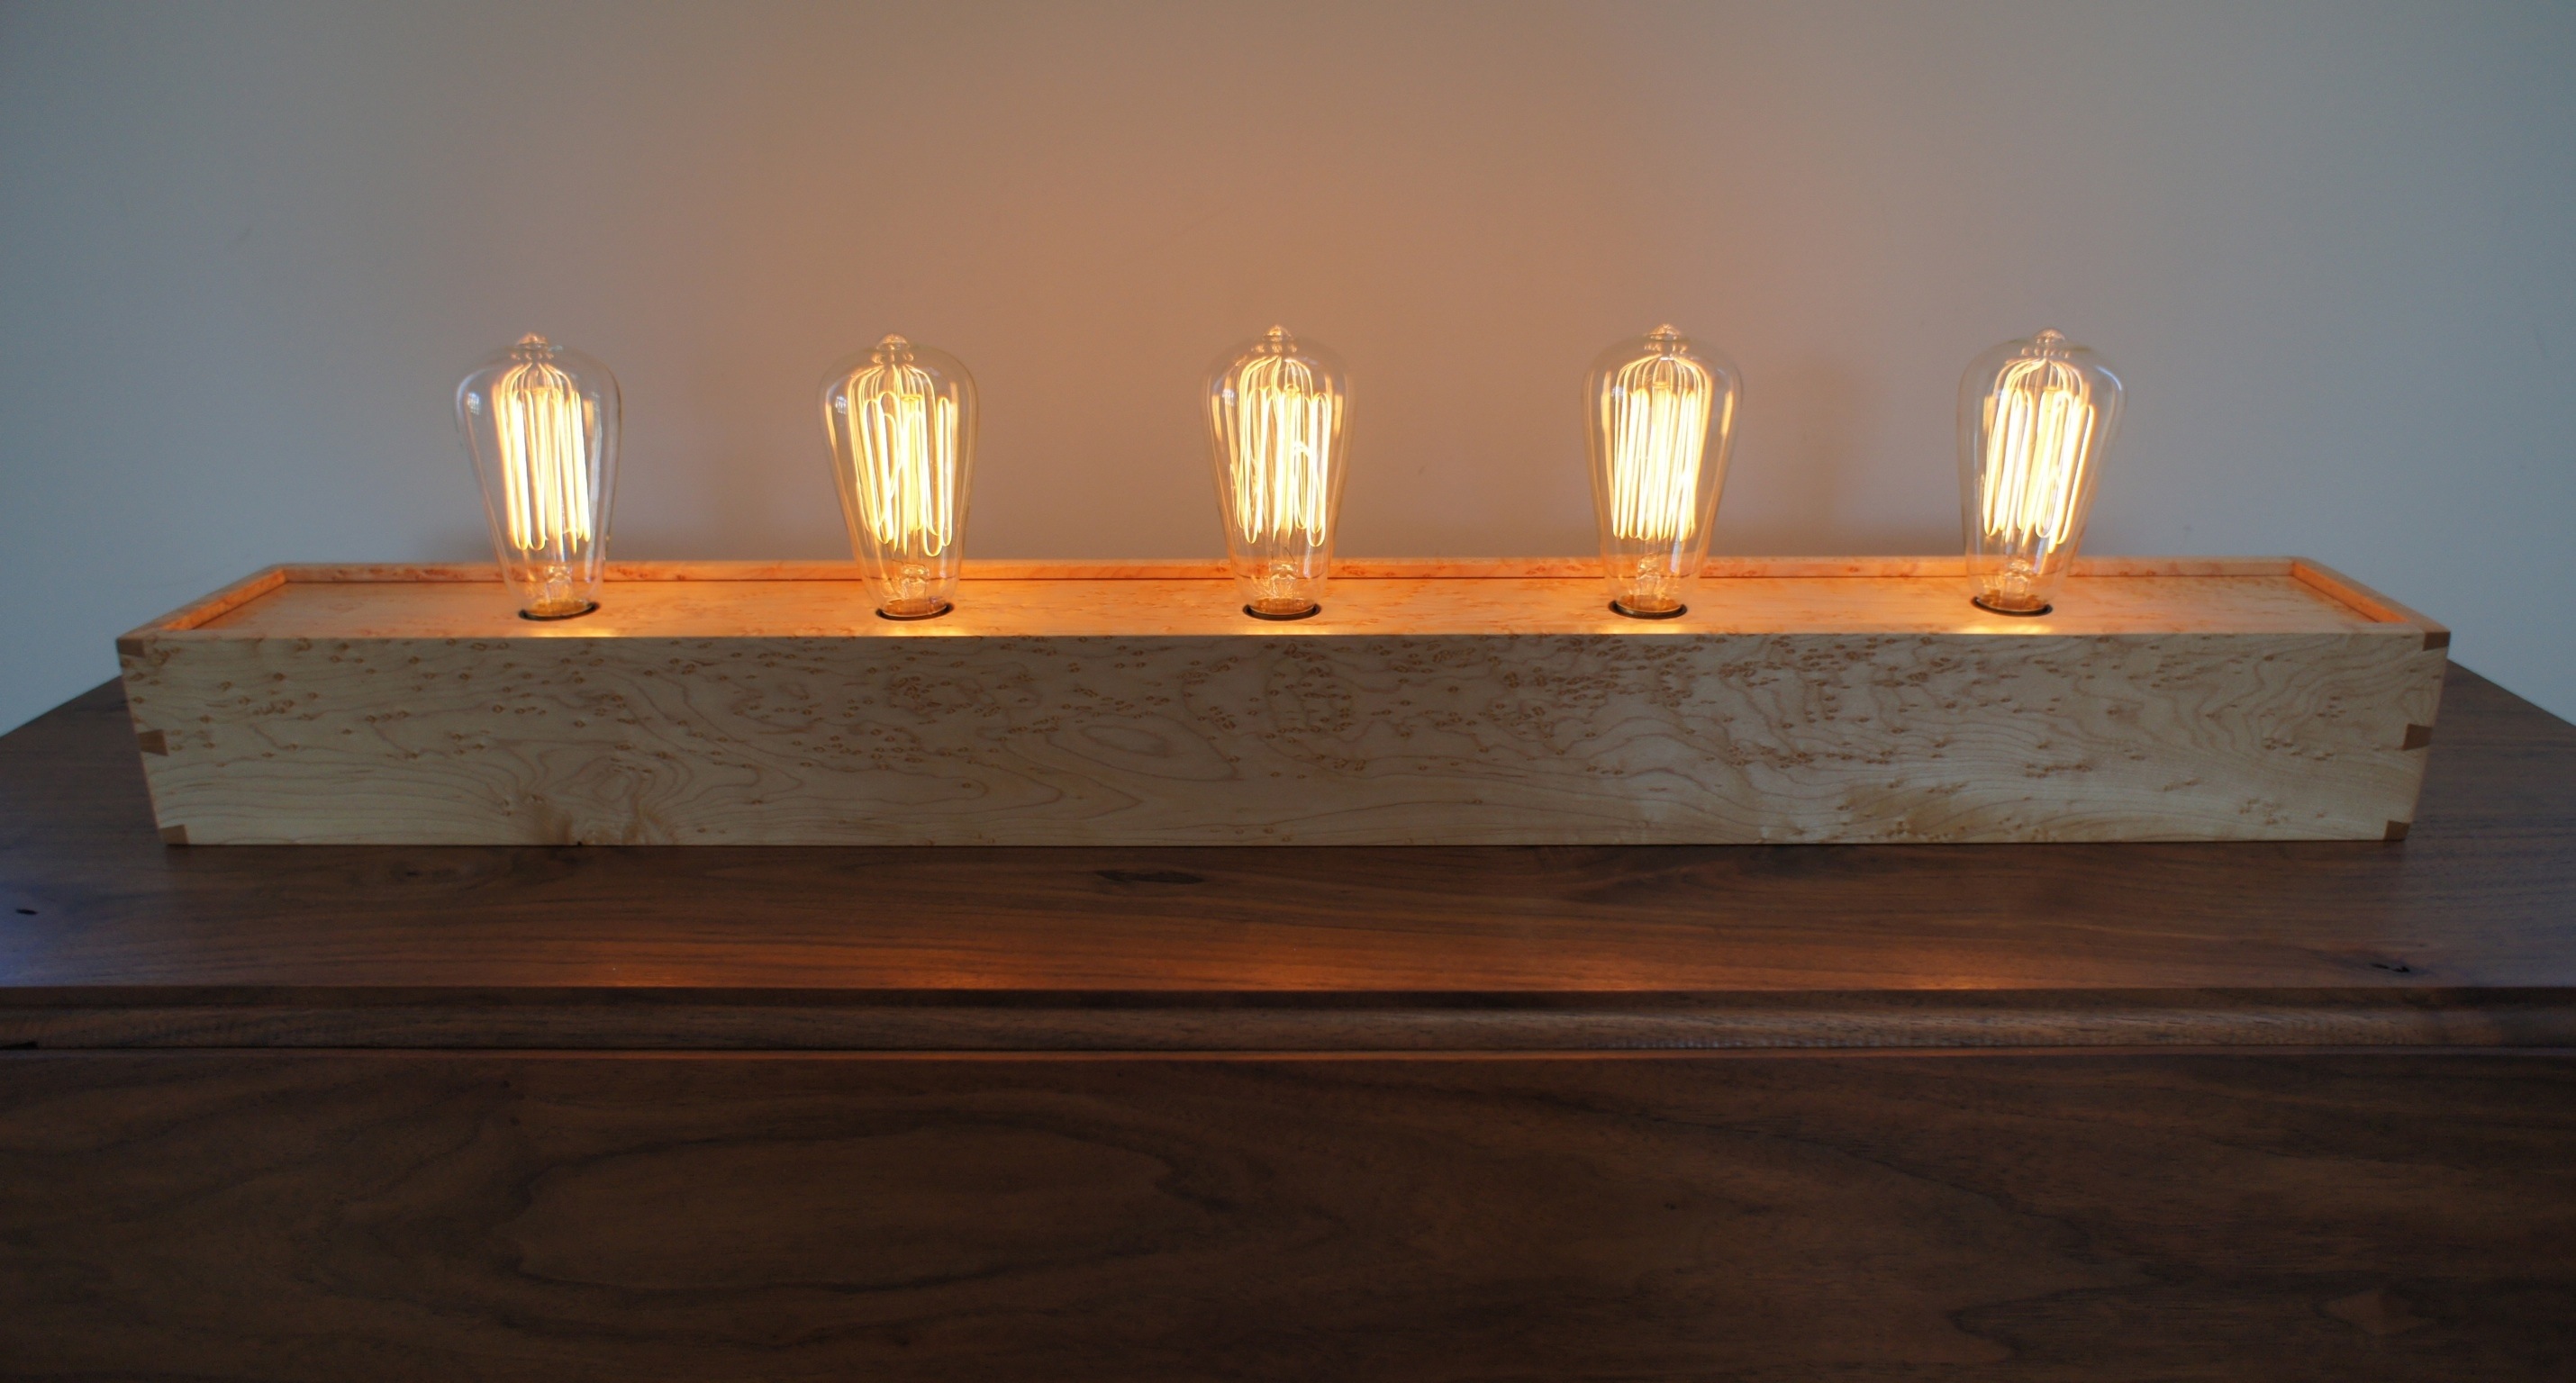
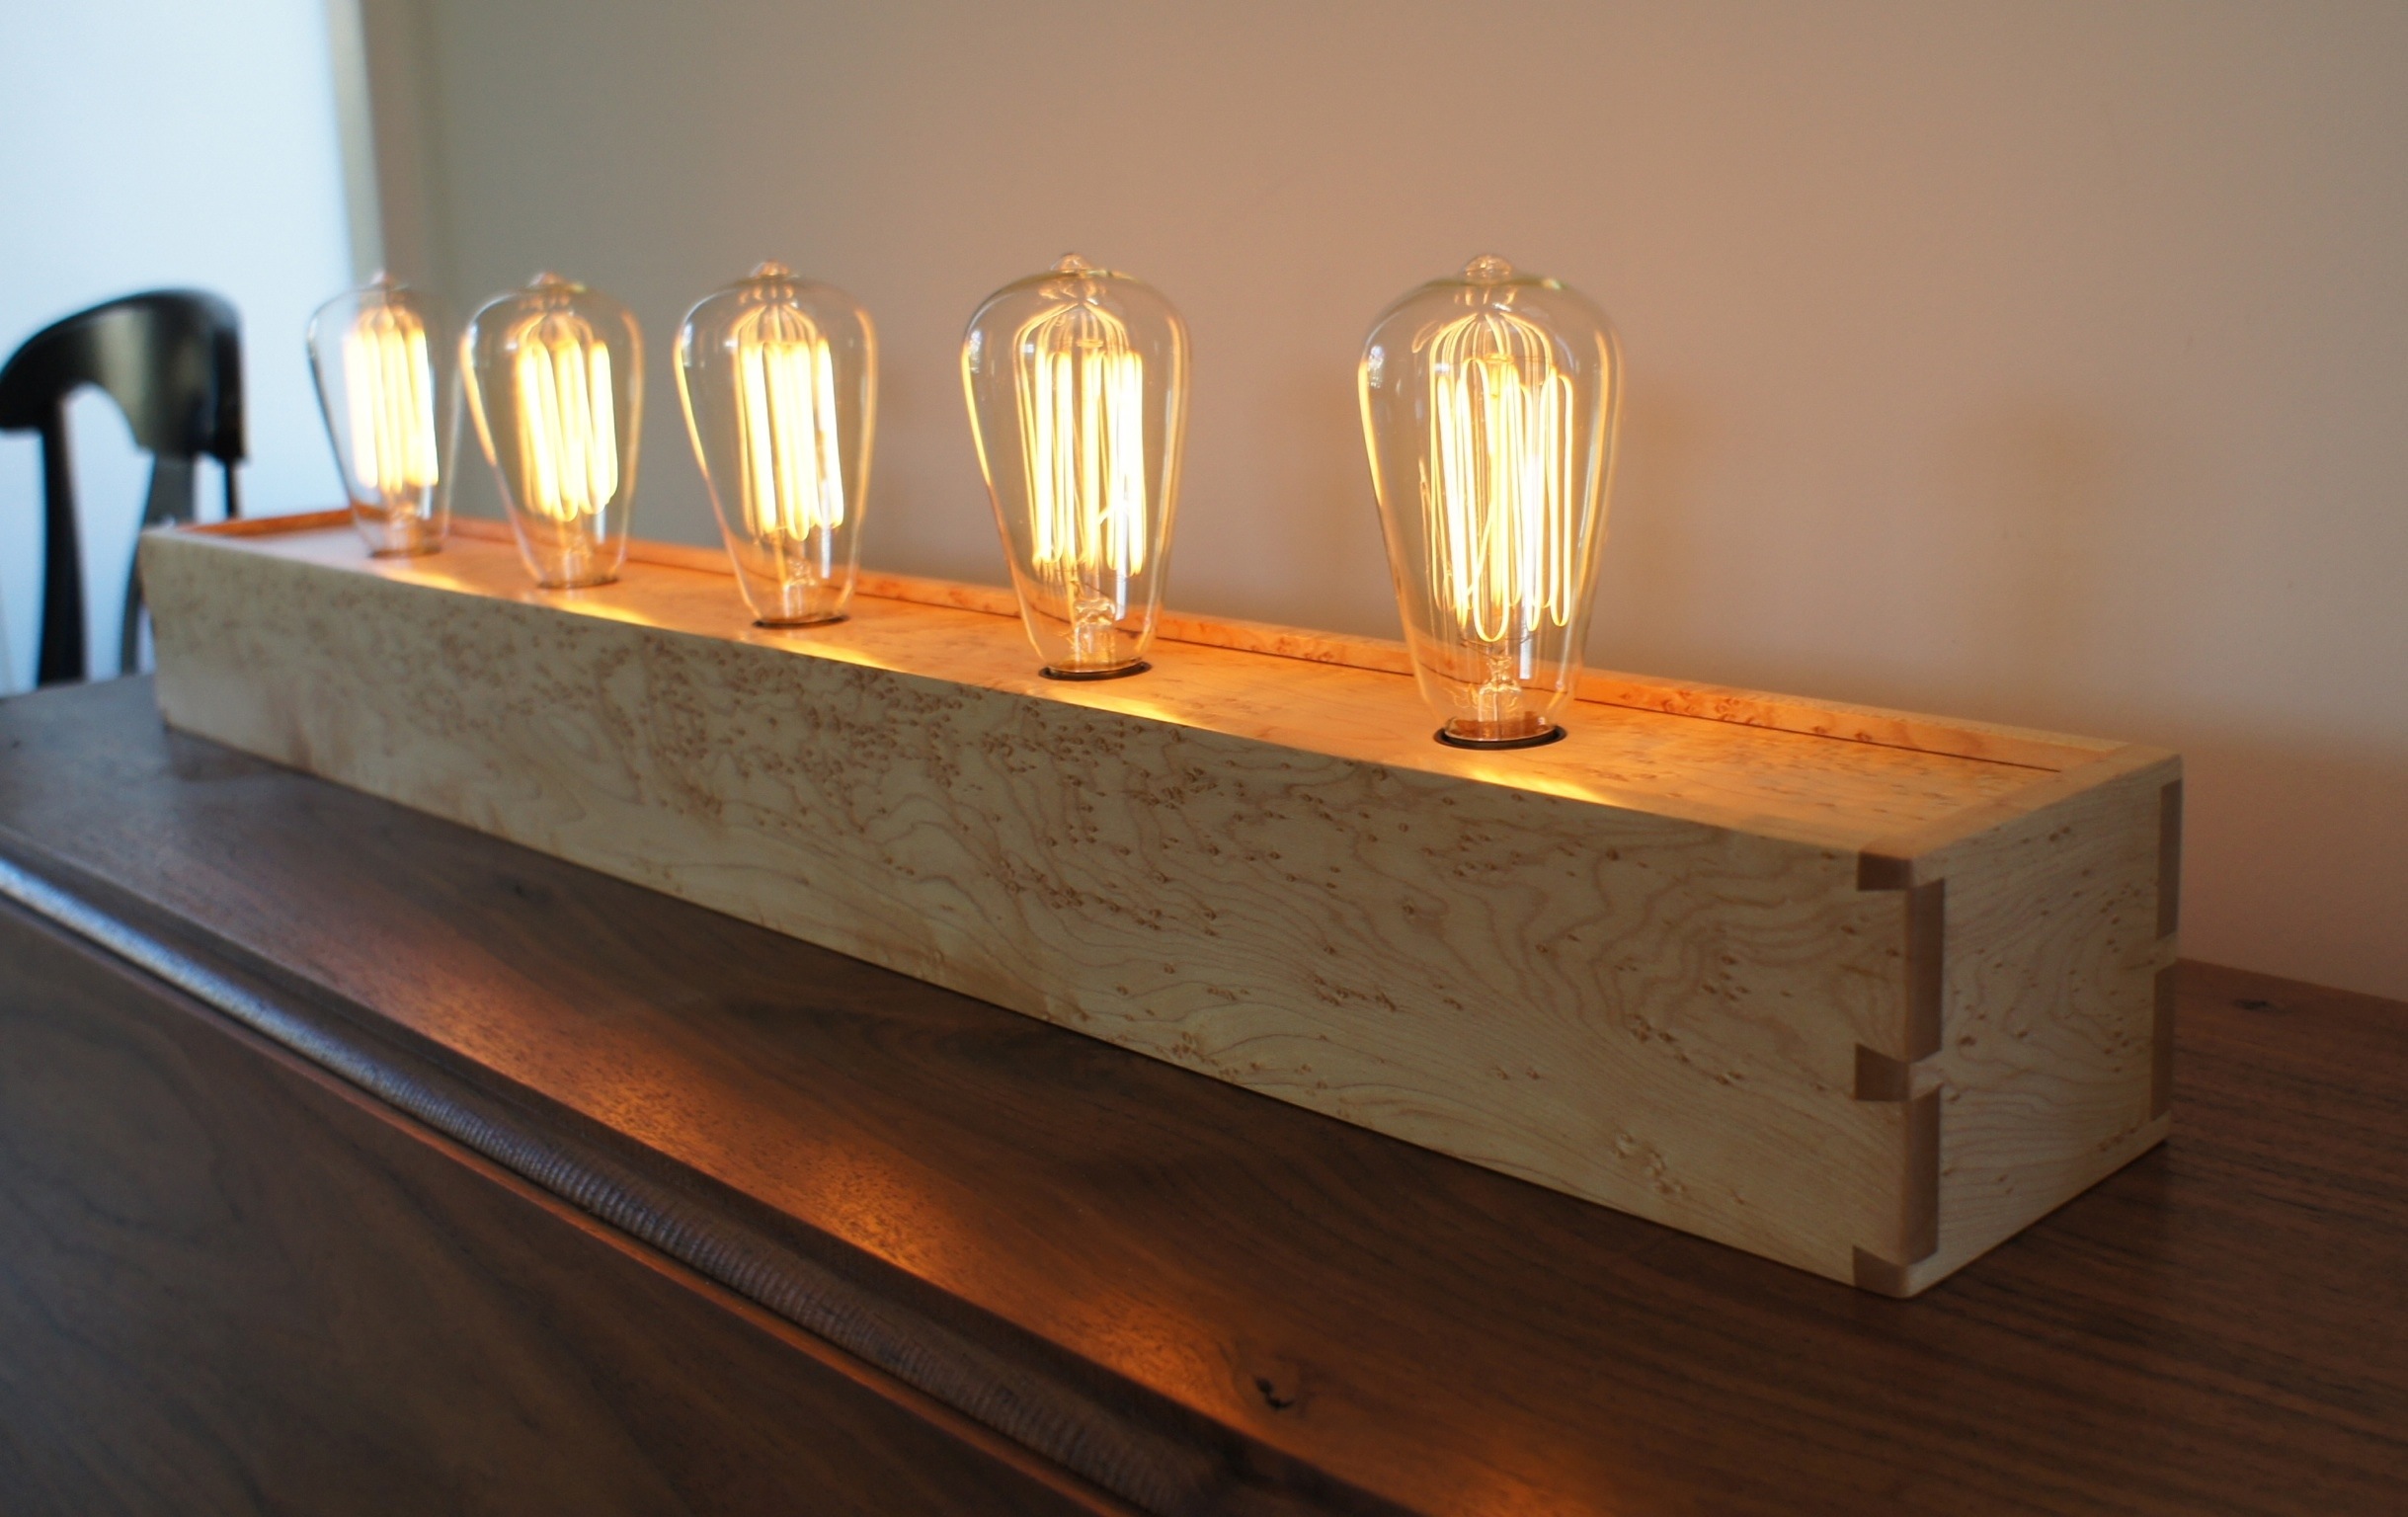
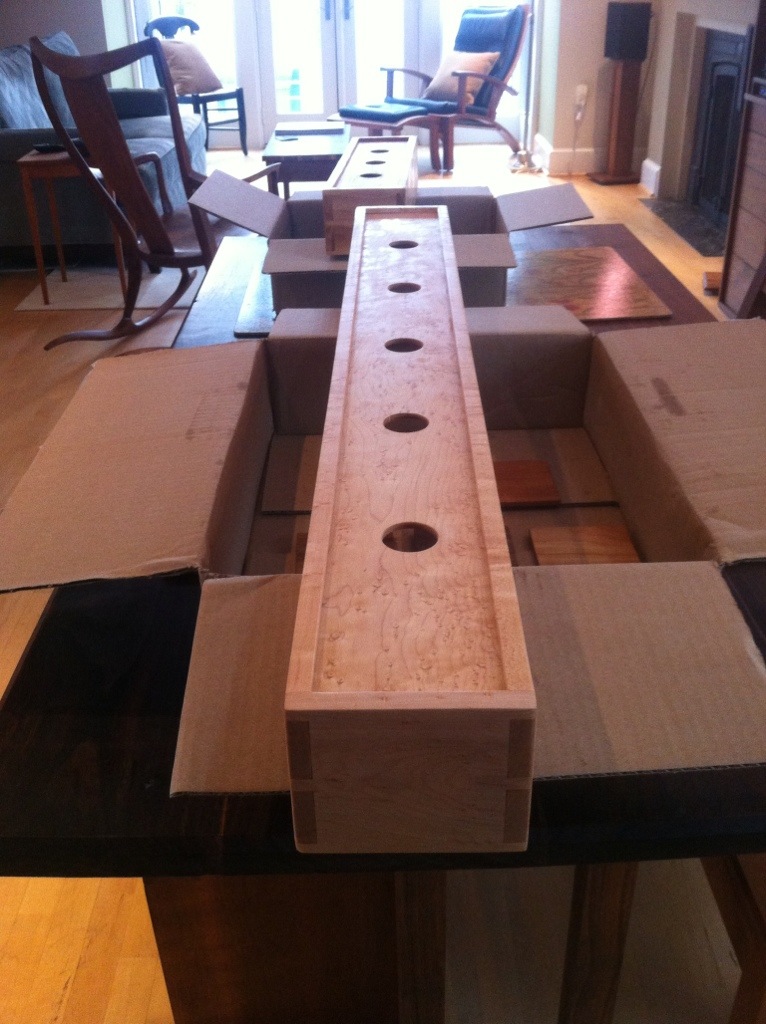
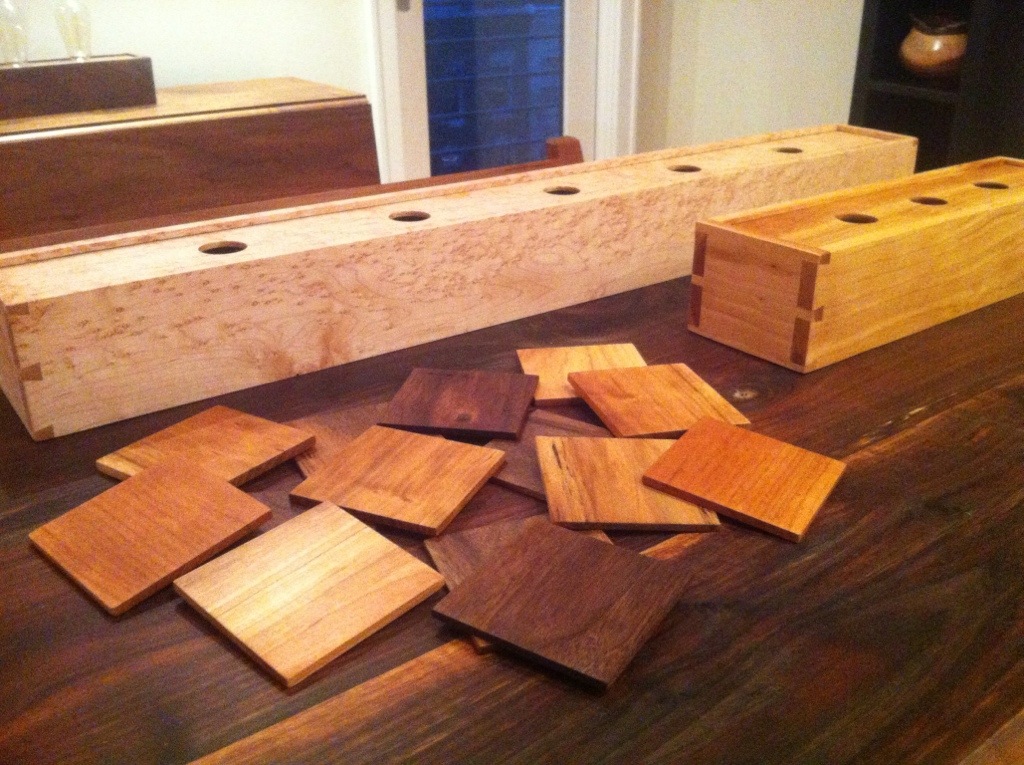
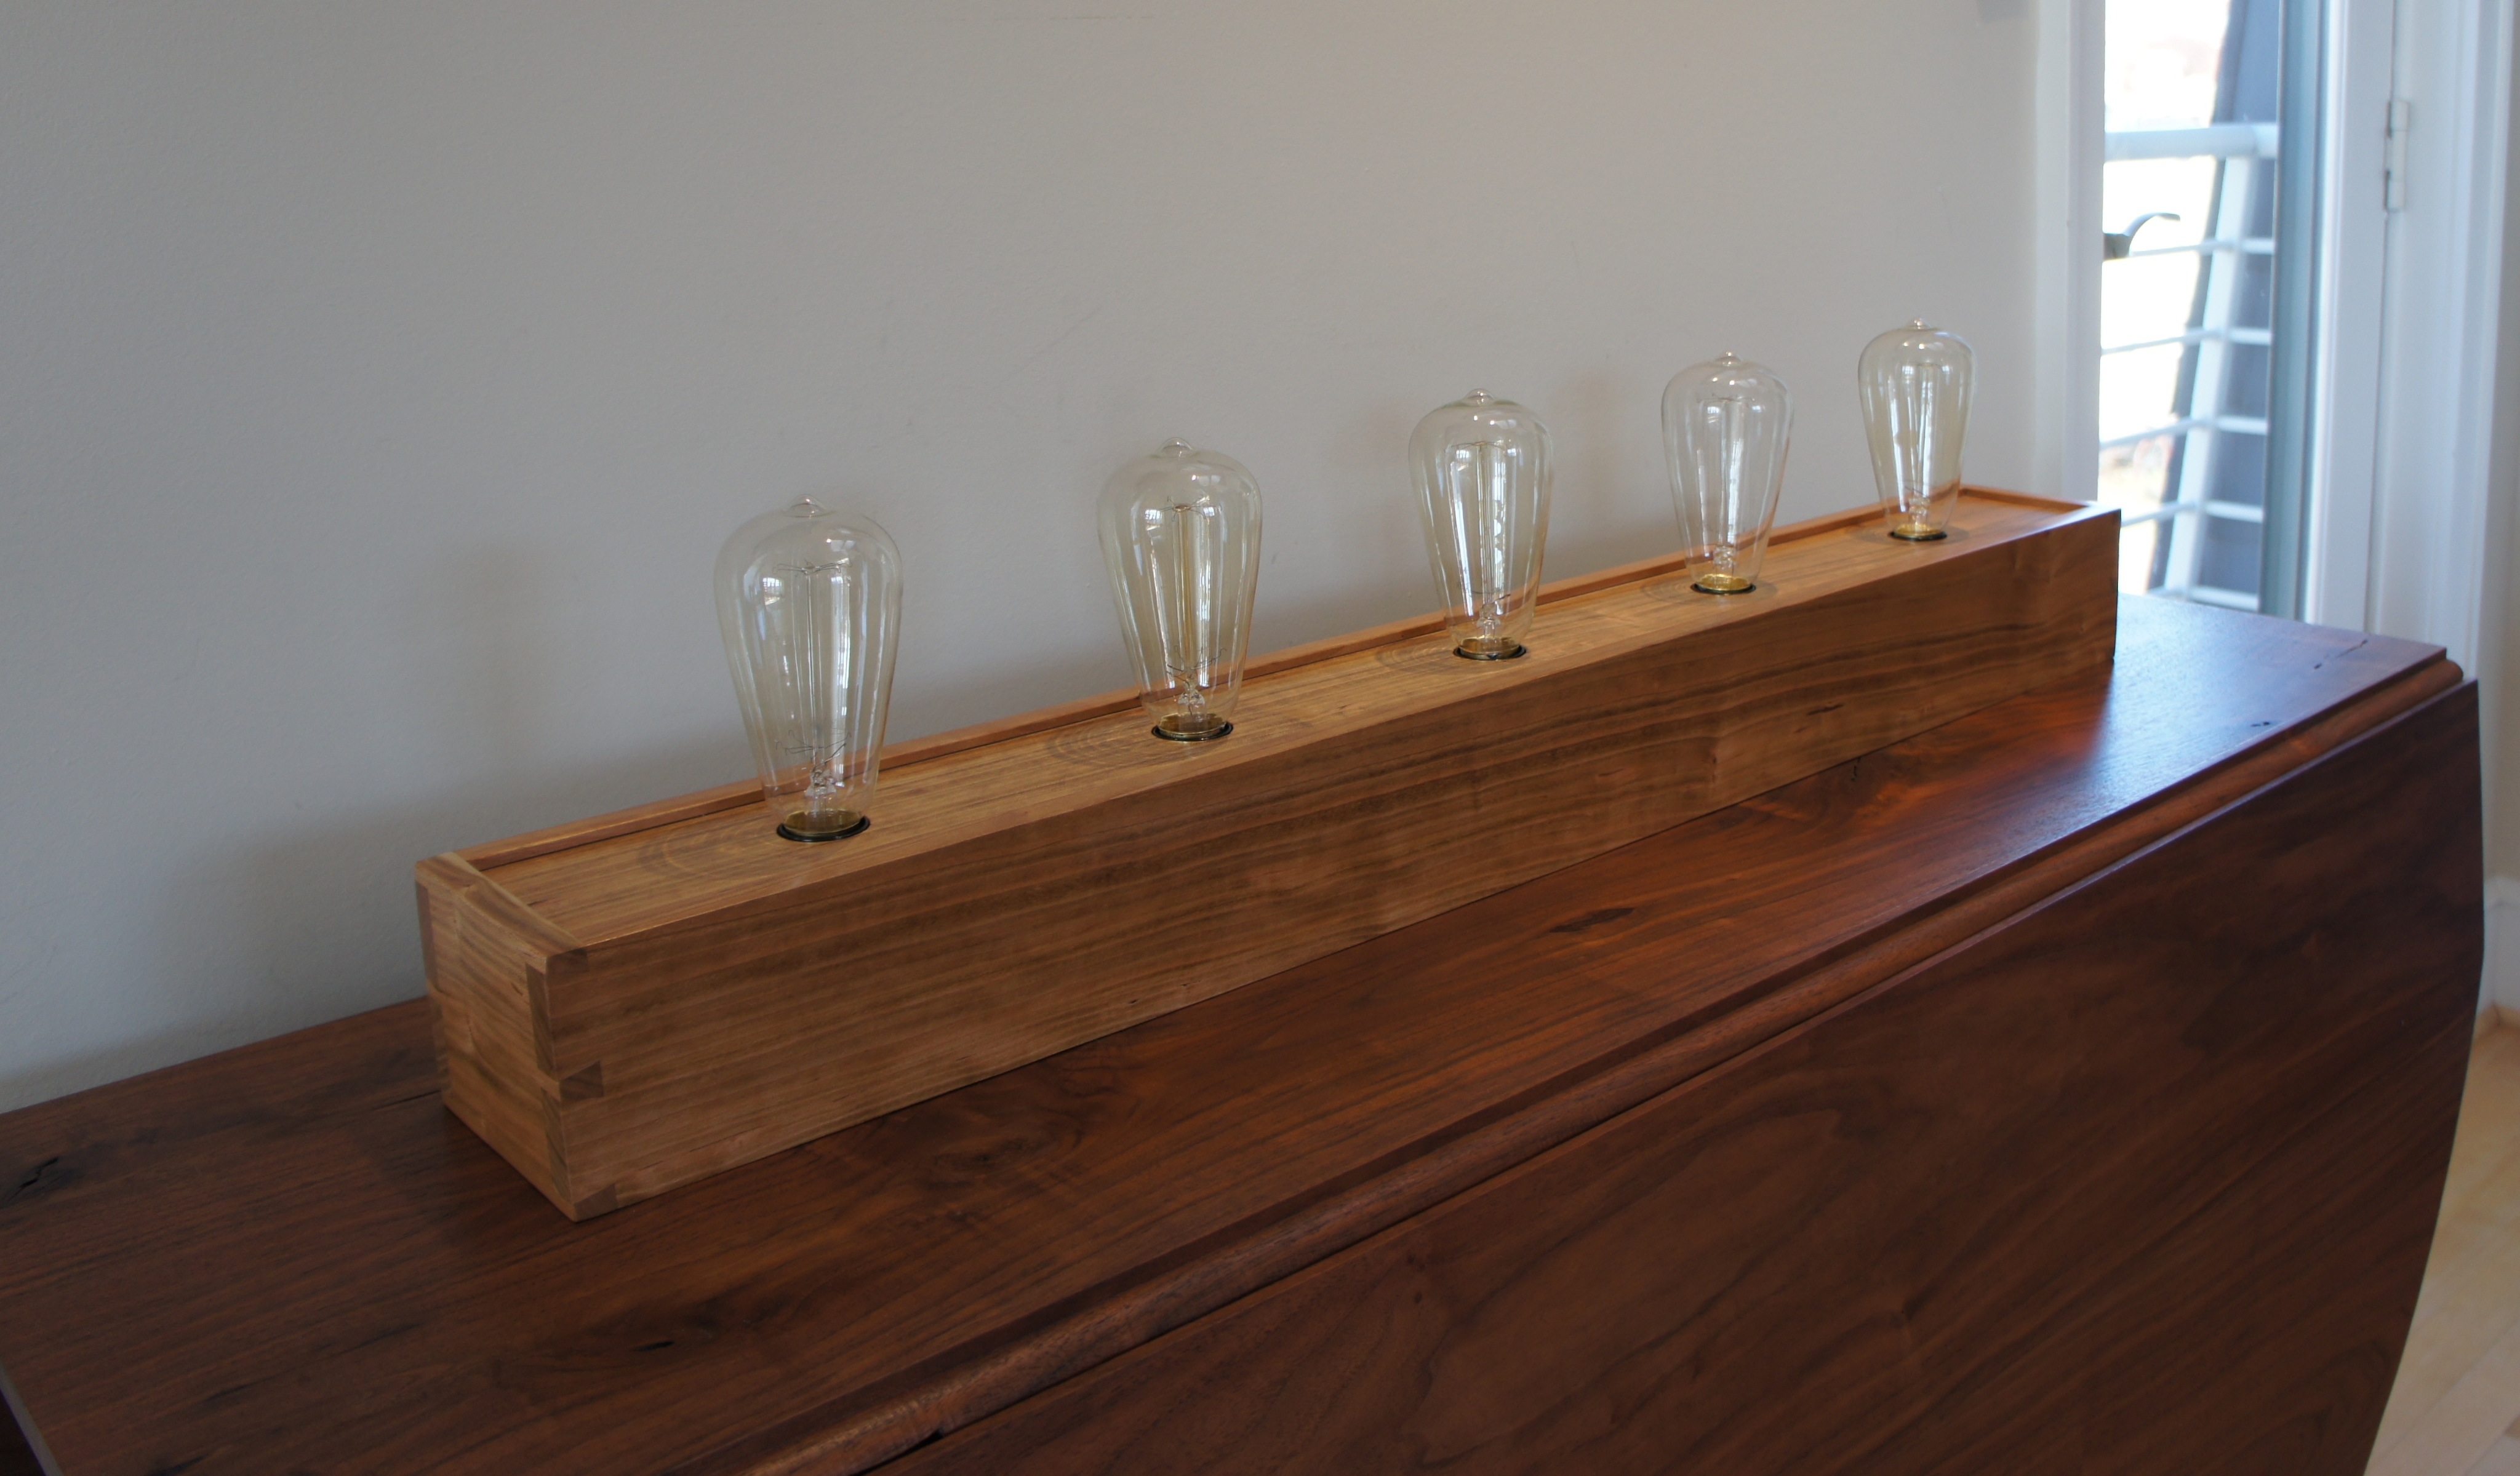
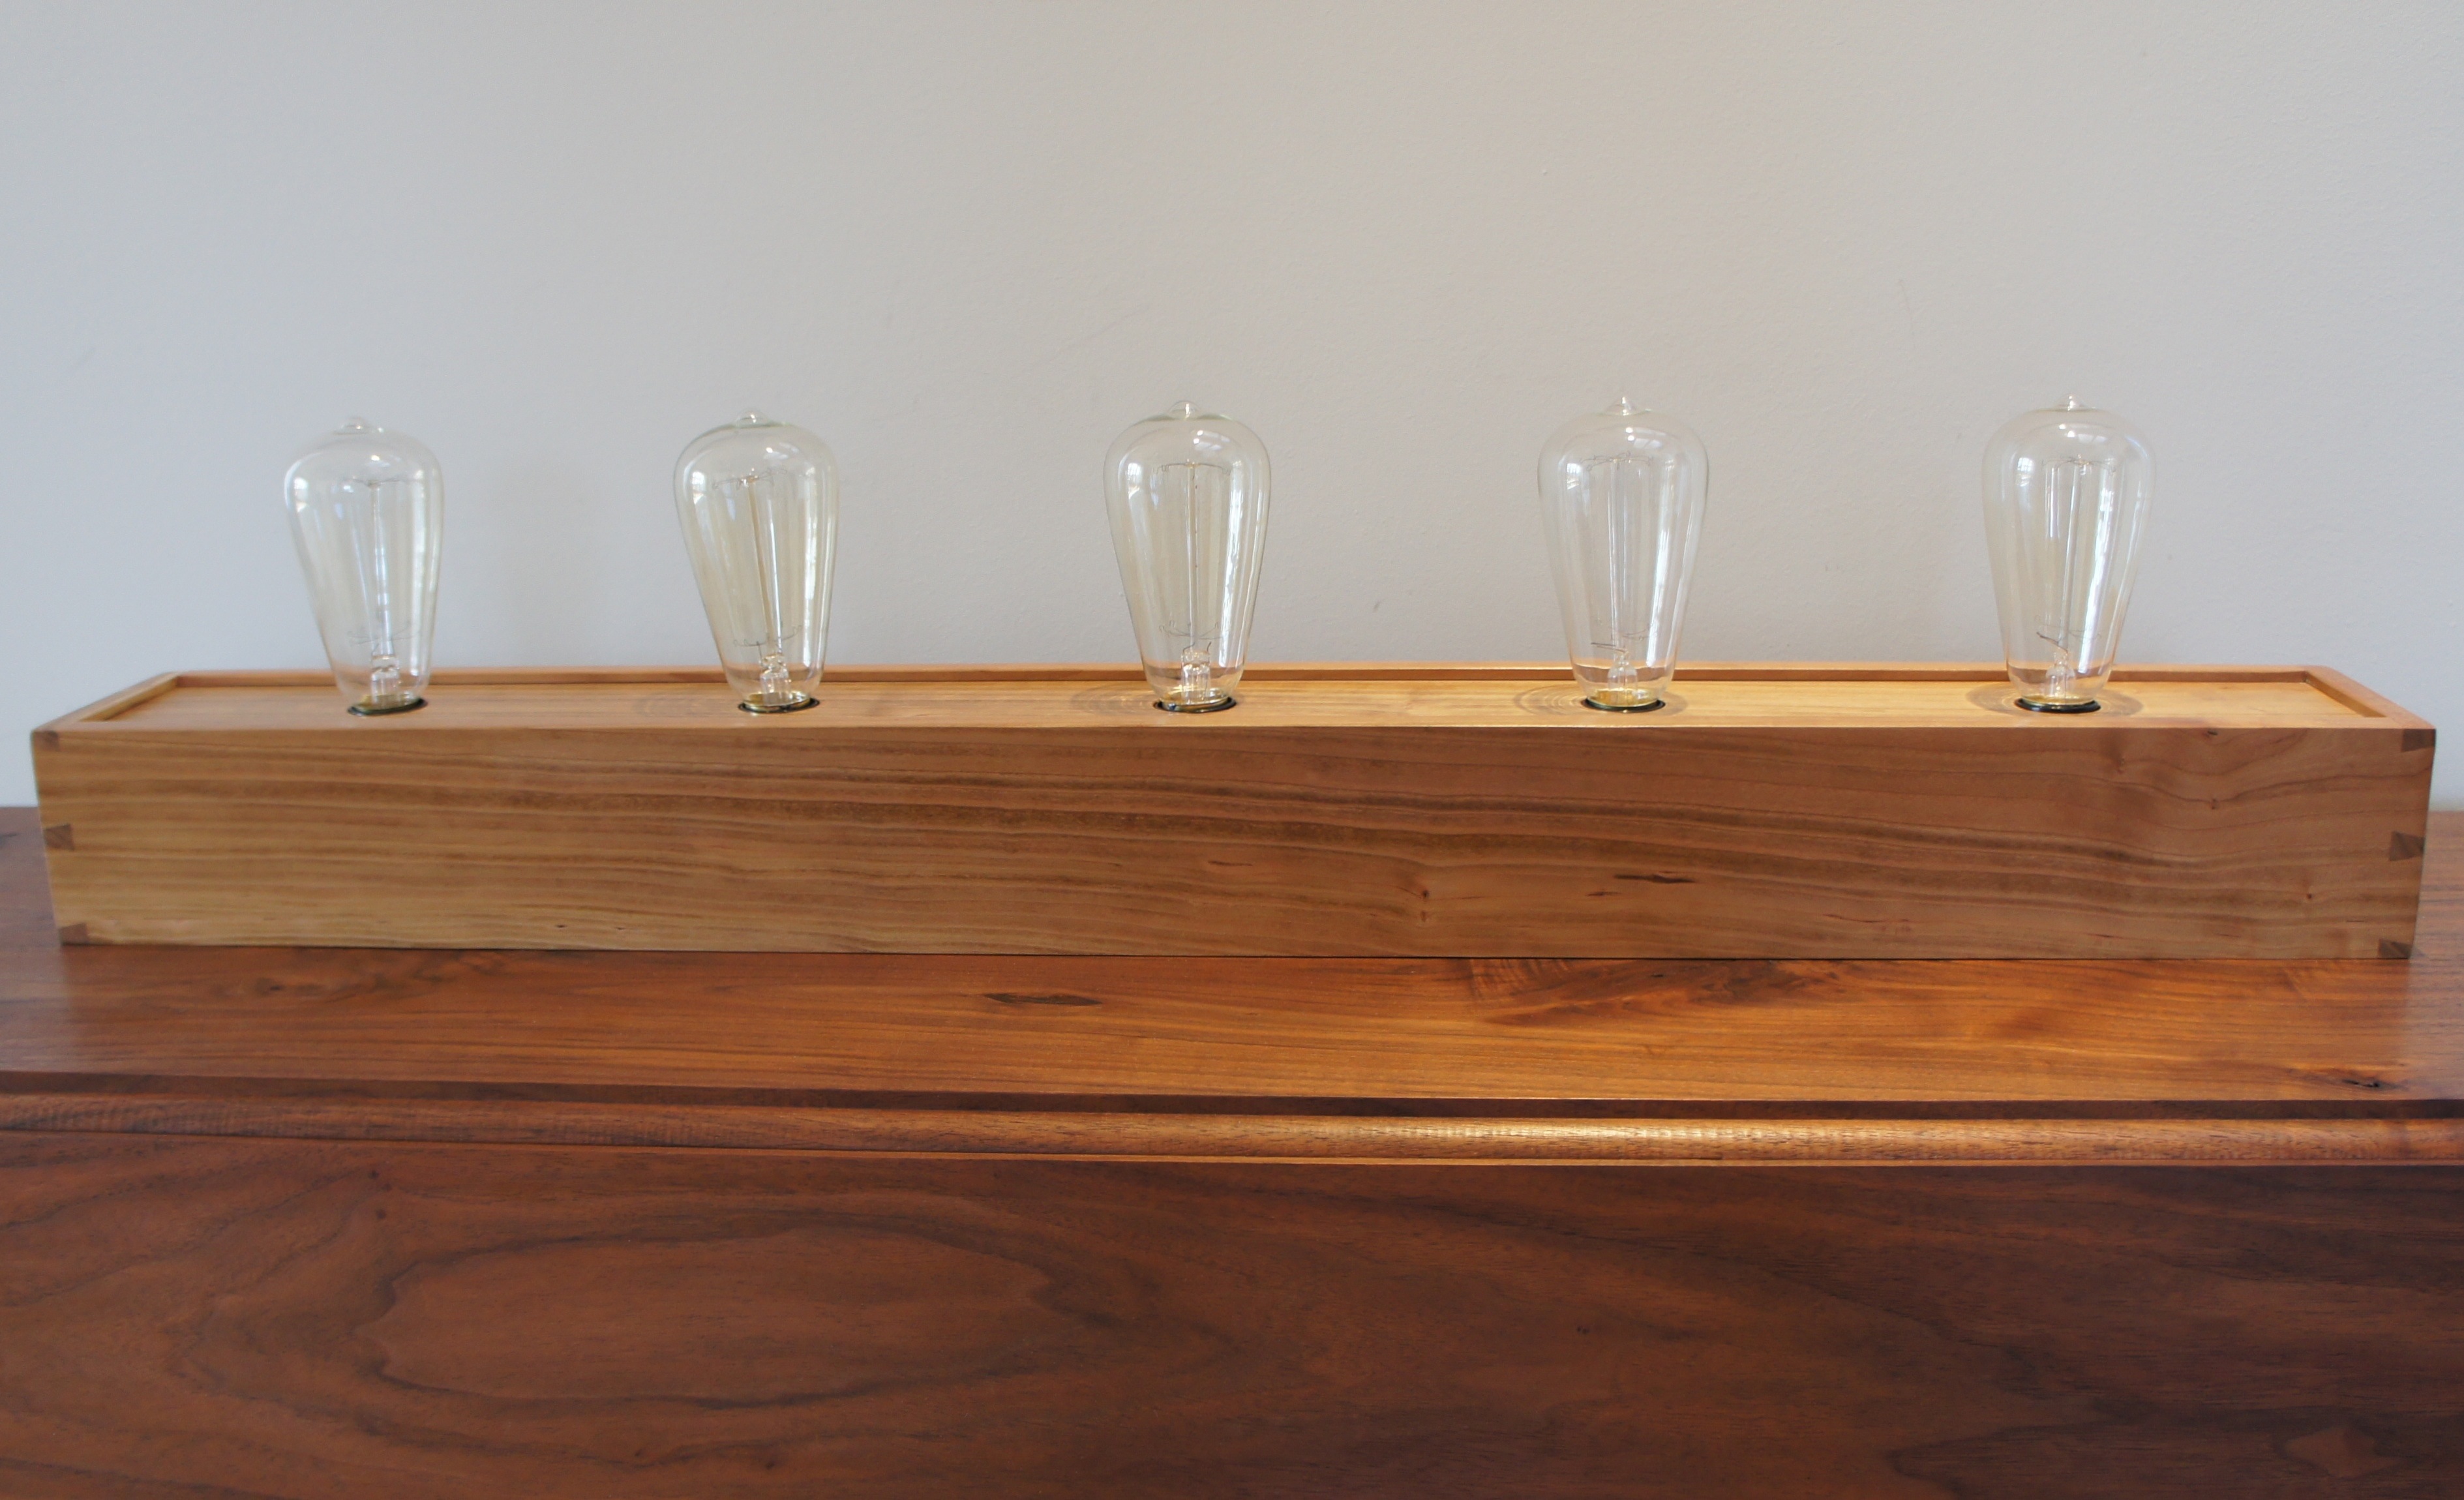
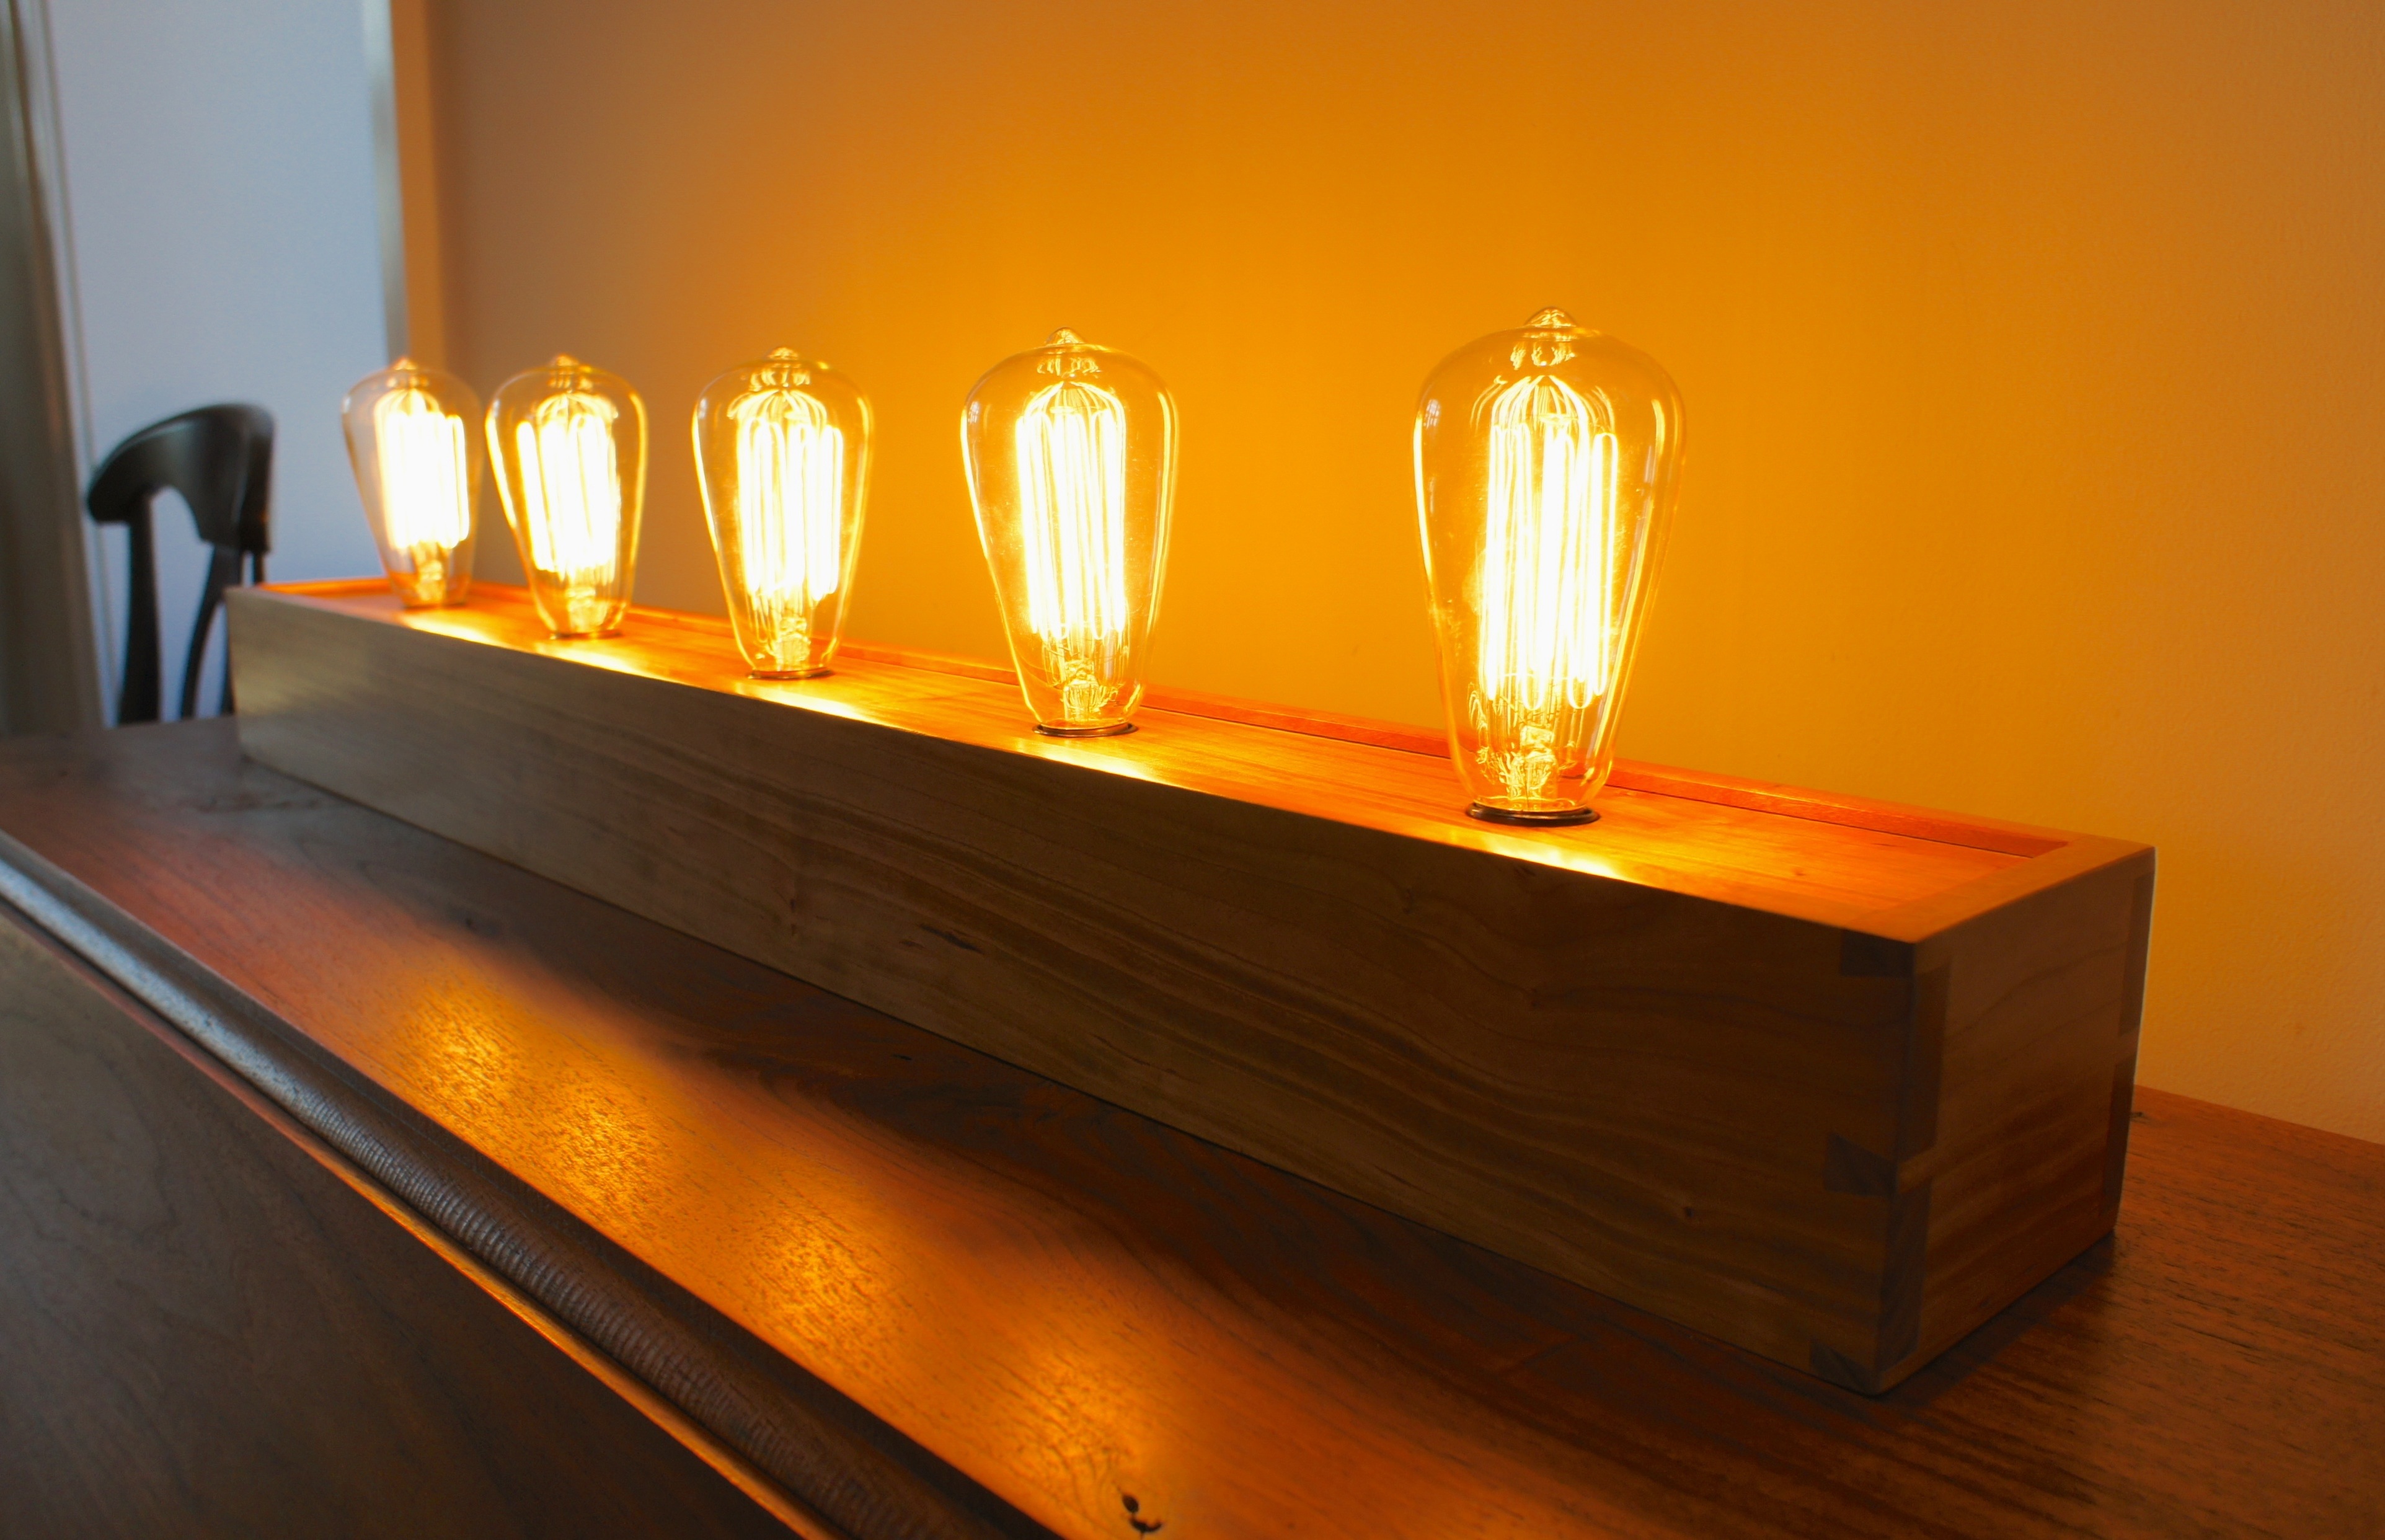
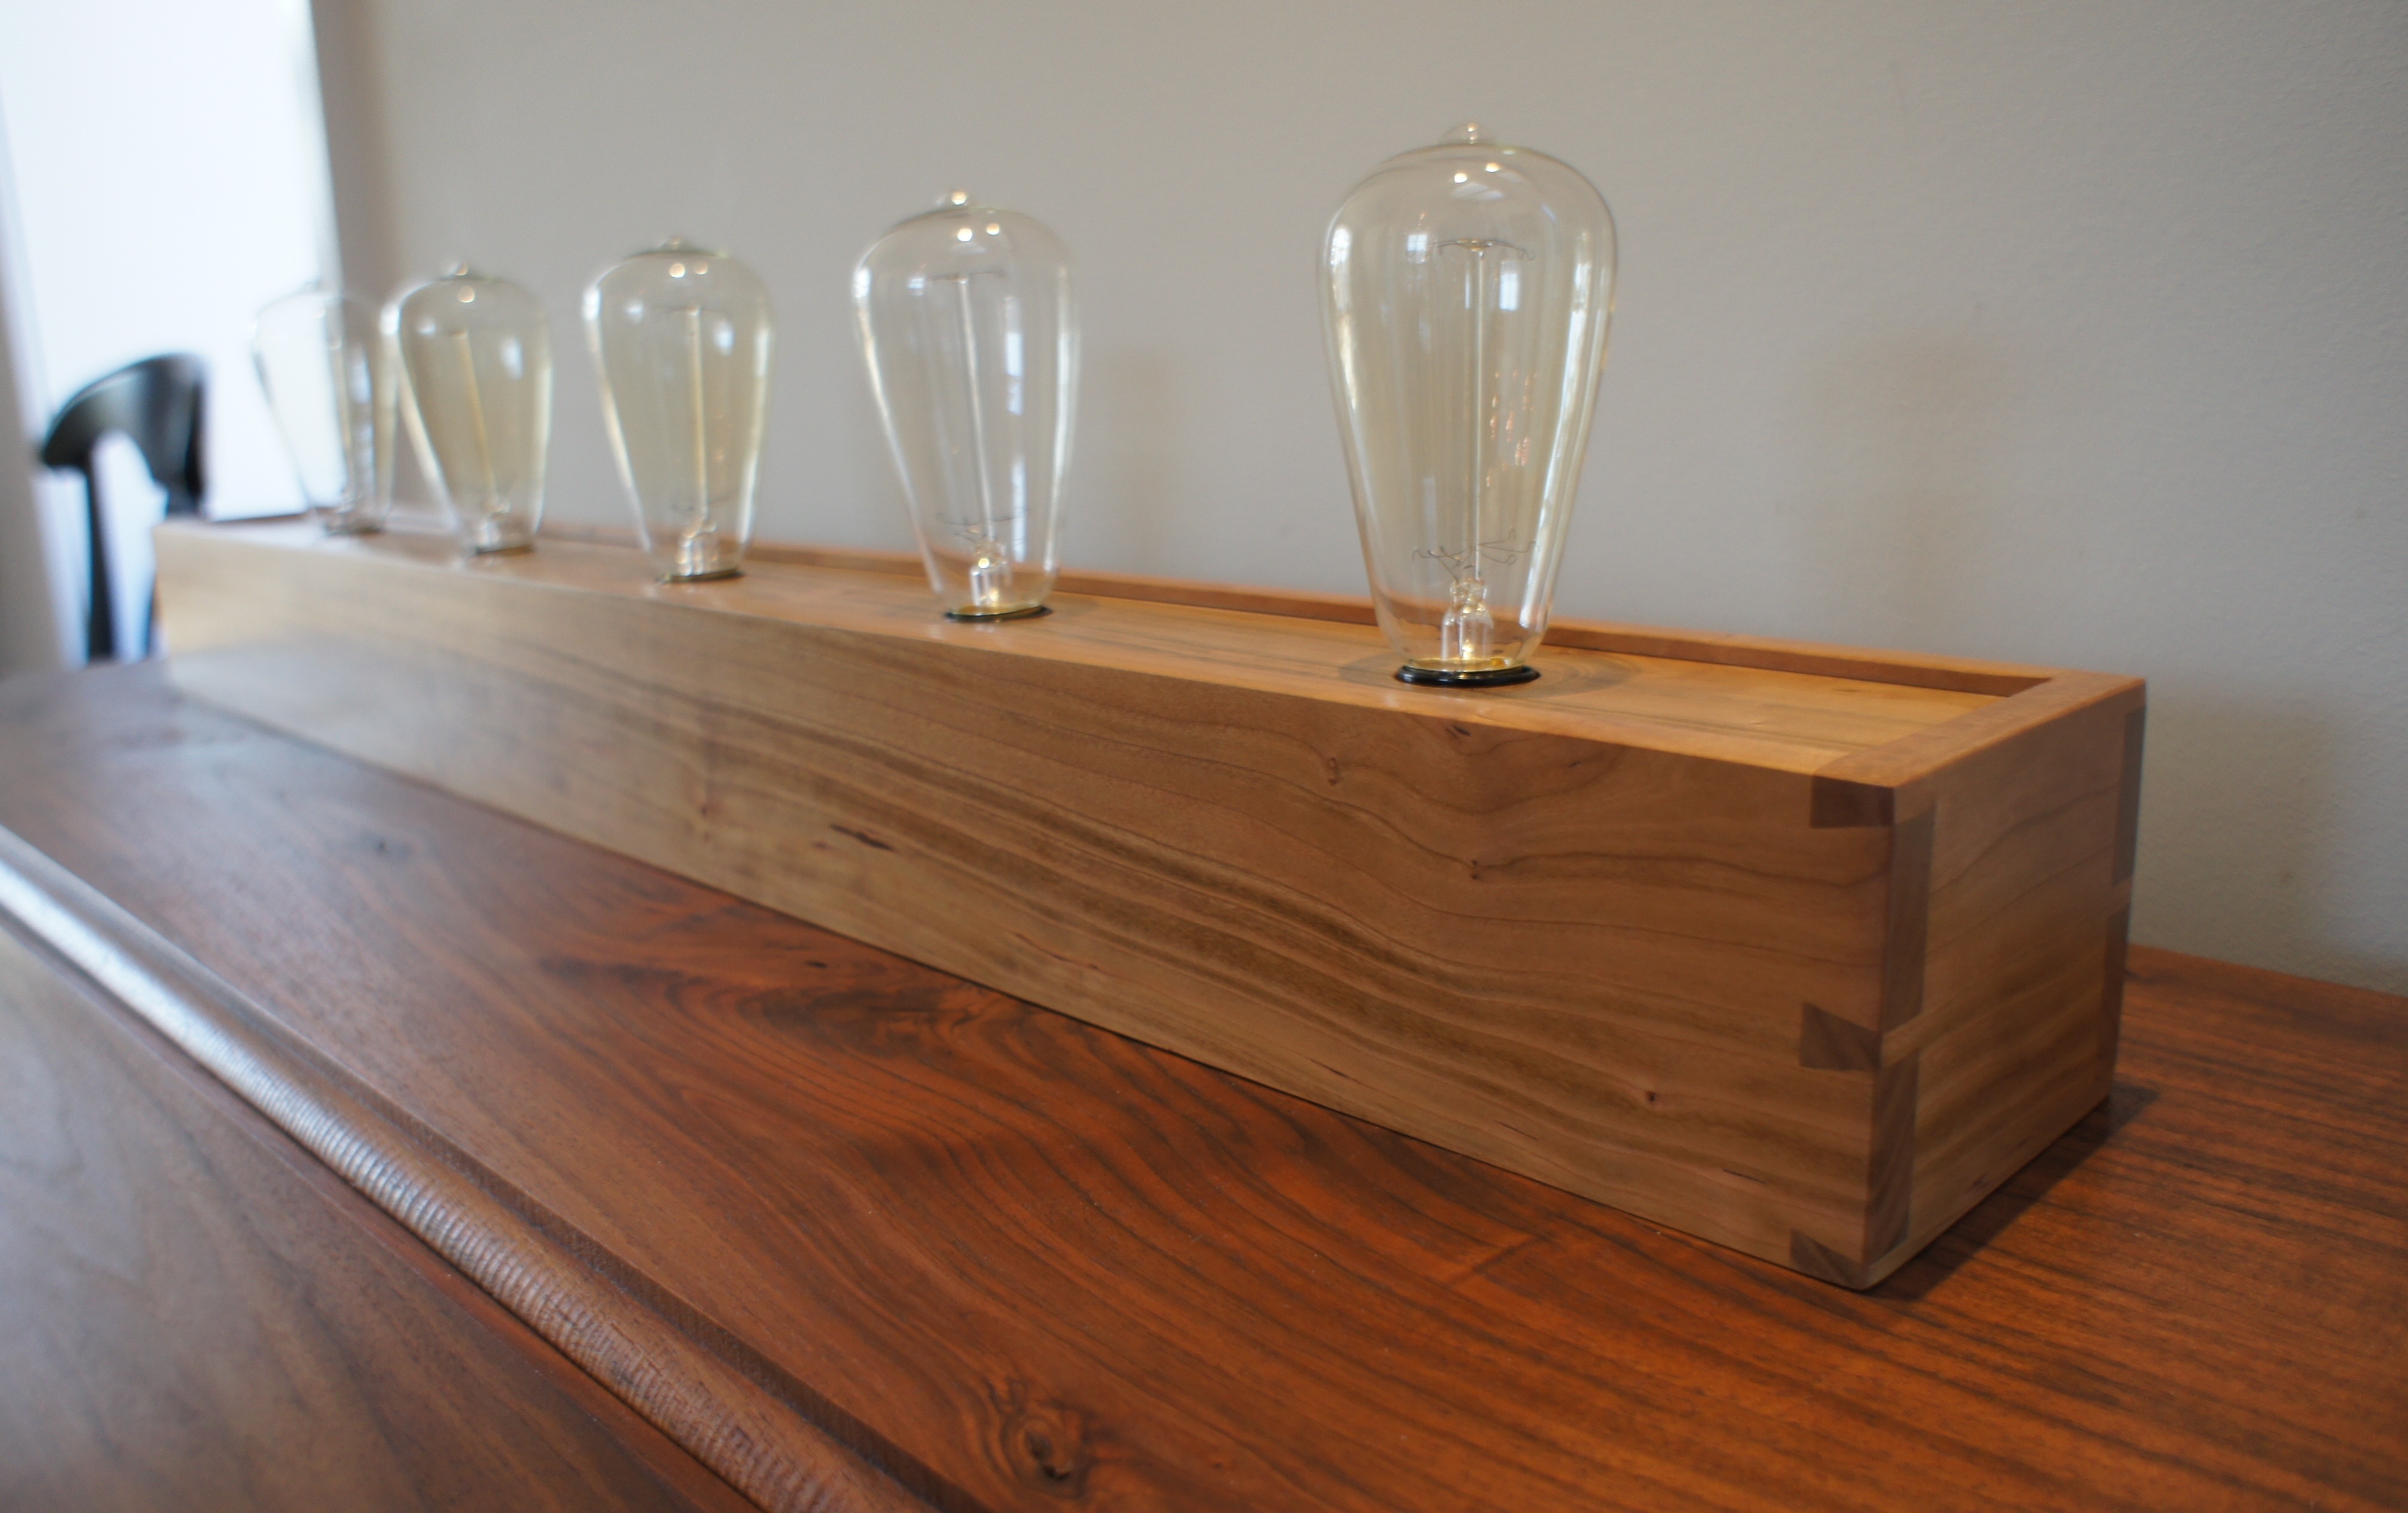
For the first full trip to the shop in 2013, I worked on some new dovetailed boxes (also made a new pen / iPad stylus but no photos of that one). One of the boxes is built from a small piece of koa that I picked up earlier in the week. The other is built from some leftover birdseye maple from the 5 bulb Edison lamp I built at the end of 2012. I haven’t decided the ultimate purpose of each individual box, but one will be a coasters holder and the other will be a single bulb Edison lamp. Each box had some chip out issues with the dovetails. We’ll see how well I can patch up or sand out any of the issues. If they come out nicely, I’ll probably put them up in my etsy shop. Otherwise I’ll just selectively photograph them and list them as built to order.

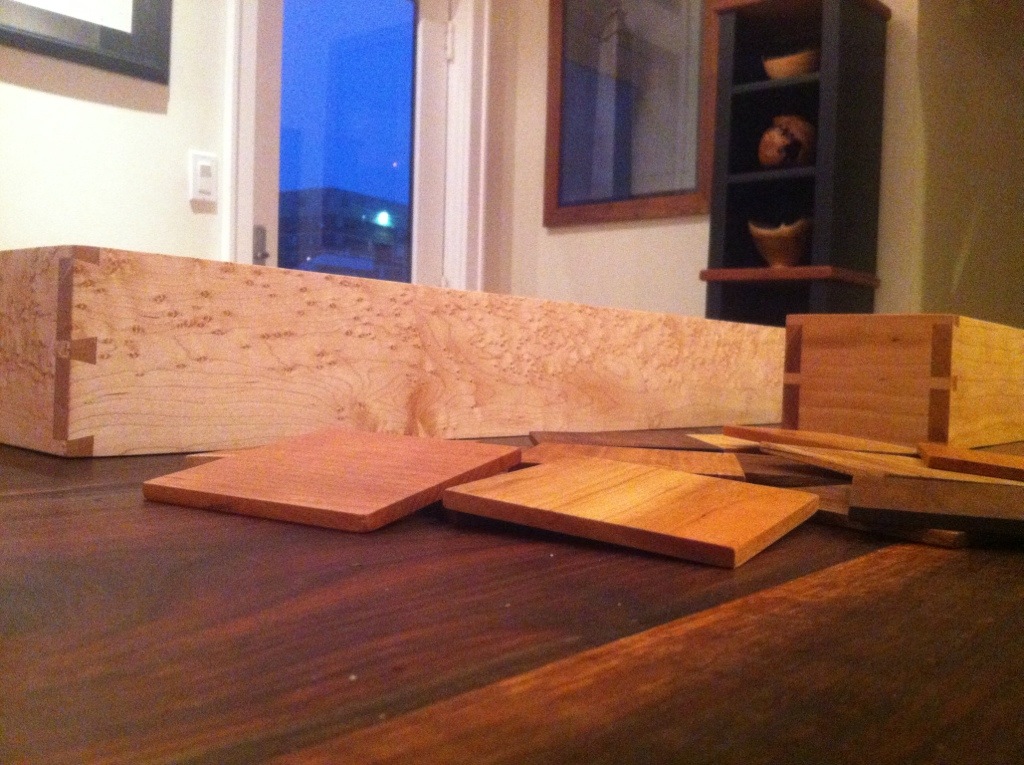
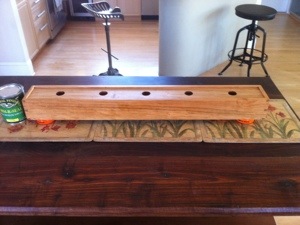
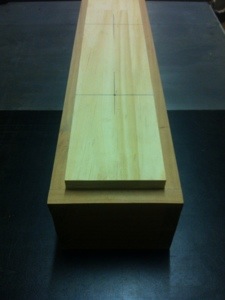
The photo below shows the individual pieces being organized before rapid gluing and clamping.

20130105-202134.jpg


Leave a comment

Finished 3 Bulb Cherry Edison Lamp

In addition to the birdseye maple lamp that I just posted, I also finished up a 3 bulb version of an Edison lamp in cherry. There was a pretty broad range of colors in the cherry, so this one might not be to everyone’s tastes. Not to mention that I accidentally knocked it off a table after it was completely finished. As a result 2 top corners got dented. A little rework with a sanding block and now I have my first rounded corner version of an Edison lamp. Definitely still looks nice, but overall this one will have a more specific audience.

20121213-164907.jpg

20121213-164937.jpg

20121213-164949.jpg


3 Comments

Completed Birdseye Maple Edison Lamp

After a combination of boiled linseed oil followed up by an oil / urethane blend, I finally finished up the birdseye maple lamp. This is the first version of the lamp that I built with a dimmer switch. I’m sure it’s not evident from the photos, but the switch makes a tremendous difference. The bulbs can put off a lot of heat, and the dimmer allows you to dial in the brightness to just the right level. I’m pretty sure this will be a standard part off all future builds.

20121213-162551.jpg

20121213-162617.jpg

20121213-162642.jpg


Leave a comment

Edison Lamp Finish Coats and Fancy Coasters

A real mixed bag of project work today. Thanks to a tardy FedEx delivery, started the day by running down to the shop to fit a dimmer switch into a new Edison lamp. With that out of the way, it was on to finishing work. Although I prefer to use an oil urethane blend for my finishing work, I switched things up a bit this time. This weekend’s finish work was using exclusively boiled linseed oil. It’s a finish I like, but you just need to be very careful with your rags because of the spontaneous combustion issue. The photo below shows my impromptu finishing area (aka my living / dining room with pieces resting on the edges of cardboard boxes.

20121209-203013.jpg

The following shots just show some extra perspectives on the current pieces that I’m working on. In the photos are the Birdseye maple piece that has been featured in the past few posts on this site. Also featured is a smaller 3 bulb version built out of cherry. The cherry was particularly light, but it has been warming up with more coats of finish. In the photos below, the small cherry piece has two coats of boiled linseed oil. The maple piece has just received its first coat (keeping in mind, that my iPhone doesn’t take the best photos). You’ll also notice scattered 3.5″ square pieces of wood. Given the amount of wood furniture I have in my house, coasters are an absolute must. Building items like the Edison lamps has generated a lot of thin stock that has no other use for me, so I’ve decided to start making drink coasters. If I make enough and get motivated, they might be the next item to make an appearance on etsy. Next post should have nicer photos of the finished pieces.

20121209-203053.jpg

20121209-203104.jpg

20121209-203118.jpg


1 Comment

6 Clamps to Put Together a Dovetailed Birdseye Maple Edison Lamp Base

There were a lot of moving parts in the shop today. I started by sanding the interior surfaces and the top for the lamp base. The first photo shows all of the pieces before sanding and before the top is cut to the right size. You can tell this is the interior of the box showing by the groove at the top edge of all of the pieces. That groove is what secures the top into place.

The second photo shows my quick test of the fit of the dovetails. It looked like a pretty good fit. But after years of doing this, I’ve decided to reserve judgement on the quality of fit until after it comes out of the clamps. Speaking of (or more accurately… writing of) clamps, the final photo shows the box after being glued and clamped. It may not look like much, but trust me that you have to move quickly to get everything glued and clamped in time. You don’t want the glue to setup too much before it is fully clamped. Hopefully, I’ll be able to get to the shop for a quick trip this week to clean up the glue and check the fit.

20121202-181207.jpg

20121202-181219.jpg

20121202-181232.jpg


Leave a comment

Laying Out for a Birdseye Maple Edison Lamp

I’m in the early stages of creating another long Edison lamp, but this time get to try some birdseye (or bird’s eye – you choose) maple for the work. It costs a bit more, but it is considerably more interesting than stock maple.

In the series of photos below I’ve shown the front of the box after dimensioning the lumber. For the front of the box and the sides I always try (doesn’t always happen) to get those 3 pieces out of one piece of lumber. In most cases that allows the grain of the wood to flow around the piece. In this case it is less about the grain and more about the location of the eyes.

The “easy” part of the project is over. Next up are the dovetails and the groove for the light top. The dovetails aren’t too hard, but I can’t tell you how many times routing that groove on the router table has forced me to mill up an extra side piece. Hopefully a little patience and planning will pay dividends here.

20121201-154314.jpg

20121201-154326.jpg


Leave a comment

Spalted Walnut Dovetailed Edison Lamp Base

On a quick trip to the shop post Thanksgiving, I started work on yet another Edison lamp. I had a small piece of spalted walnut in the shop. It wasn’t really big enough to incorporate into any other piece, so I thought I would see how it would look as a lamp base. It might ultimately end up being too busy in the final design, but I wanted to give it a shot. The photo below shows a partial dry fit after I cut the dovetails. This one shouldn’t take long to finish from here.

20121125-220826.jpg


2 Comments

Completed 5 Bulb Cherry Edison Lamp

Put the finishing touches on the 5 bulb / 36″ version of the latest Edison lamp this weekend. The final piece has three coats of finish applied. It already has great color, but the cherry will continue to darken with exposure to natural light. I mentioned a few posts ago about resawing the lumber so that I could get the top cut from the same piece of lumber. In addition to the benefit of matching tone and color, it also has the benefit of matching the grain and streaking of the board used for the front of the lamp. It will be sad to pack it up, but it will have a new home in its future…

20121118-154417.jpg

20121118-154433.jpg

20121118-154450.jpg

20121118-154520.jpg

20121118-154506.jpg

20121118-154539.jpg

20121118-154552.jpg


Leave a comment

36″ Edison Lamp Approaching the Finish Line

Getting close to finishing up the next Edison lamp. As with the last few small pieces, I’ve started finishing items at home. It’s more efficient for applying multiple coats of finish (compared to driving 45 miles each way to the shop). Plus the temperature and humidity are much better for finishing in my condo. The picture below was taken right after the first coat was applied. It will probably take at least 2 more coats of finish with 4 aught steel wool in between. The next post on the blog should have the finished lamp photos…

20121113-172640.jpg


Leave a comment

Prepping the Long Edison Base

In the last workshop session it was all about getting the base ready for light fixtures. You would think building the dovetailed box would be the hard part, but I’ve always found it more difficult to space and line up the light fixtures. I decided to try a new approach this time. In the first picture you’ll see that I’ve inserted the board that holds the sockets into the top of the base. I’ve then laid out for the 5 sockets. At this point I’ve drilled a small pilot hole through both boards at the same time. I then went back and used this pilot hole to drill the larger holes needed for the socket openings and the brass nipple that the sockets attach to. In the second photo I’ve begun the wiring for the lamp. A little more fit and sanding work to be done. Then it’s off to finishing.

20121109-124345.jpg

20121109-124356.jpg