Just a quick post here for the latest Edison lamp to be finished. I’ve actually got another 5 that just need to be wired and photographed, but I don’t have the time right now to do the wiring. And this isn’t exactly the right time of day to be photographing the lamps. Between the wrong time of day and it being overcast in DC, the photographs weren’t coming out great. Even had to break out the flash for a few pictures. Those photos probably do the best at capturing the color of the Peruvian walnut. The color is incredibly dark and rich. The grain is pretty straight and uniform. Maybe I’ll try again on a bright sunny day to get a couple better photos of the lamp.
Tag Archives: walnut
Couple of New 5 Bulb Walnut Edisons
Stacks of Edisons
Super quick post tonight. In the photo are the 9 Edison lamps built this weekend. 9 lamps required about 4 total hours of sanding today (combination of random orbital and hand sanding). Thankfully, the next meaningful post should include some photos of finished lamps. Even better, I’ve got enough inventory now that hopefully I don’t have to spend all of next weekend building lamps.
The Cost Accounting Approach to Building Edison Boxes
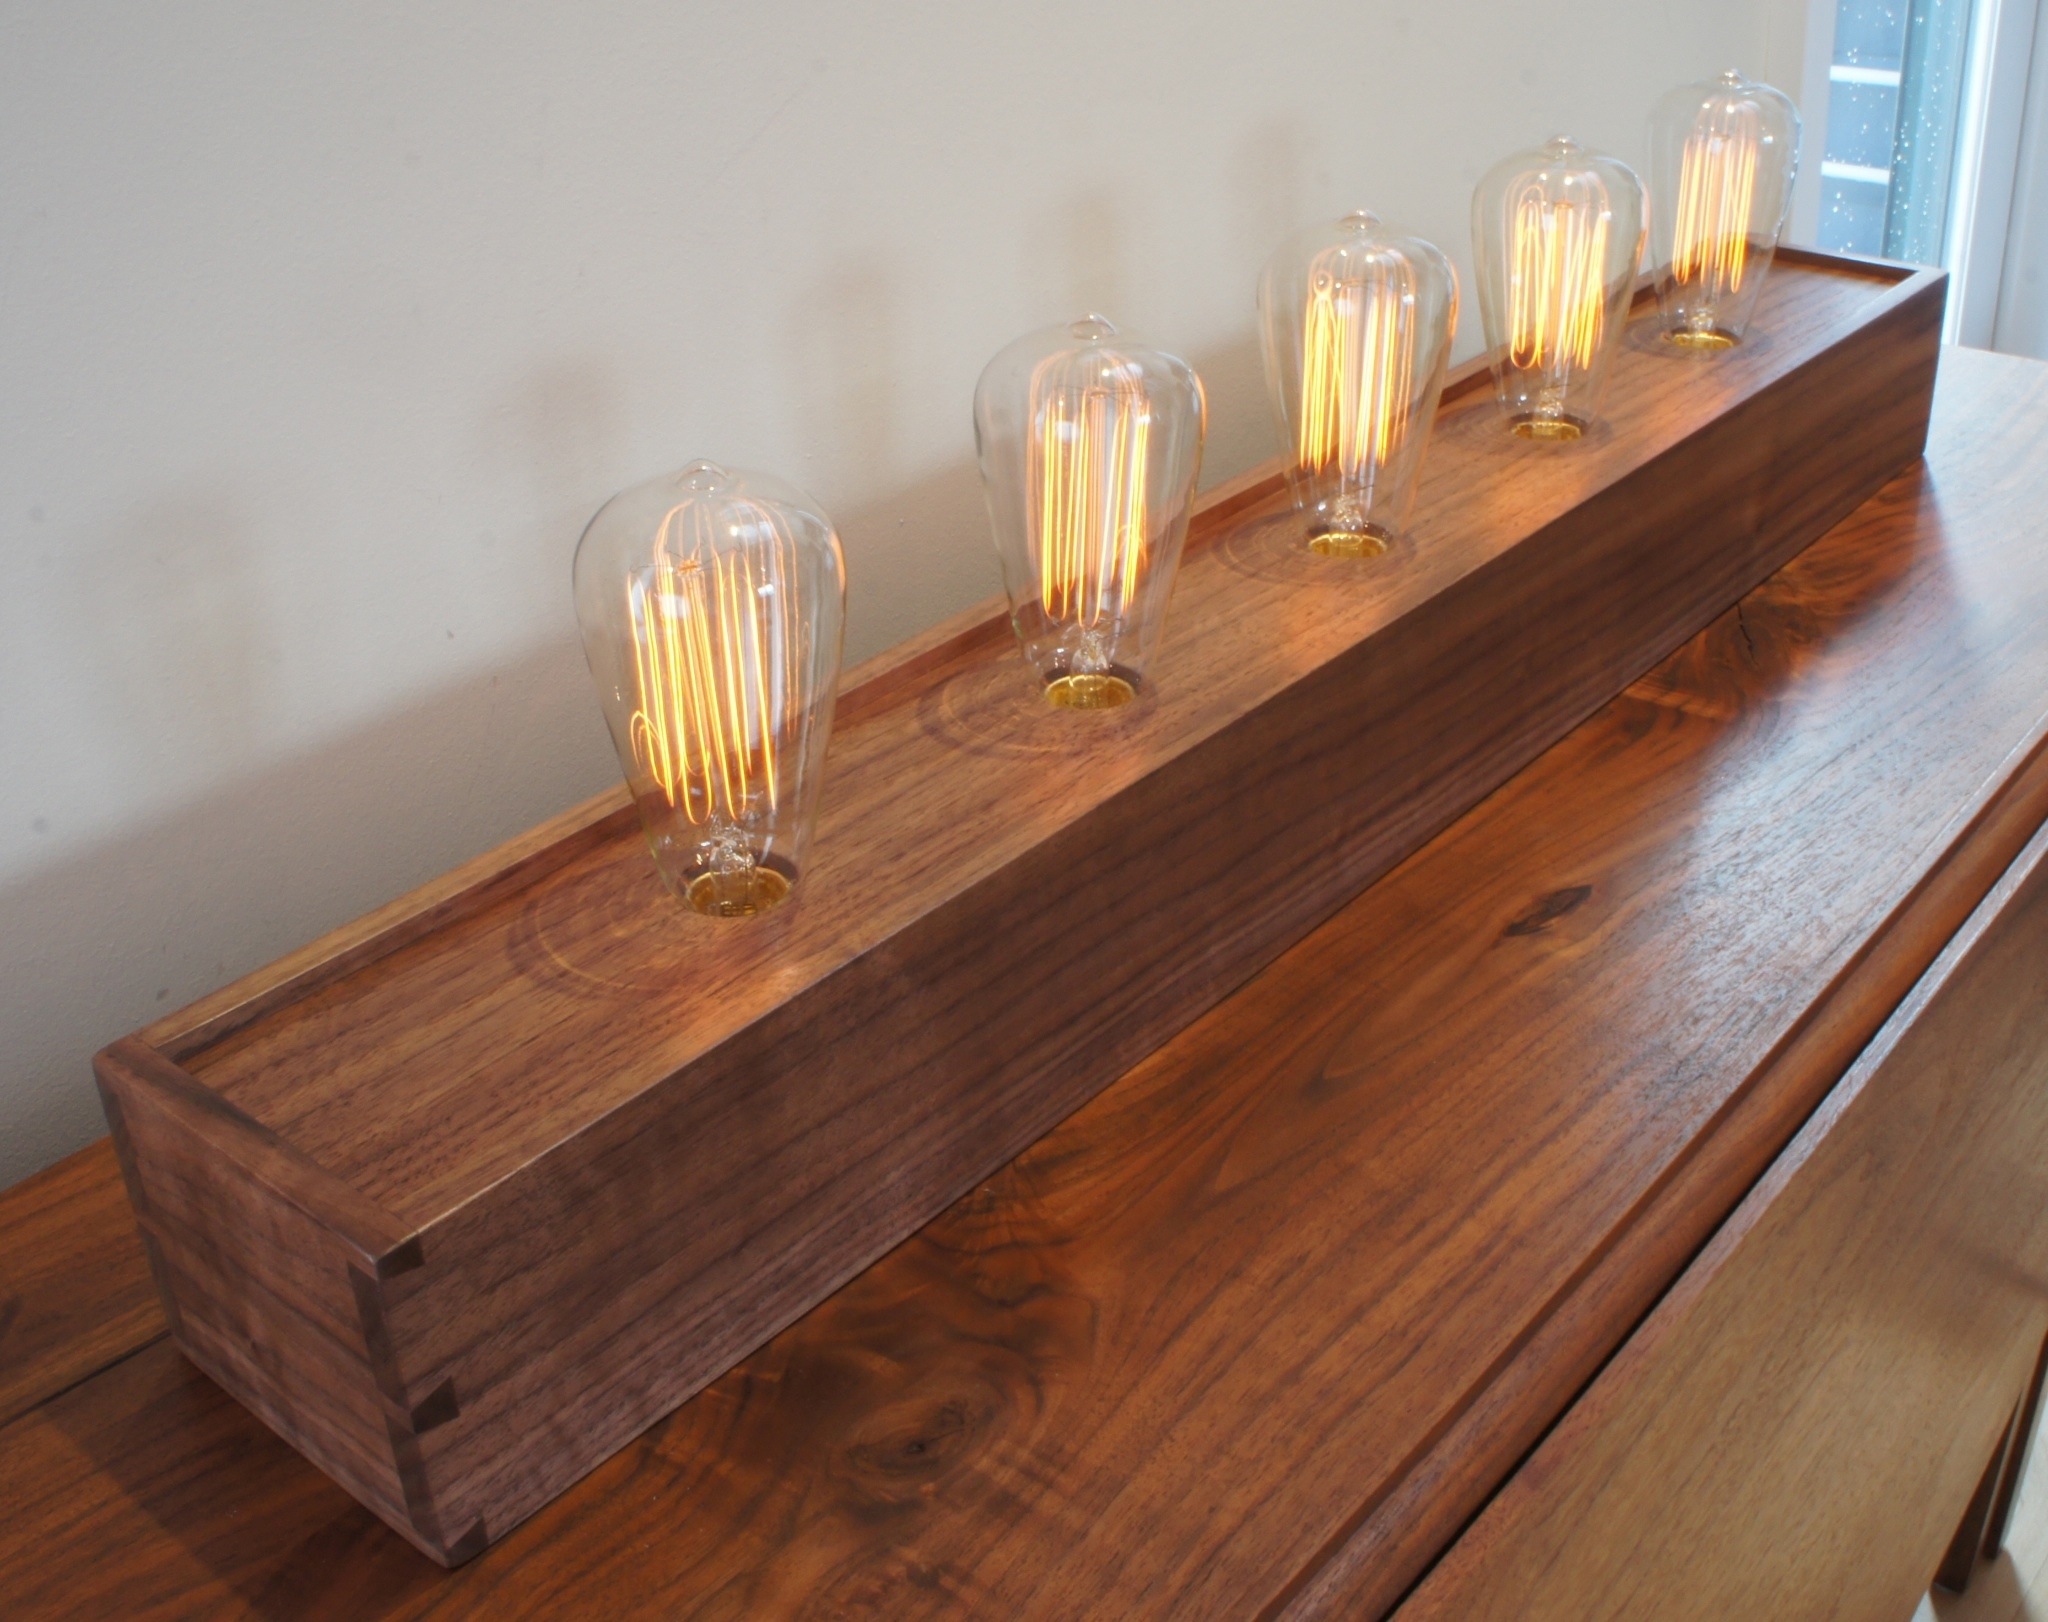
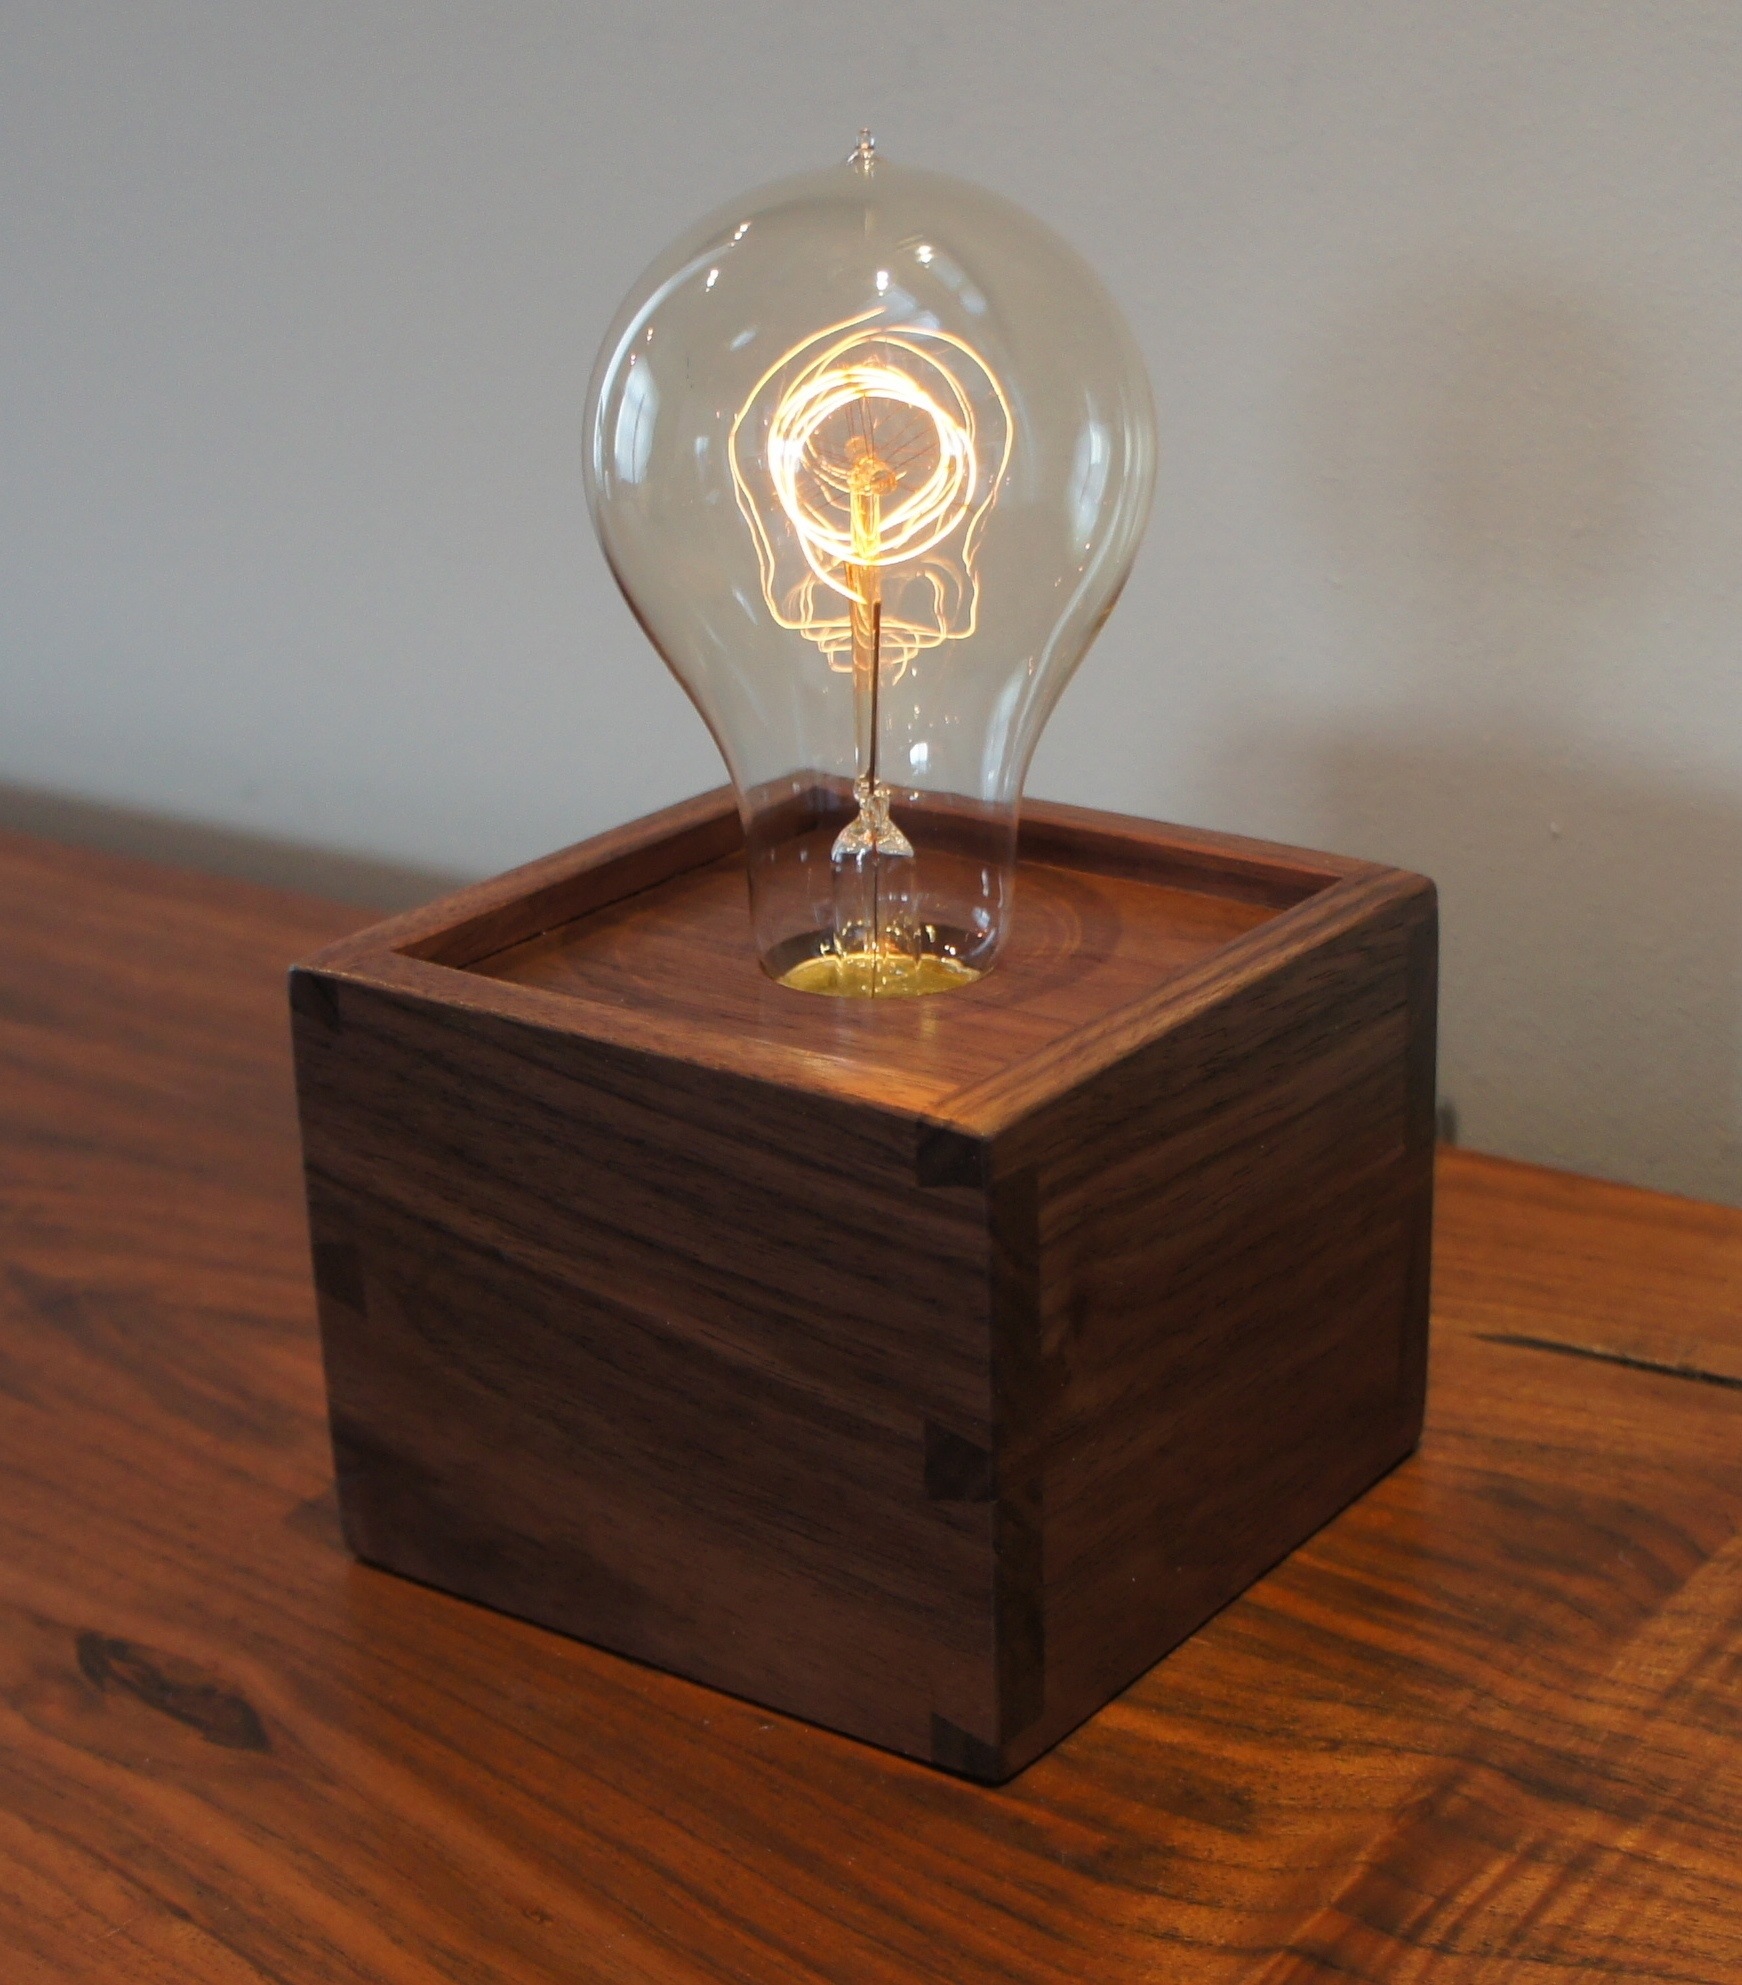
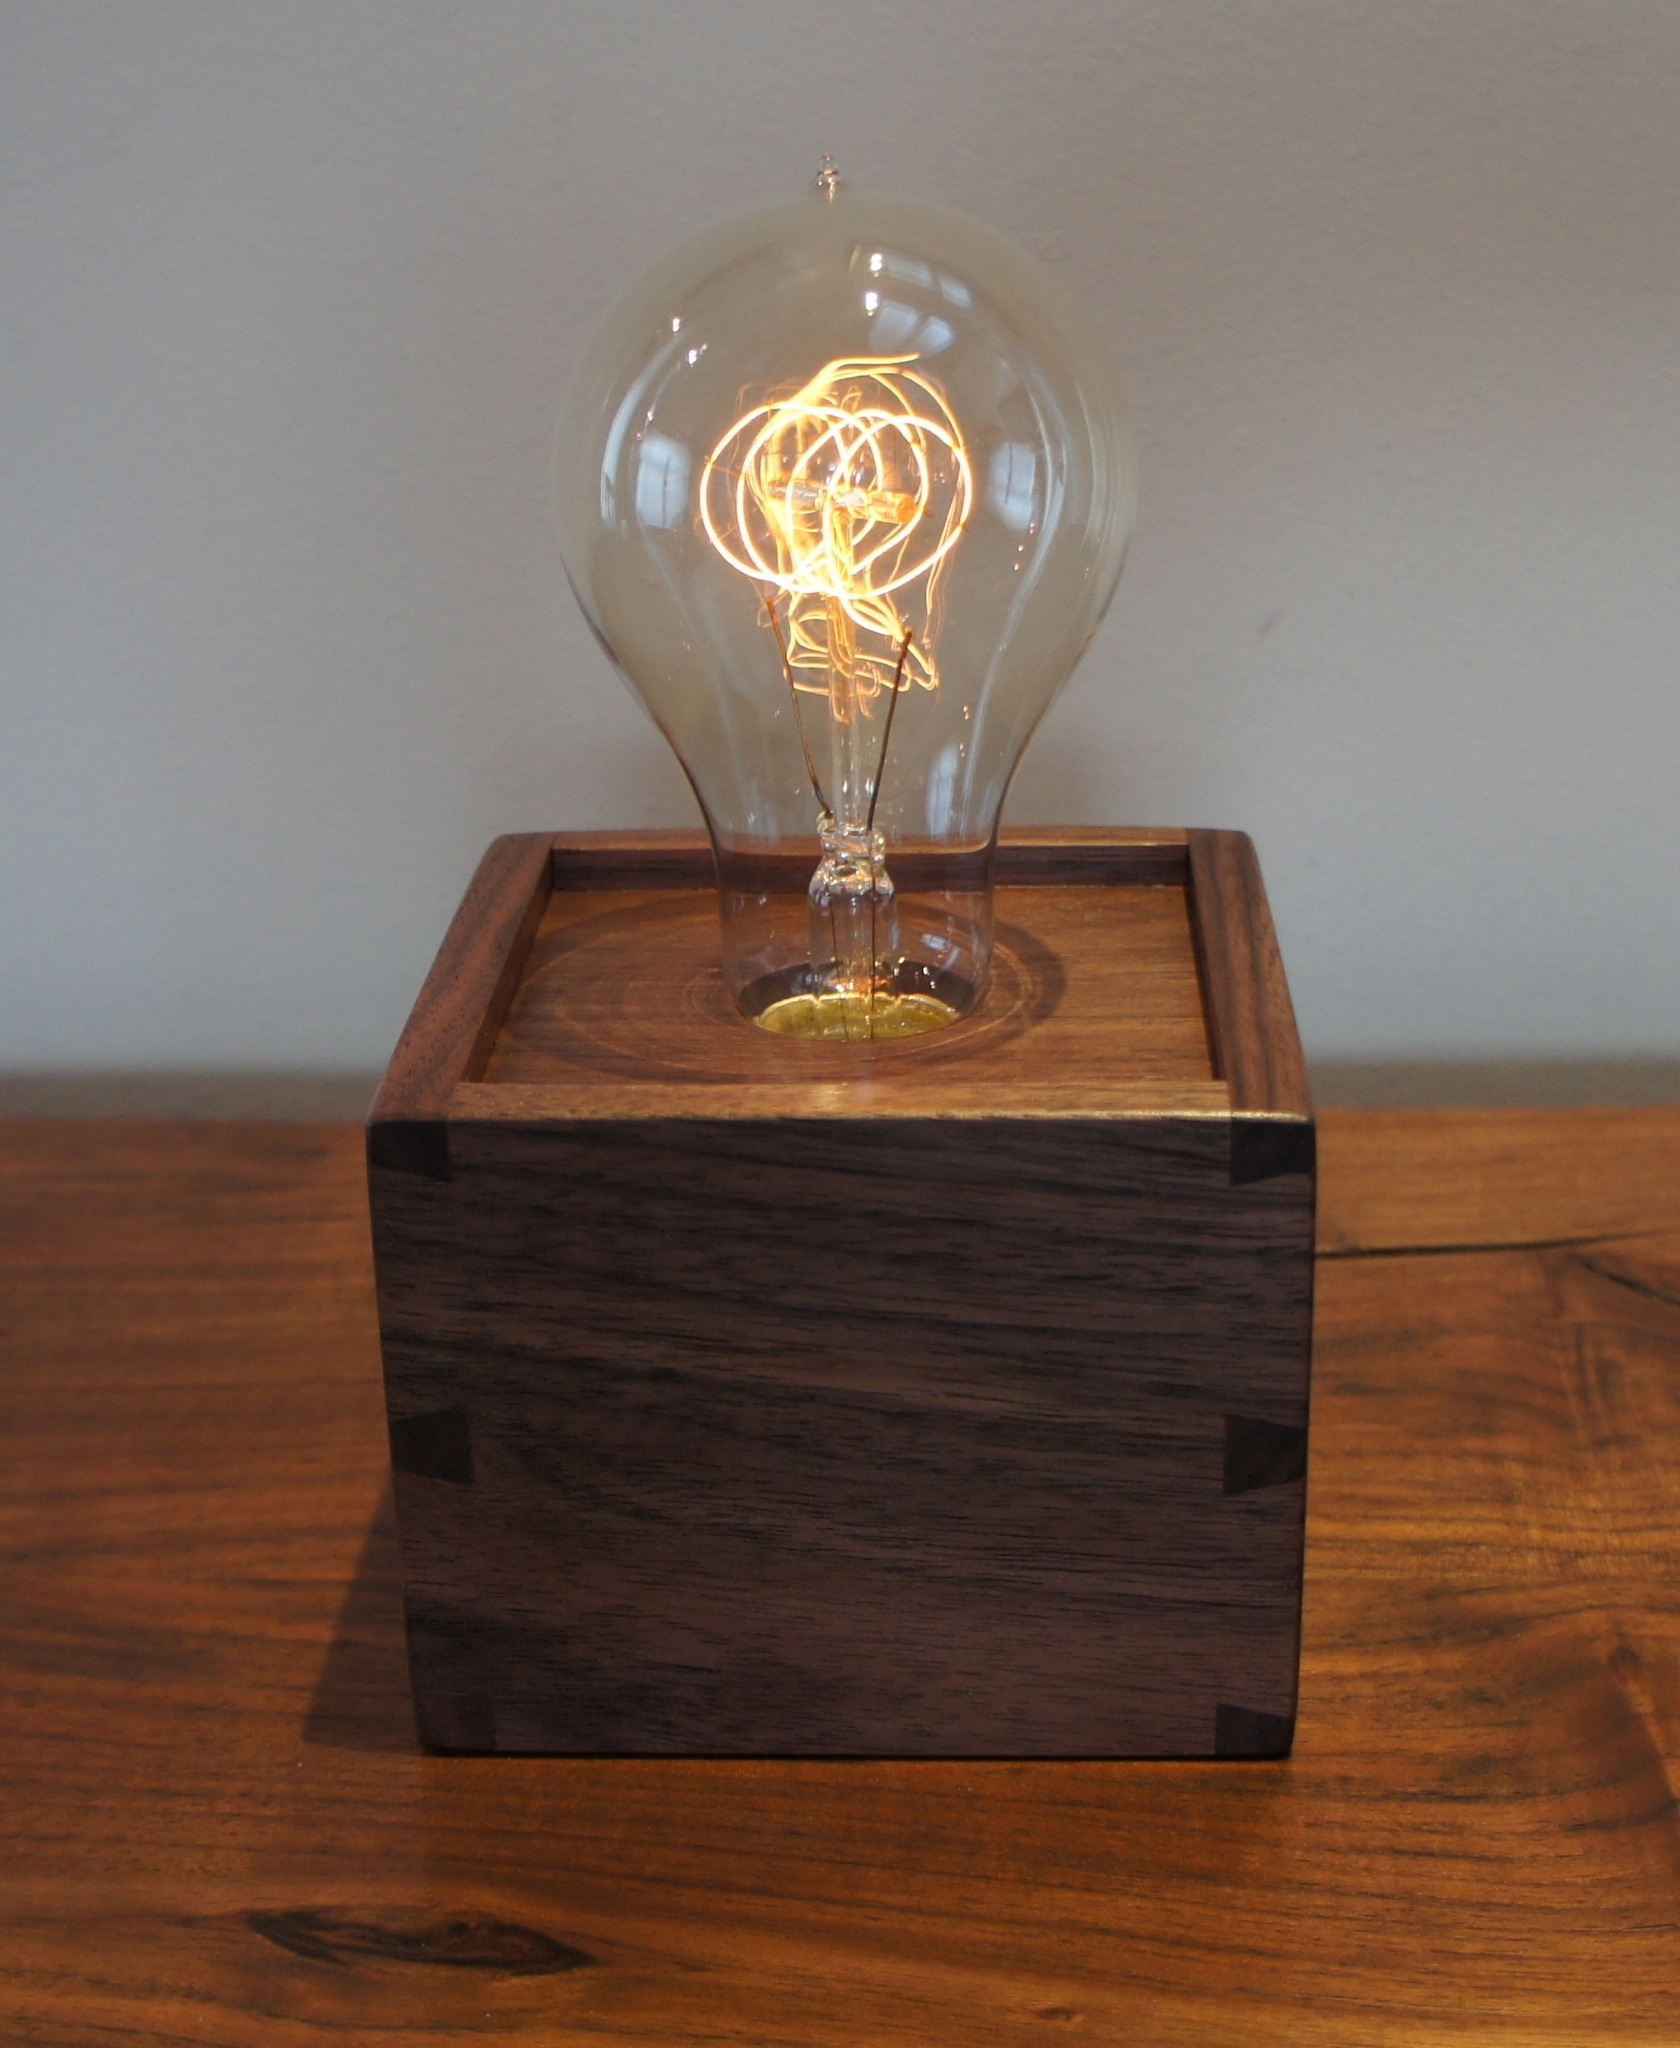
I’ve started to work on yet another batch of Edison lamps… I decided to use the principles of my education a bit this time. I’ve been talking about cost allocation approaches and ways to optimize output over the past couple of weeks in my big boy job. The basic idea is that there are certain factors that drive cost or dictate yield. It actually means much more than that, but as applied to my one man shop, that’s the basic idea. For the lamp builds, the concept is that in addition to raw material costs, I bear a cost (in terms of time) to build each lamp; and there should be some optimal number to build that minimizes my average cost per lamp while producing the most high quality lamps.
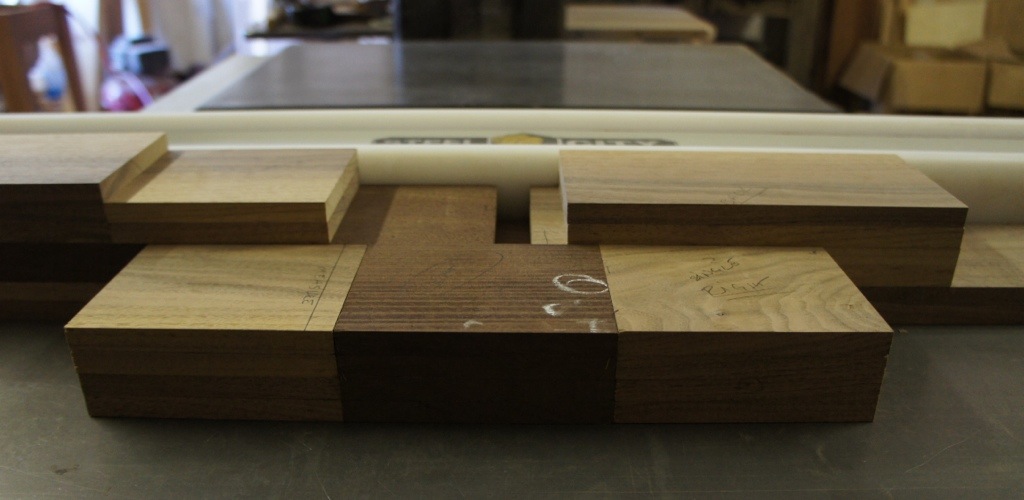
The way to optimize my time is to understand what are the drivers of my cost. For example, every lamp build has common steps including the first steps of dimensioning the lumber. In order to do this I must joint a face and edge of each board. I then resaw one board for the top. Finally I plane all boards to final thickness. There isn’t much time to save here though, because the time to setup each piece of equipment is minimal. There is zero effort on the jointer, because there isn’t any “setup” that is required. As a result, the time varies directly with the amount of lumber I’m jointing. This discussion isn’t all that interesting, but the point is that if I’m building 1 or 30 lamps, I can’t save any time by building more than 1 lamp at a time. Once this step is completed, I ended up with the stack of lumber seen in the photo below.
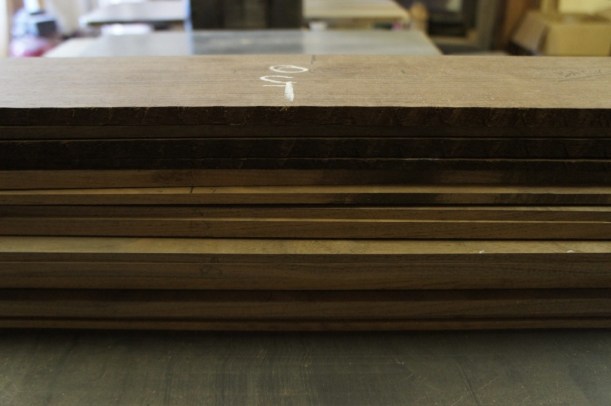
Once all of the lumber is jointed and planed, the next step is to get the boards to final length and width. In this case, measuring is required. As a result, there is effort to position the table saw fence to get the boards to the right width. Similarly, all lamps are 4 1/2 inches deep. This is another case where I can setup the equipment once and just cut as many side pieces as quickly as possible (while being safe of course). Technically, I could cut the sides for 1000 lamps at once and save significant time. But if I took that approach it might take months before I finished a lamp. That’s both bad for customers waiting on lamps, and I would be carrying far too much inventory cost. A little time is saved here, but it isn’t super significant. Once that step is finished, I ended up with the stack of lumber below.
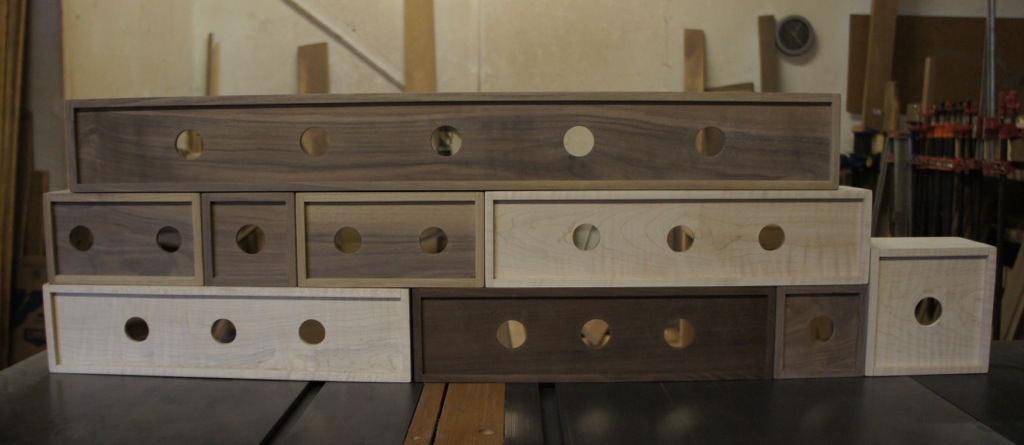
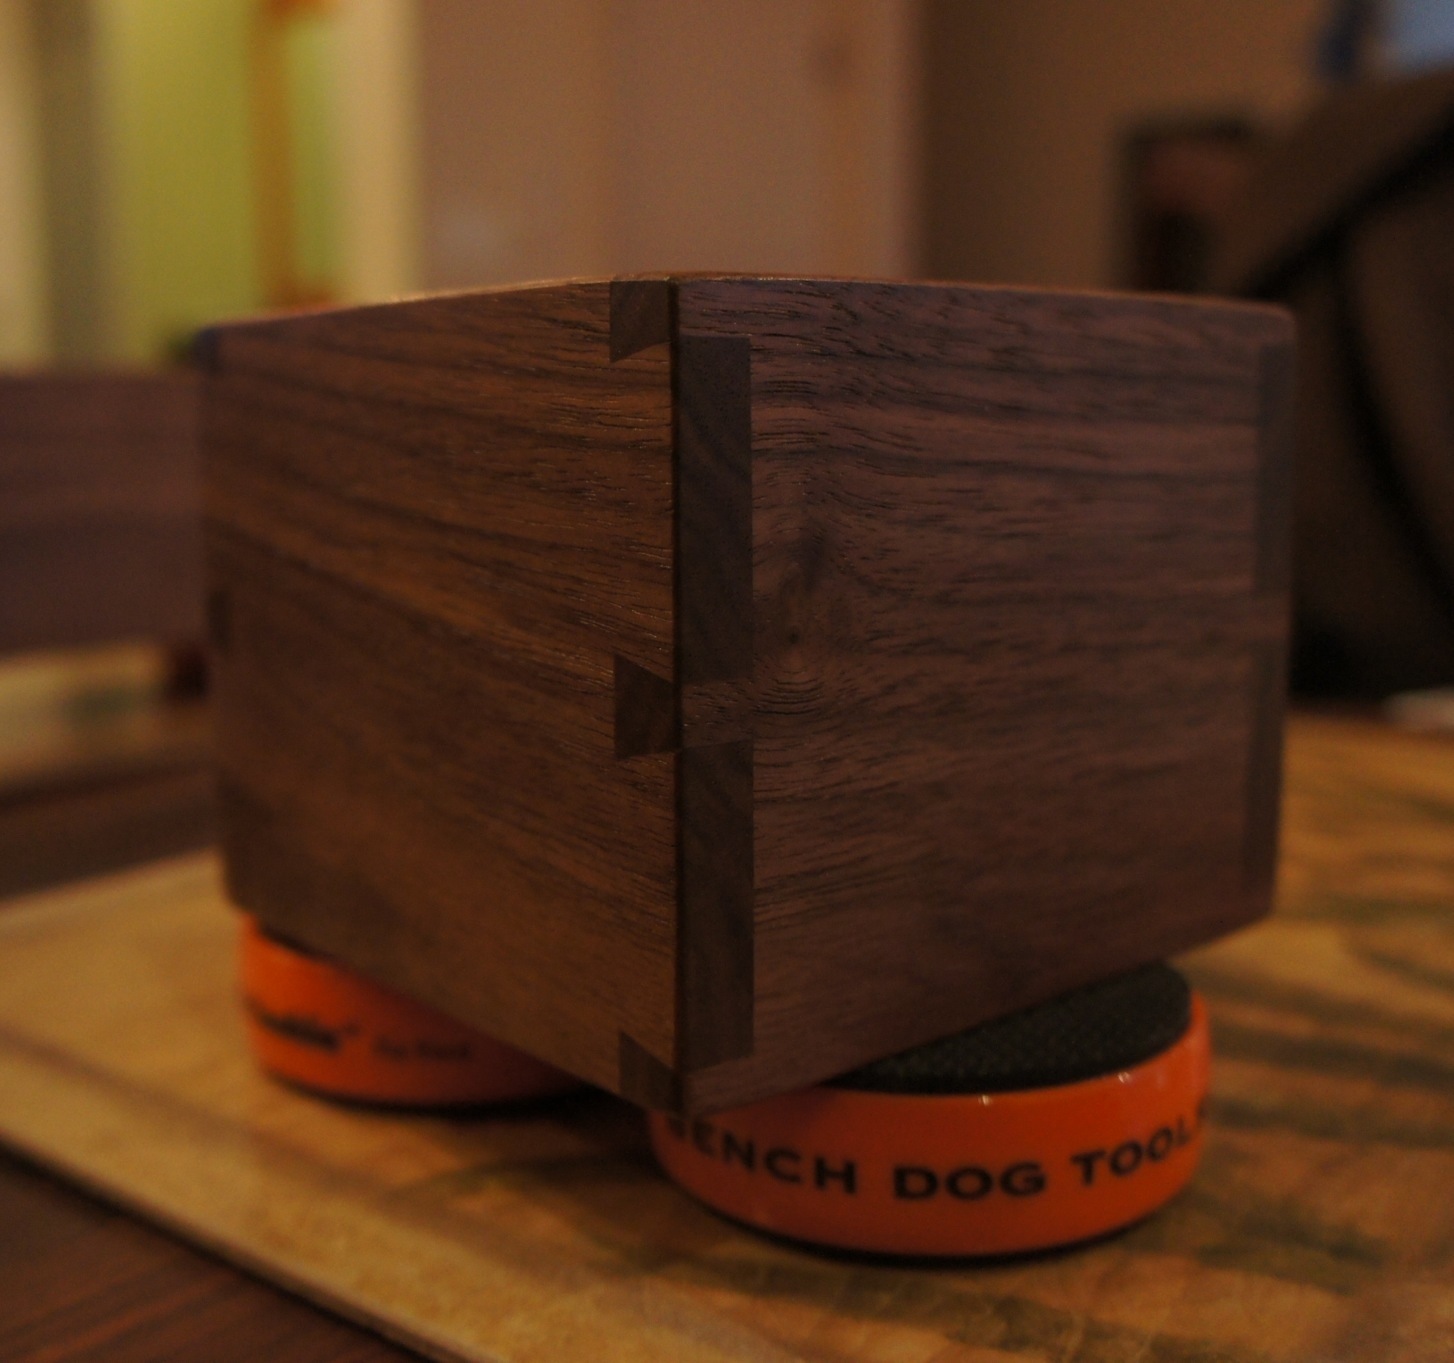
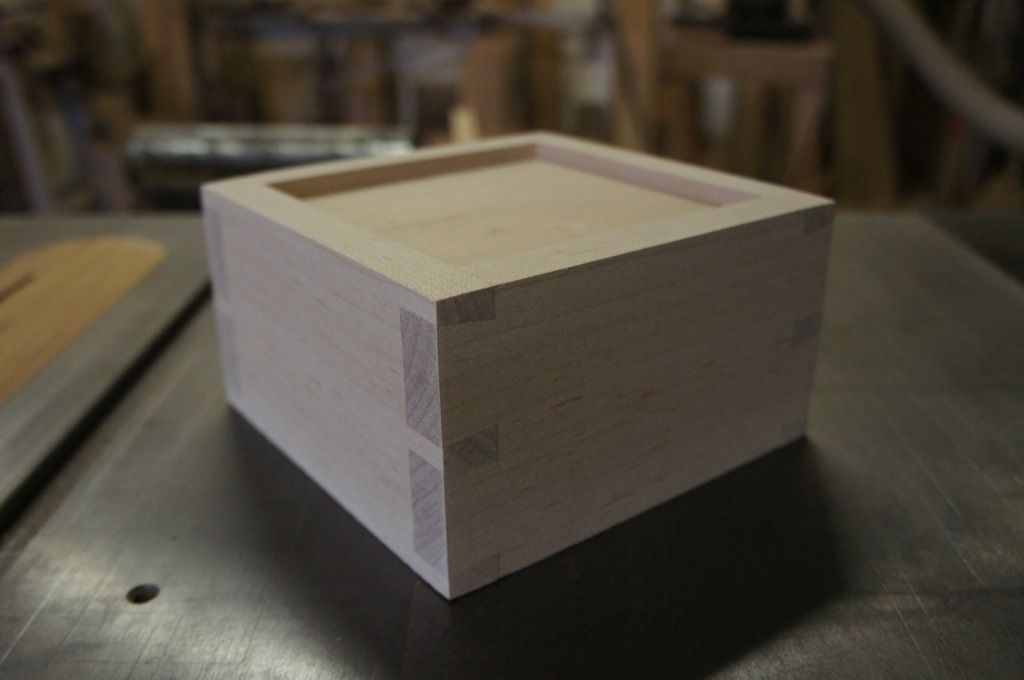
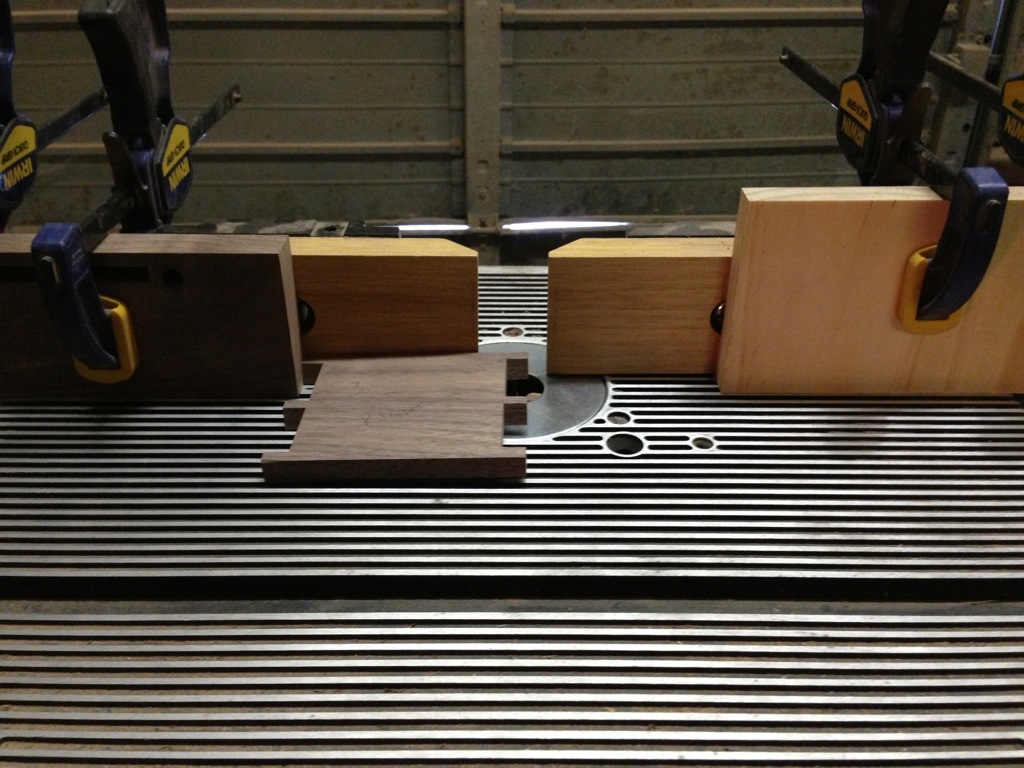
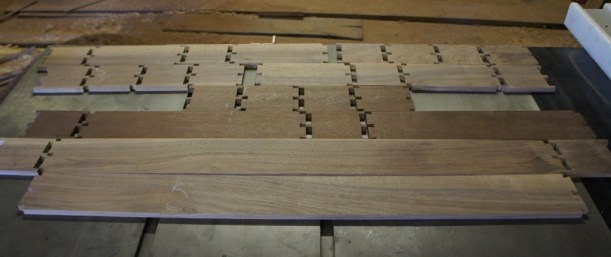
Similar to the last step, cutting the dovetails can generate some real cost savings. There are a lot of setup steps (setting the depth of the router bits, changing the router bits, and setting up the jig). Each of these steps takes considerable time. This is one of the major areas where I can save time. Once all of the routing is finished, I ended up with the pieces in the photo below.
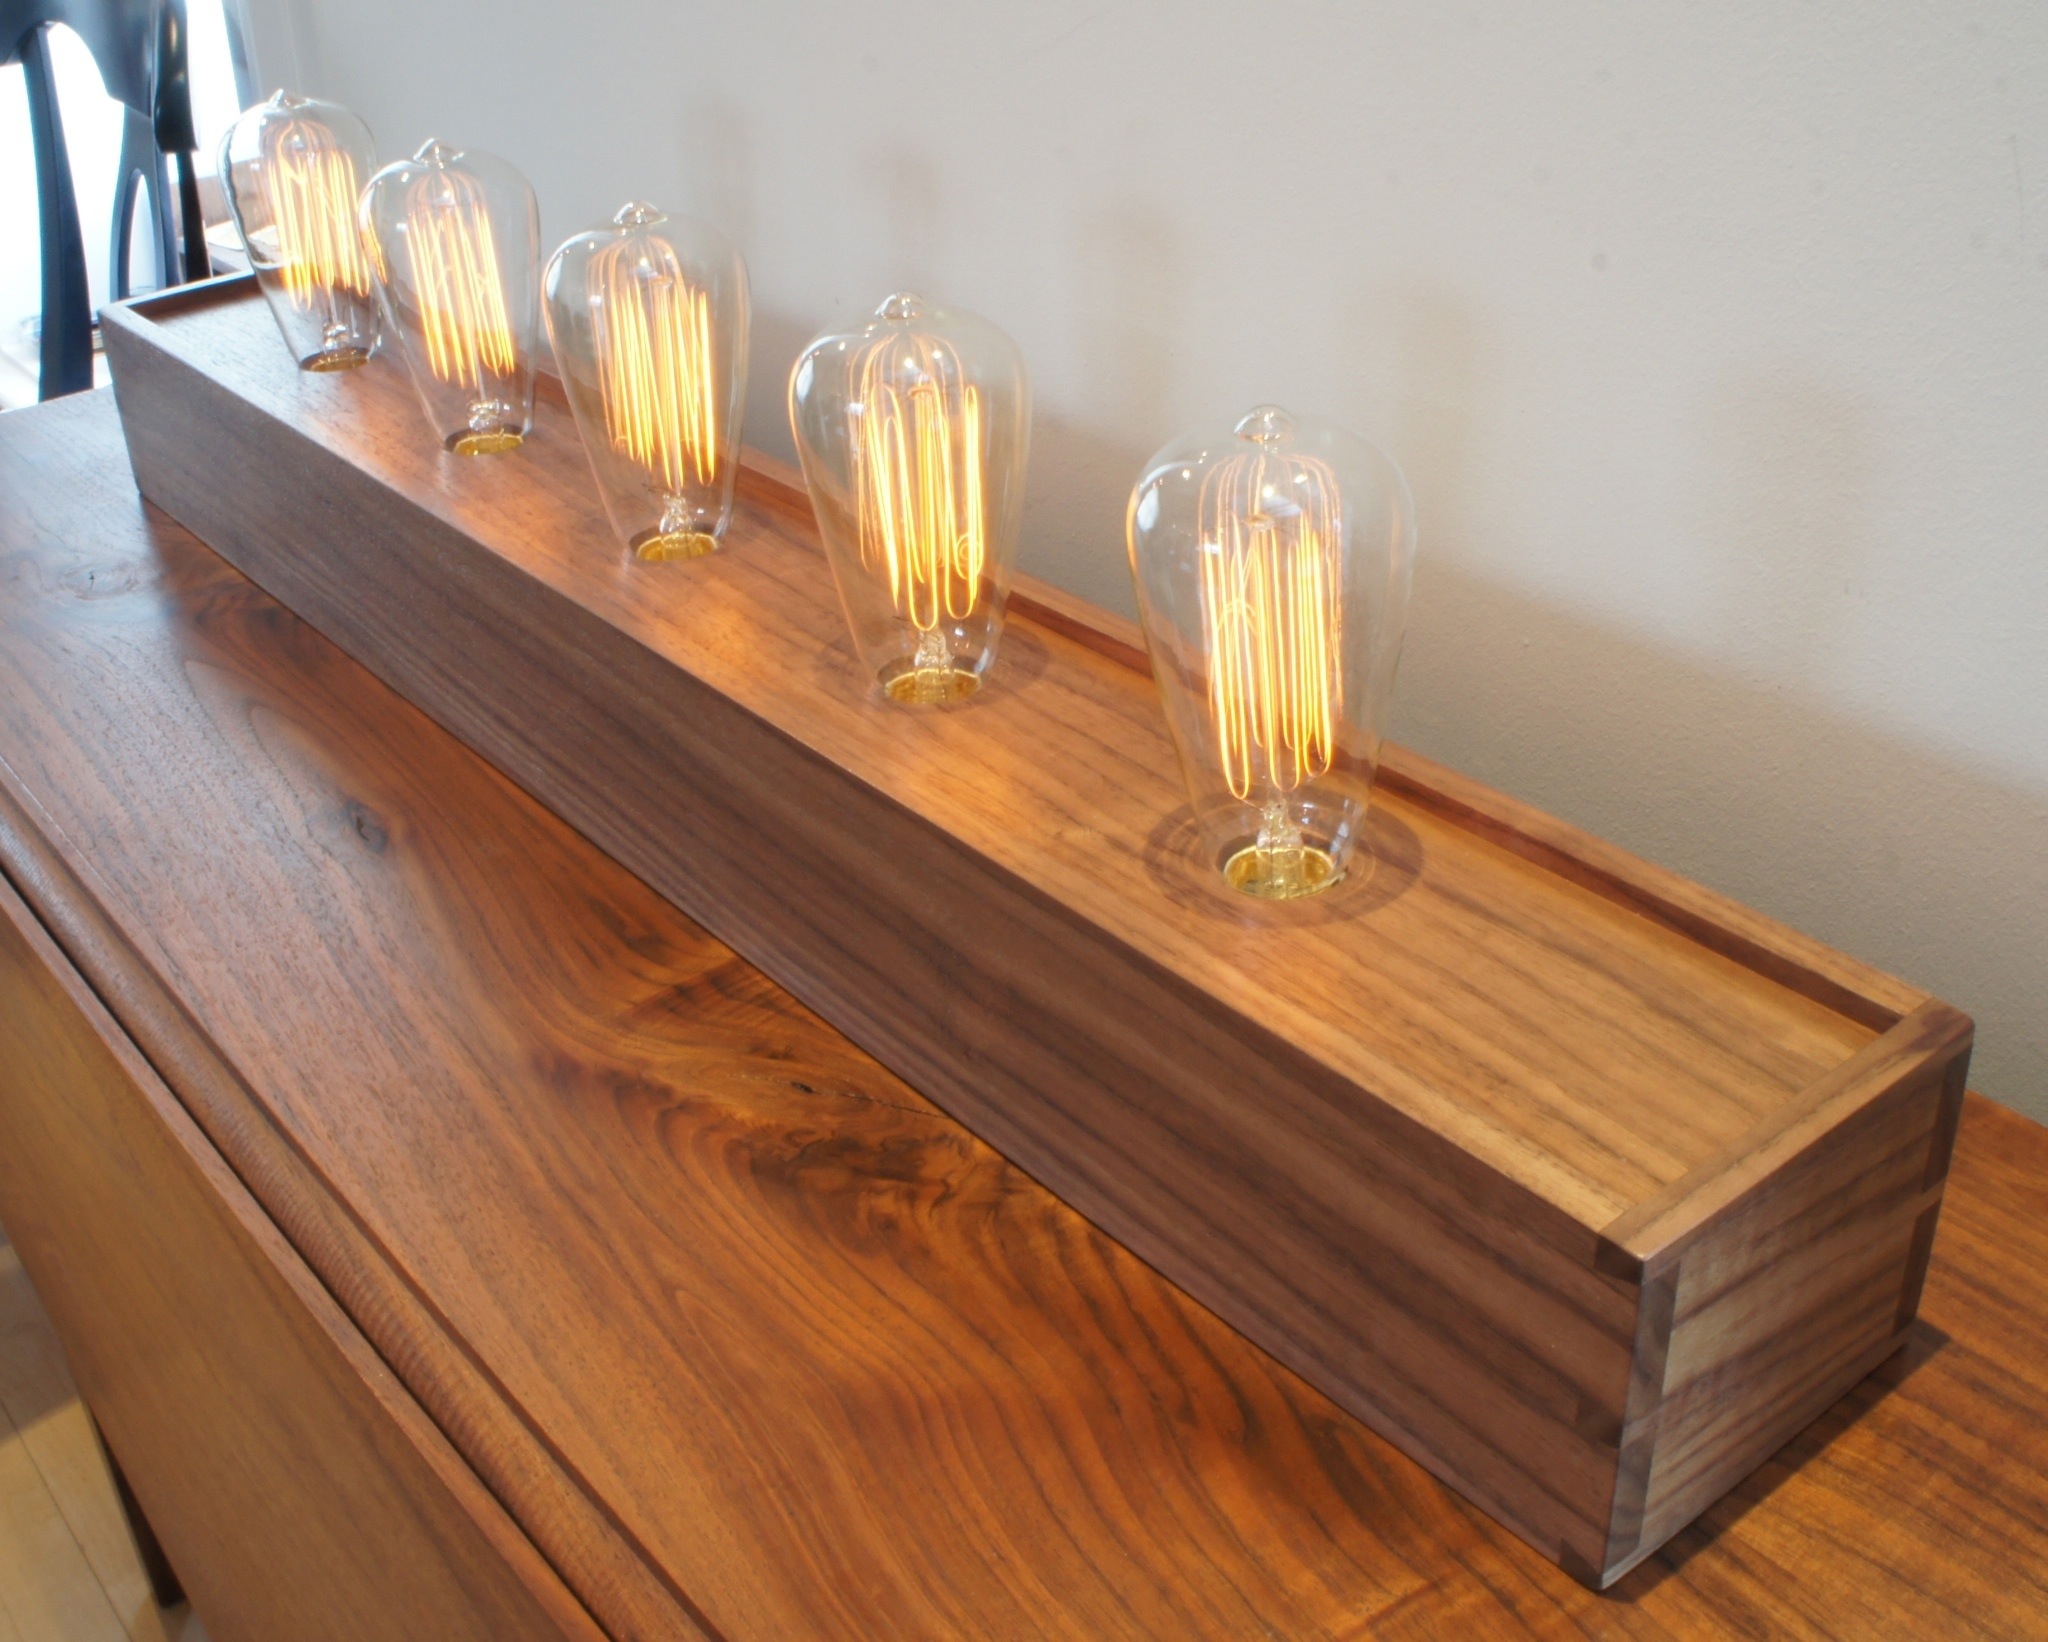
Ultimately, I could treat this as a big equation. I could optimize the build quantity for the time and effort to build, controlling for inventory costs, changing raw material costs, travel time to the shop, etc. But ultimately, I’m building these lamps because I like spending time in the shop working with wood. The reality is that I decided to build a few lamps this time, because I want to have some in inventory to sell (as opposed to building them all to order).
From Rough Sawn to Edison Boxes and Coasters
I thought that last weekend might be the first in a few months not dedicated to building lamps, but that plan quickly changed. I tried to get a little ahead of the game and decided to build 2 lamps instead of the one on order. I wish that was a true statement, but I wasn’t happy with an extremely small detail of the first lamp. Consequently a second lamp happened.
Although not intended this did give me a chance to show in one photo the changes that the lumber goes through. The piece on the far left is what my favorite walnut boards look like before any work is done to them. The middle board shows the lumber after one face has been completely flattened. Finally the board on the right shows the inside of the front of the lamp right before it is ready for assembly.
The photo below shows how the top is bookmatched to the front of the lamp. The top and front are cut out of the same piece of lumber. They are then opened up like a book. The two pieces are essentially a mirror image of each other. The line on the two boards is to provide me with a reference mark, so that I can keep the boards aligned when assembling the lamp.
The final photo is the output off a long weekend in the shop. The two boxes are awaiting 5 holes each for light bulbs. The lamp on the front right really highlights matching the top and front grain patterns. The scattered 44 coasters are from excess lumber from the past 5 or 6 lamps.
Four New Edison Lamps
Finally finished up a couple orders of Edison lamps. Except for one of the single bulb lamps, all of these are in the care of the USPS. The 5 bulb lamp is a pretty traditional rendition but the length has been shortened ever so slightly. The maple version is a significantly larger version of the single bulb lamp I’ve been making. I wasn’t too sure about it’s size at first. But with the right bulb it looks great. One of the small Edisons just left DC. The other will become my second lamp on etsy that is ready to ship when ordered.
Only one lamp on the books for the weekend, so hopefully I can get back to some of the other neglected projects in the shop.
Wrapping the Grain Around the Corner
I’ve mentioned in a few posts that I like to cut the Edison lamp boxes out of a continuous piece of lumber. I just took this picture for a reason other than this blog, but I thought it did a great job at explains why I try to get the box from one piece of lumber. If you look closely, you can see that the grain wraps from the left to the right around the corner of the box. The left side of the photo is the front of the box and the right side is the side of the box. This is definitely not Ikea style furniture where you get an instruction manual telling you to put together part A and part B from the nondescript white cardboard box…
Edison Lamps in the Raw
Just a quick update post tonight. In the photos below are 4 lamps ready for a first coat of finish. The long walnut piece is a few inches shorter than my standard build, whereas the maple box is a few inches larger than the standard. I love the way that walnut looks before any finish is applied. One day I might build one of these pieces and never apply a finish… These lamps should be ready to ship soon.
The Very Beginnings of a Walnut Single Bulb Edison Lamp
Just a week ago, I finally got an order for a single bulb Edison Lamp made from walnut. I’ve previously built single bulb versions out of koa and birdseye maple, but never walnut. And just a post or two ago I was bemoaning the end of my supply of walnut… But I do have enough left to build a single bulb version. In fact I’ve got enough stock to build at least 2 lamps. I’ll designate the nicest of the 2 finished lamps for the new customer and probably list the second one for sale as-is on my etsy store. The board I’m building the lamps from is probably 20″ long by 8″ or 9″ wide and maybe an inch thick. The photo below shows the lumber before any work is done to clean up the surfaces. Fortunately, I’ve worked from this tree long enough to know that it will look pretty nice.
In several of my prior posts I’ve talked about resawing the lumber to get the 1/4″ thick piece of lumber for the top of the lamp. To do that I need to first joint a face and edge of the lumber. I then run the board through my bandsaw with the jointed edge down and the flat face against the fence. If any real woodworkers ever read this I know that the fence on the bandsaw is not the best approach, but I’ve pulled the fence back to where the blade is. Essentially the board can float free beyond this point. It’s not the best setup, but I’ve been getting good results for some time. The picture below shows the face being resawn.
After that I did all of the other dimensioning so that I could finally move to cutting the dovetails. From that point the only difficult moment left is to cut the groove for the top board. I’ve learned the hard way (on several occasions) that if you aren’t careful you might cut the groove all the way through the end of a pin or a tail. In fact I’ve had to scrap a few lamps for that very reason. The first picture below shows how I approach this issue… Basically I clamp stop blocks on the front and backside of the cuts. They prevent me from cutting through the end of the boards. Once the stops are in place I drop the board on top of the router bit and make an initial cut. Once that is complete I can proceed as normal with the confidence that the stop blocks will prevent me from cutting too far.
I did have a new issue arise this time. I was almost done with the groove for the lamp top when I could hear that no cutting was taking place. It turns out that for one reason or another my router bit had sheared off. It’s not that it was an extremely costly piece to replace, but it was frustrating to have to run out one more time to the hardware store. The photo below shows the outcome of that incident.
Ultimately everything worked out and the piece made it to the clamps.. The clamps where it will sit until I can return to clean everything up before fit and finish.
Lots of Coasters on the Way
During one of the last Edison lamp builds I ended up with walnut that was just a little thinner than I wanted. Actually it looked fine, but I didn’t know if it would be acceptable for a customer I’ve never met. Rather than risk upsetting a customer, I restarted the build of that lamp. But I ended up with this extra stock and nothing to do with it.
At the same time I have been making lots of drink coasters. I’ve mentioned in previous posts that each time I build a lamp I end up with extra 1/4″ thick stock. I’ve started turning that thin stock into drink coasters. In fact the current lamp I’m working on will produce over a dozen coasters. I probably have 60 coasters in inventory.
So ultimately I decided to turn the unused stock for an Edison lamp into an extra large coaster case. I’m guessing that it can hold over 120 coasters before it’s full. The coasters haven’t been flying out of the etsy store, so I might end up filling this case pretty quickly. The photo below shows the case after a first coat of finish; the odd red hue is courtesy of my space heater in the shop