I finally changed up my light socket solution to the Edison lamp build. I first started building with the basic black phenolic sockets that you can get at the local hardware store. These were more than adequate, but they had one primary shortcoming. The base of the socket would screw down on a rod (known as a brass or steel nipple). The challenge I was having was that the hole in the base was not centered on the bottom of the socket. I’m sure this must have been for a reason, but I can’t fathom what that reason would be. As a result, regardless of how much effort I put into aligning the nipple with the dead center of the hole for the lightbulb, there was a better than not chance that the socket wouldn’t be aligned. I found all sorts of ways to fix that, but no fix was great.
After the phenolic sockets, I moved up to porcelain sockets. These are slightly nicer sockets but more importantly the hole in the bottom was better centered. Alignment was less of an issue, but it still wasn’t perfect. Actually I could make it perfect, but screwing the nipple into a piece of wood and then screwing the socket down onto it was still more difficult than it should be.
I finally shifted to the trusty internet. Not for advice, but for better product selection. I’ve finally found a socket that I think I like. I don’t mean to write about this like it is a new product innovation, but it is a case where no local store stocks the product that I need; but I can find it on the internet. This one gets rid of the need for the nipple all together. In this case, you use screws to attach the socket directly to the support board. The challenge now is to find out where to locate the socket.
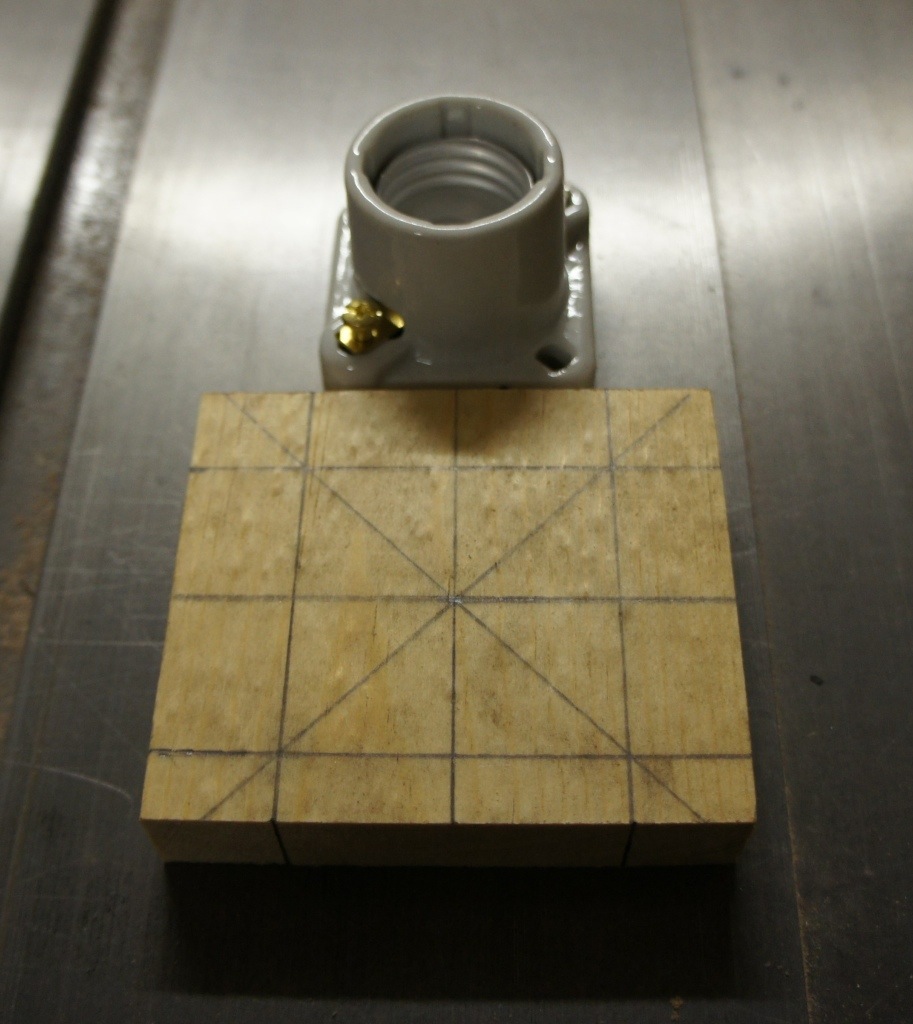
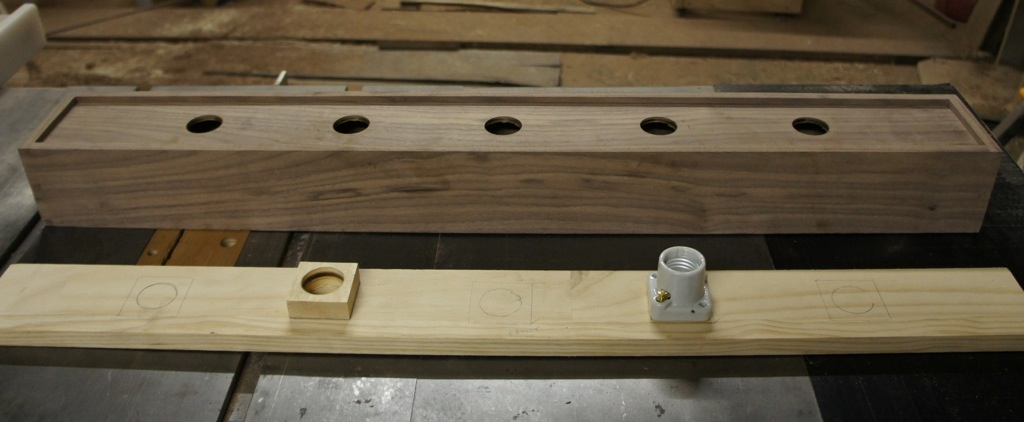
The series of photos bellows shows how I did this. First I went through a lot of effort to identify the center of a scrap piece of wood (that would become my template). From there I drilled a hole (the same size that I use in the final build) directly through that center position. I then cut that template to the same size as the base of the socket. In the second photo, I was double checking that everything was centered on the socket opening. What’s not shown are the boards that I used to ensure that everything was aligned. From there it was on to a live test… In the final photo, I’ve traced the hole openings on to the board that will support the five light sockets. This is done by first placing the support board inside the lamp base and pushing it against the underside of the top of the base. I then take the new wood template and align its hole with the circle traced to the support board. From there you trace the outside of the template. The socket will be located right inside this final traced square.